
When I have new sewers in my classes, I regularly see a pattern in the challenges they face as they sew. Even when stitching easy techniques, they often struggle with their machine. It’s not surprising to me because when I think back to when I first learned to sew, I made the same mistakes and lived through the same problems that I see today. It took a while for me to learn these basic steps and for them to become automatic. I knew what to do but I was so eager to start sewing, I would often miss a few steps. Part of the problem was that I didn’t really understand why I needed to do these things. So, if you are new at using a sewing machine and/or sometimes struggle with the simplest sewing task because your machine just isn’t cooperating, keep reading to learn four things that may help you become one with your machine, making you a better stitcher with less frustration.
#1 – Thread with the Foot Up
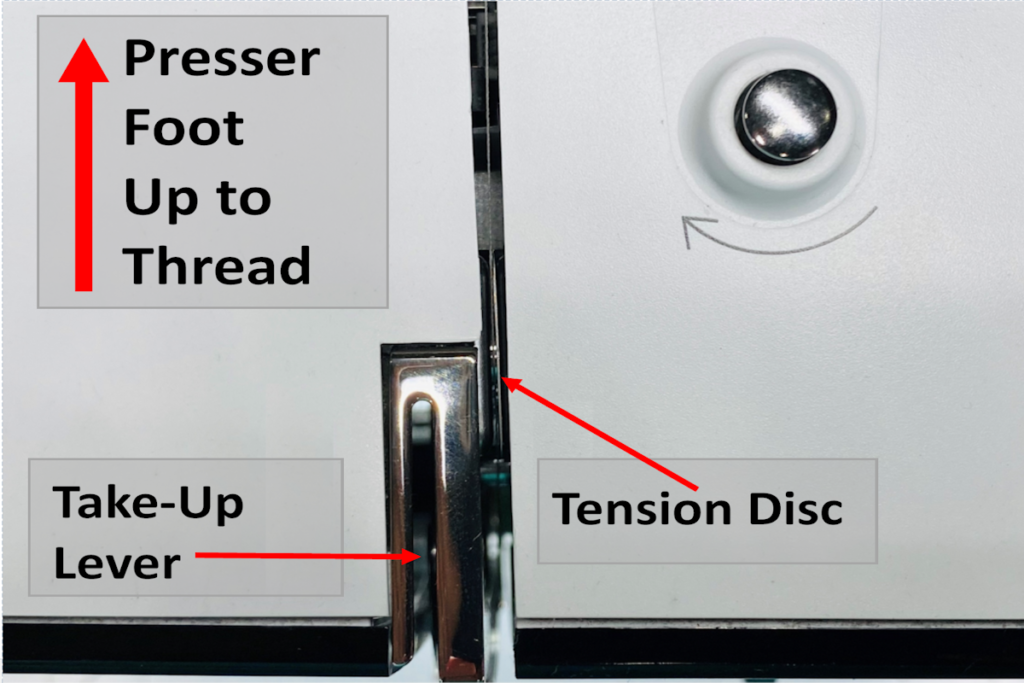
The presser foot works with the tension of the machine so the thread can form stitches. When the foot is up, the tension is released, and the machine will not make a stitch. When you thread your machine, the foot should be up so that the tension disc in the top of your machine is open and the thread can get down into it. If you miss this step, the thread has no tension and can’t form stitches.
#2 – Sew with the Foot Down
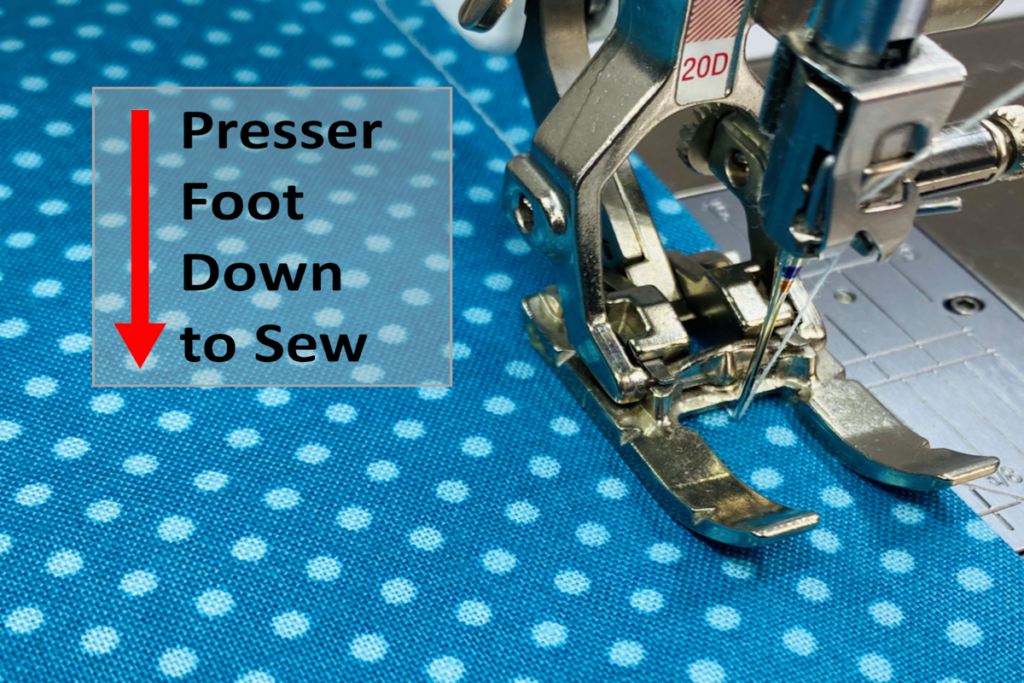
If you start sewing without lowering the presser foot, the thread has no tension and you won’t have stitches. You’ll also have no control over your fabric because the foot holds the fabric in place and helps to move it under the needle. When you lower the presser foot, the tension engages, and stitches are able to form, making you ready to sew.
#3 – There’s No Bird in that Nest
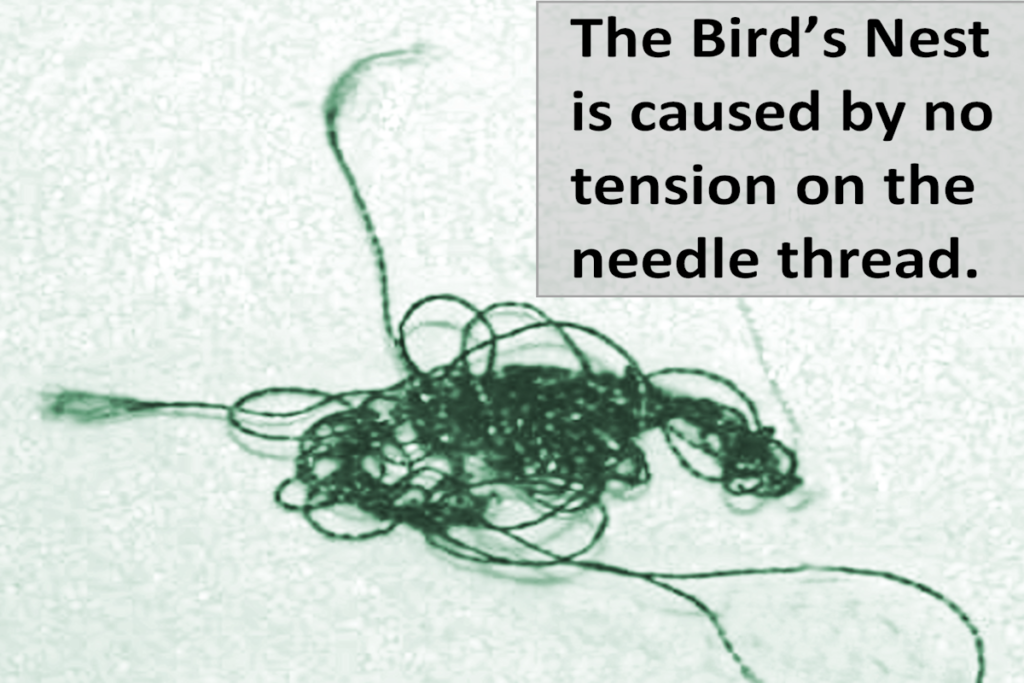
One of the most common new sewer situations I see is when you start sewing, you have a problem with stitching. As you investigate, you find a “bird’s nest” of thread on the bottom of your fabric. The first thought for almost all new sewers is that there is a problem with the bobbin thread. In fact, this bird’s nest indicates that the needle thread has little or no tension and therefore cannot form stitches (see #1 and #2). If the foot is down and this is happening, take a look at the needle thread. Was the foot up as it was threaded? Is it threaded properly? Is the thread in the take-up lever? Occasionally as you sew, the thread may “jump” out of the take-up lever and within 2-3 stitches, the thread will jam the machine and stop sewing, creating a nest of thread on the under side of your fabric. Simply clip the threads and re-thread both the needle and bobbin threads. Problem solved!
#4 – It’s Almost Always the Needle
If you notice a problem with your stitching such as malformed or skipped stitches, change the needle. Sewing with a blunt, bent, or improperly inserted needle absolutely affects the precision and the look of your stitches. Inserting a new needle solves about 80-90% of stitch problems so I do this before I check anything else. If you hear a “popping” sound as it goes into the fabric, this is a sure sign that your needle is dull and needs to be changed. I’ve said it before, and I’ll say it again: The needle is the most important part of your machine and the least expensive so you can’t change it too often!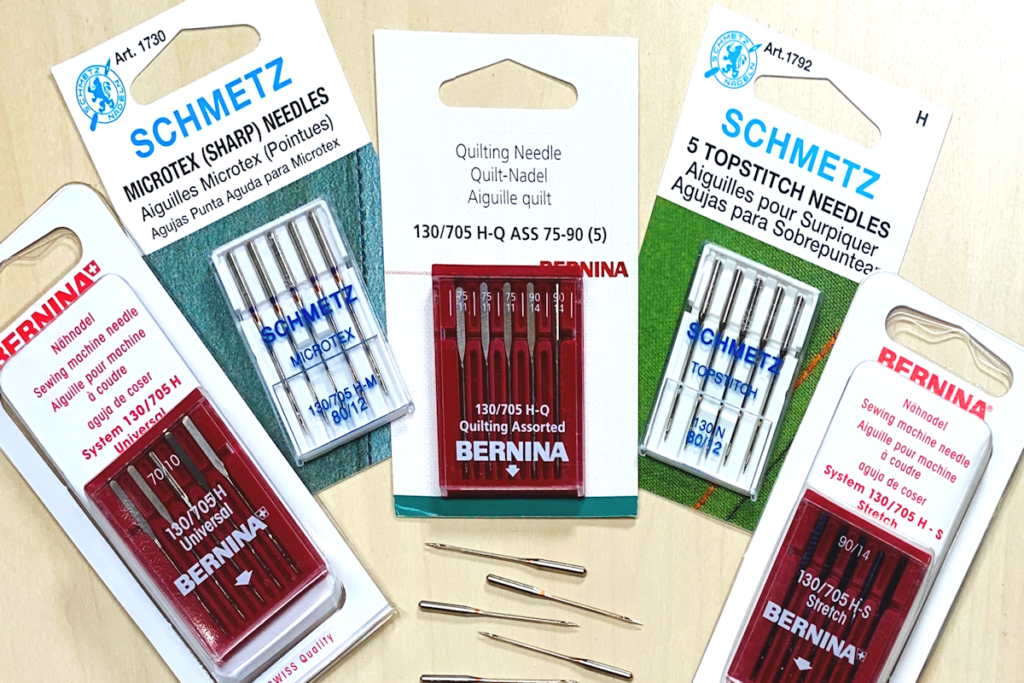
Keep Calm and Stitch On
If you are a beginning sewer and you run into stitching problems, take a deep breath and work through it. Everyone who sews has challenging days but there’s always an answer to any problem. Experience is the best teacher so go to Google, watch a YouTube video or ask someone who been sewing for a while. You’ll figure it out and the more you sew, the easier it gets. Happy Stitching!
