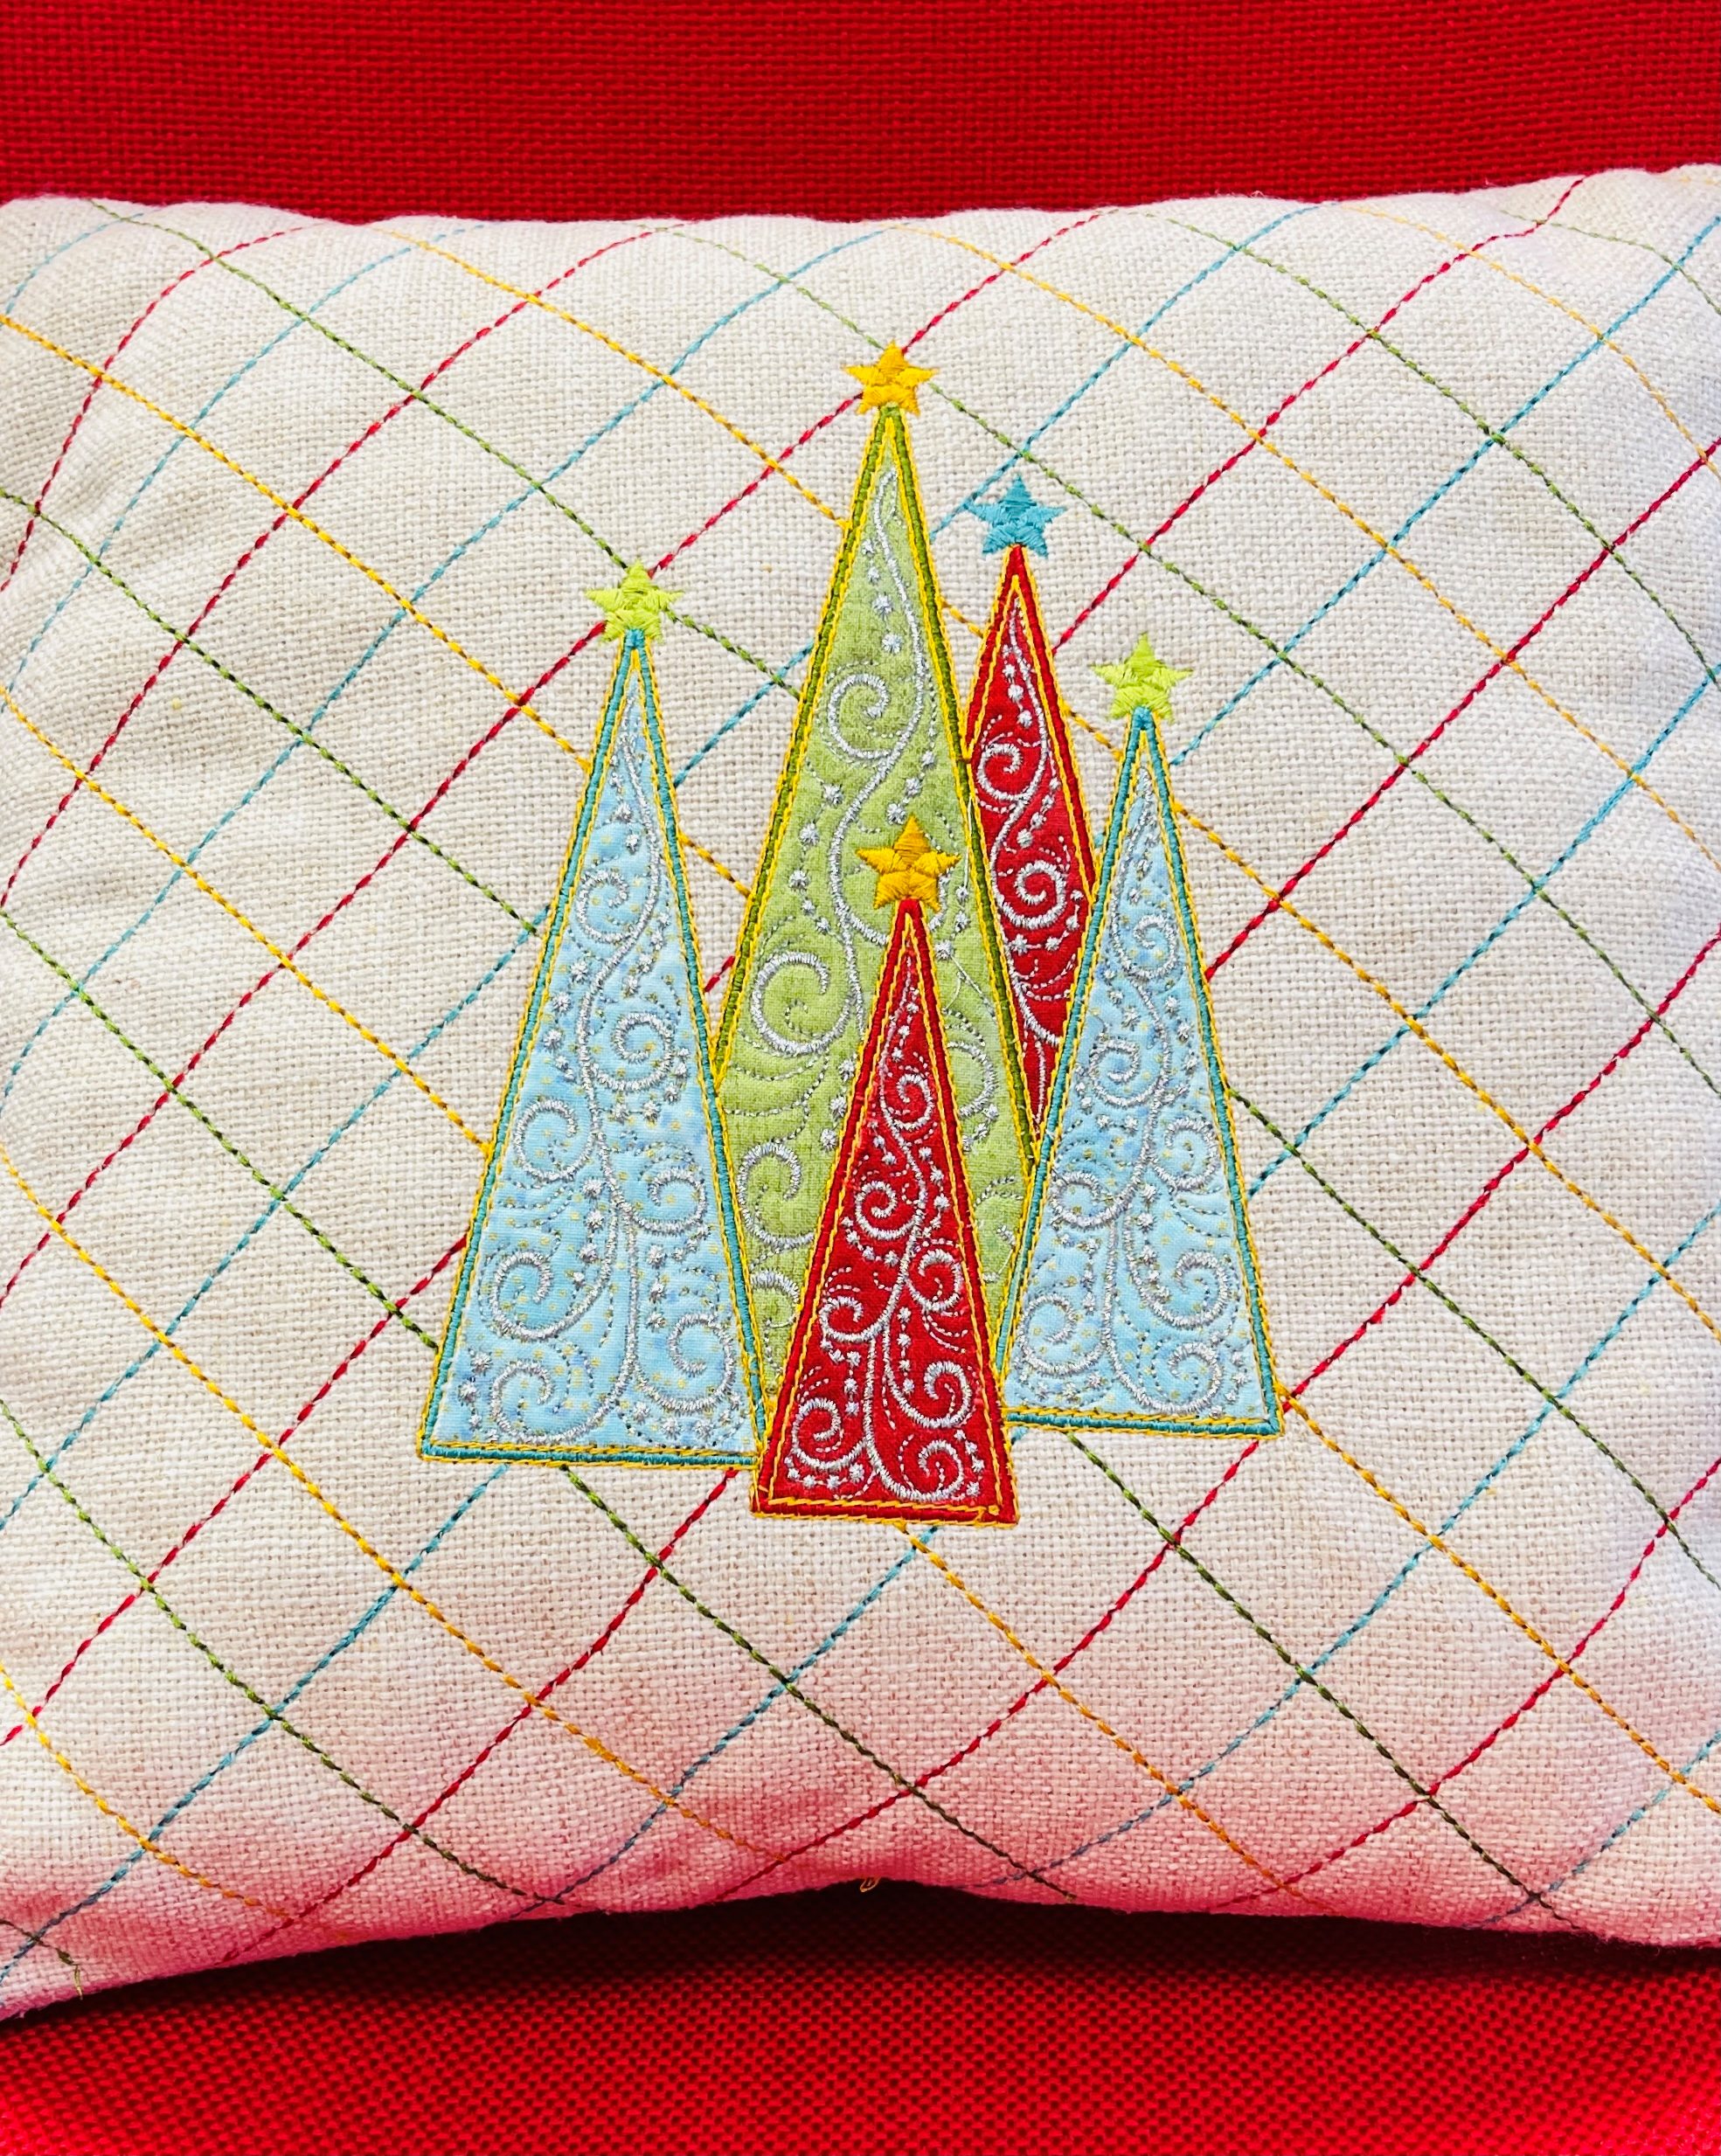
When putting up your Christmas tree and placing decorations around the house, don’t forget to add a cheerful look to the décor of each room. Placing holiday throw pillows on sofas, chairs, beds, and benches is a quick and easy way to carry the theme of the season throughout the entire house. I made a simple decorative pillow this year using a premade pillow blank and combining a machine embroidery design from OESD with a grid background stitched using my sewing machine.
Frosty Forest
The applique design I used has a modern look using fresh colors and metallic swirl accents. Of course, you can use a more traditional color scheme and seasonal fabrics to blend with your holiday decorations. This design is available at embroideryonline.com and is part of the Frosty Forest Collection #80060 by Cherry Guidry. You may buy and download the entire collection of holiday designs or purchase individual designs.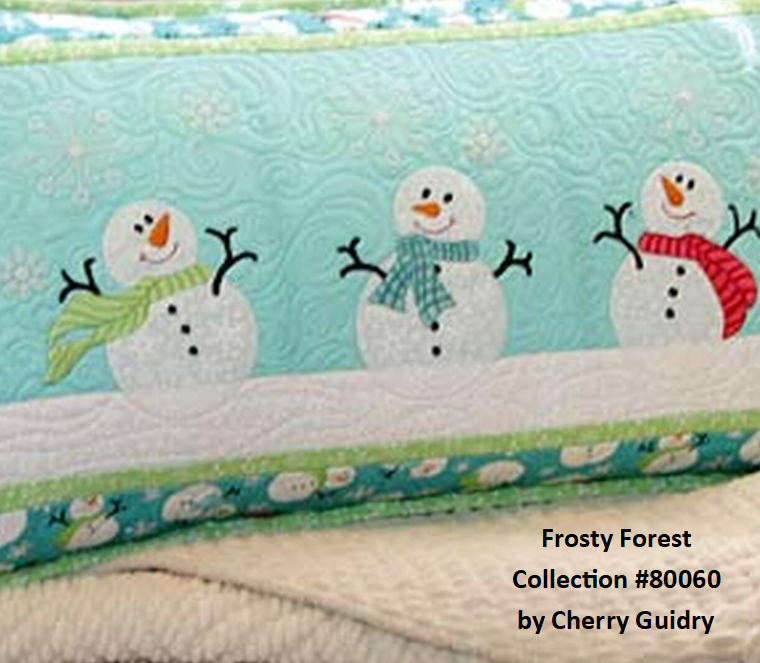
Sew Easy Pillow Blank
Instead of making a pillow from scratch, I used a pillow blank from OESD. The Sew Easy Pillow Blank is made of a textured fabric and has an invisible zipper stitched into it. The front and back of the pillow are joined by the zipper and and it all lays flat so you can easily stitch designs on it. ![]()
Background Grid
To prep the pillow front, stabilize it using your choice of fusible interfacing or a fusible fleece if you want a softer look. This pillow blank comes in a beautiful neutral, oatmeal color but it doesn’t scream holiday. I decided to do a little stitching on it to coordinate the fabric with the design. The colorful background is sewn with a triple straight stitch in a 1″ diagonal grid. A seam guide with ruler on the back of the presser foot makes it easy to keep things straight and eliminates most of the marking. I used four colors from the design as I stitched the grid. In the photo below, I randomly changed threads (a lot of thread changes!), and on the pillow front shown above, I used one color for each of the four sets of lines to simplify it and make it go a little faster.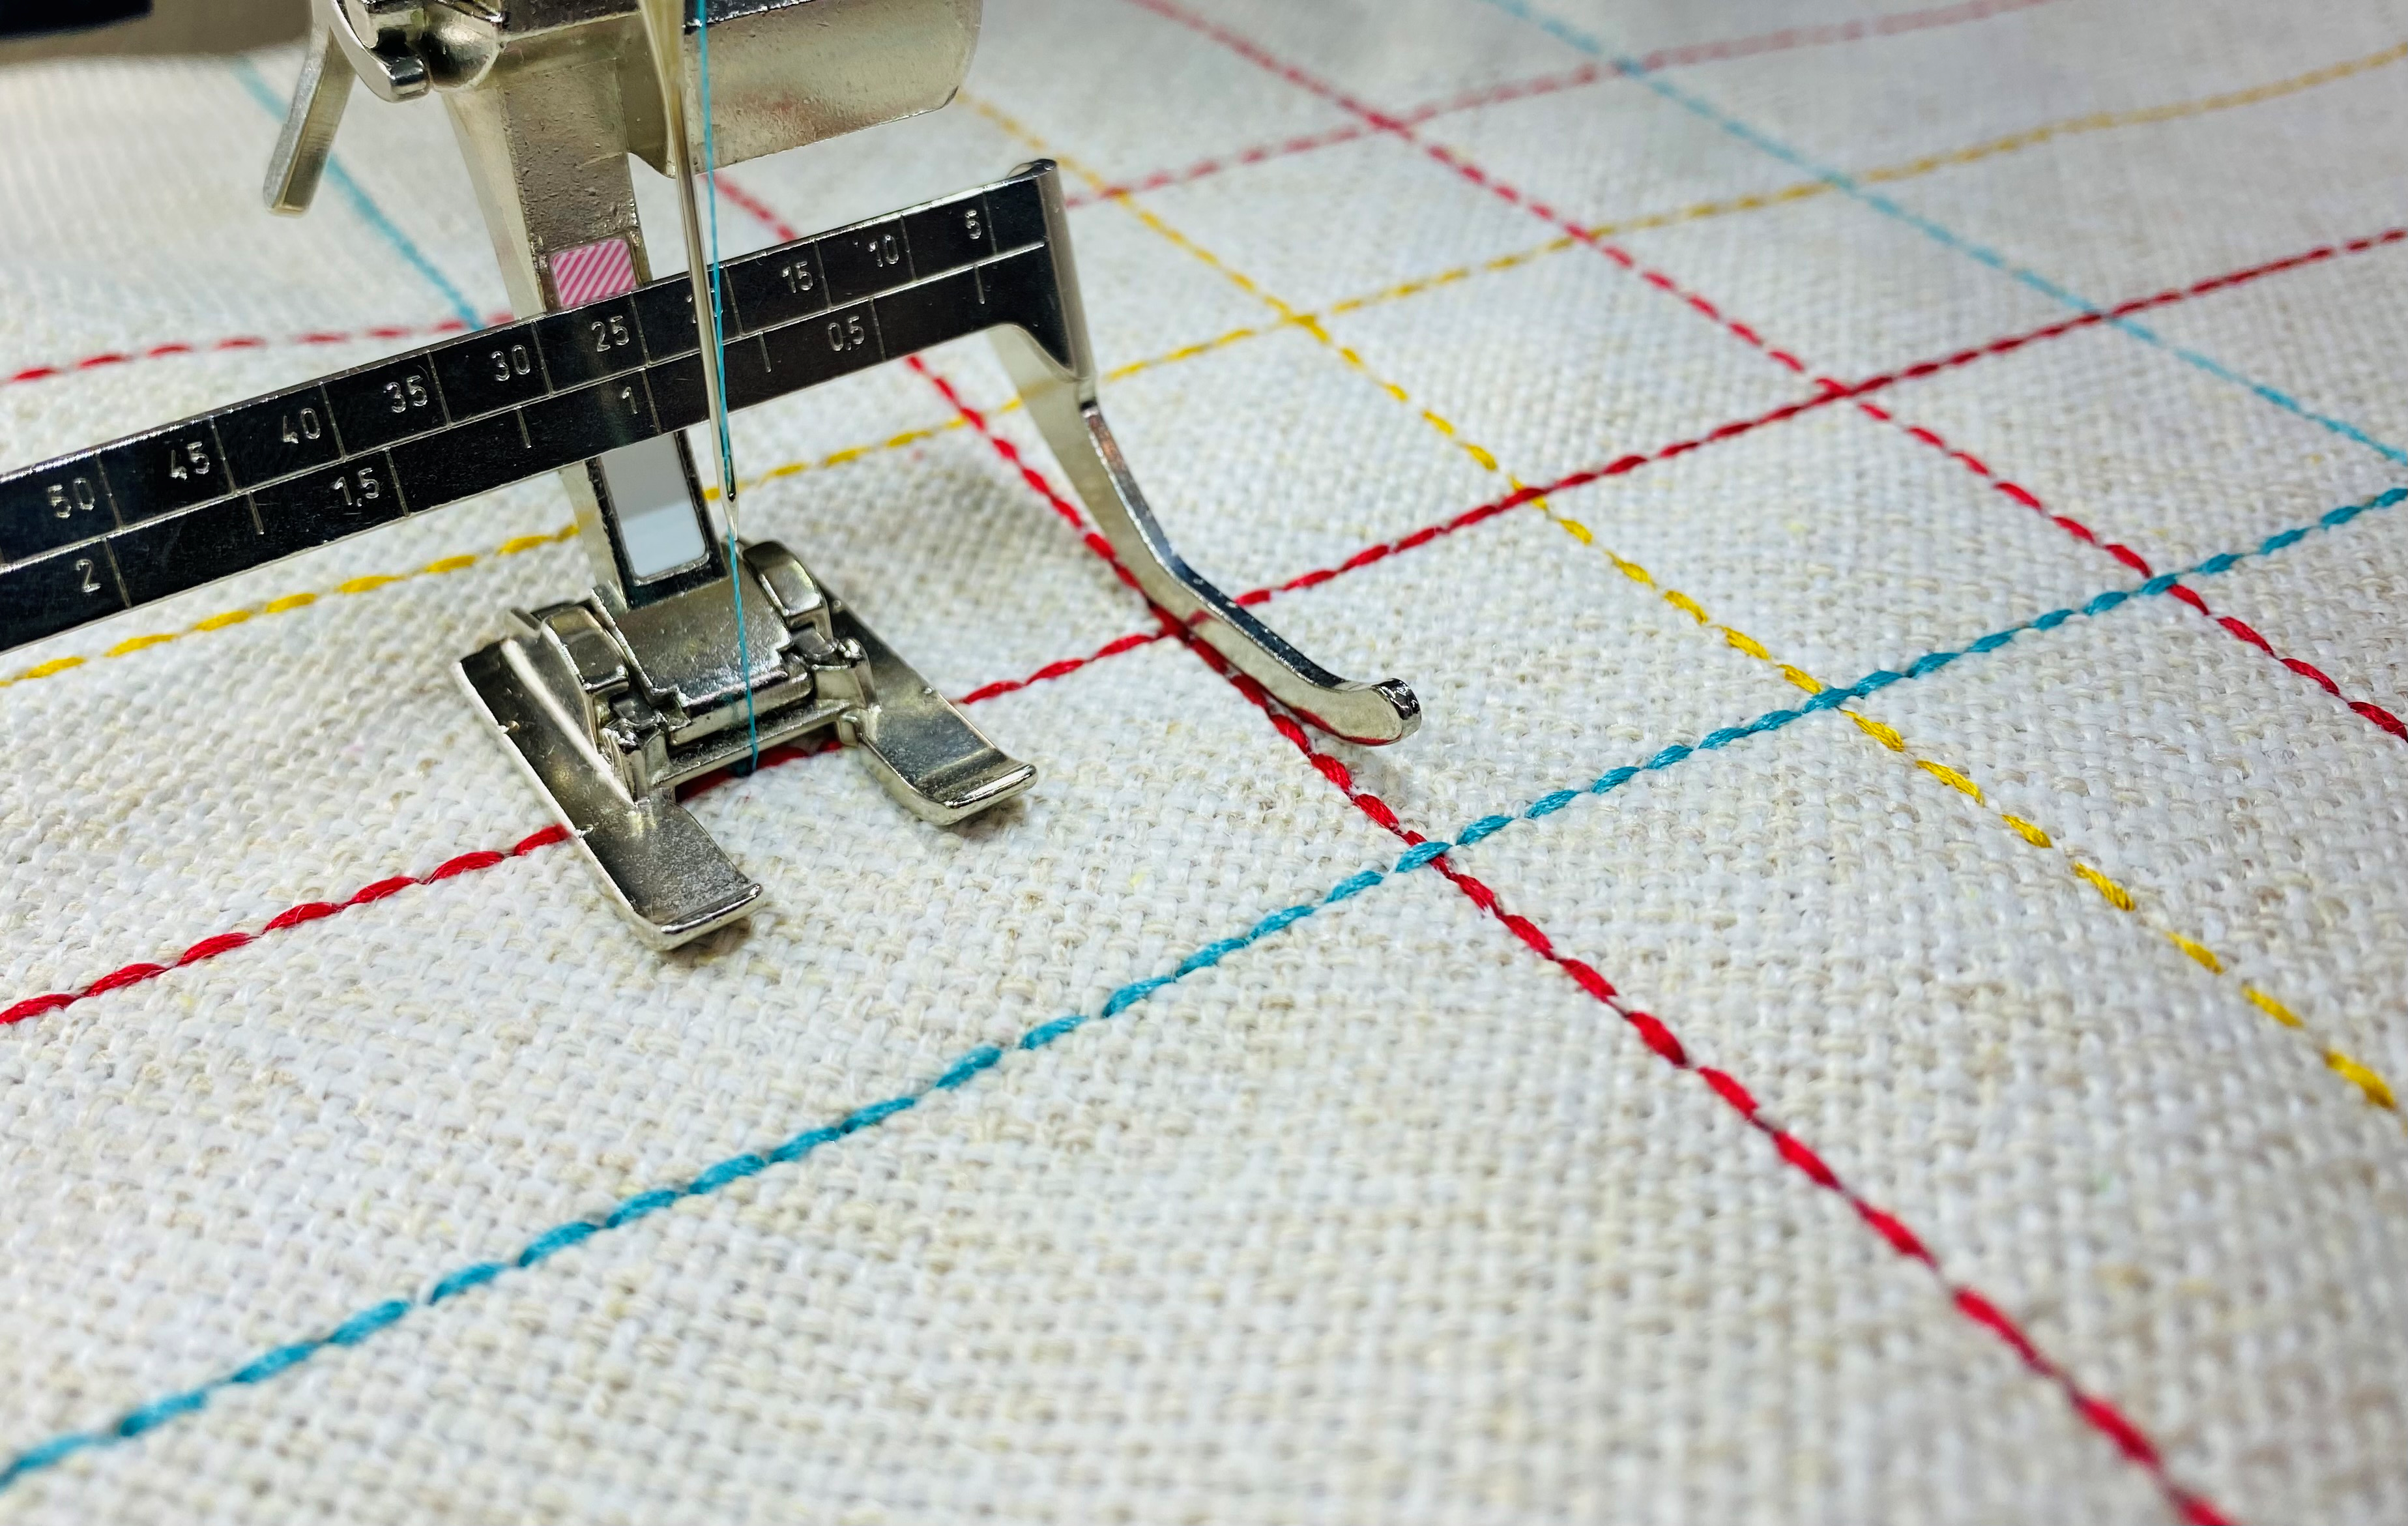
Christmas Trees Applique
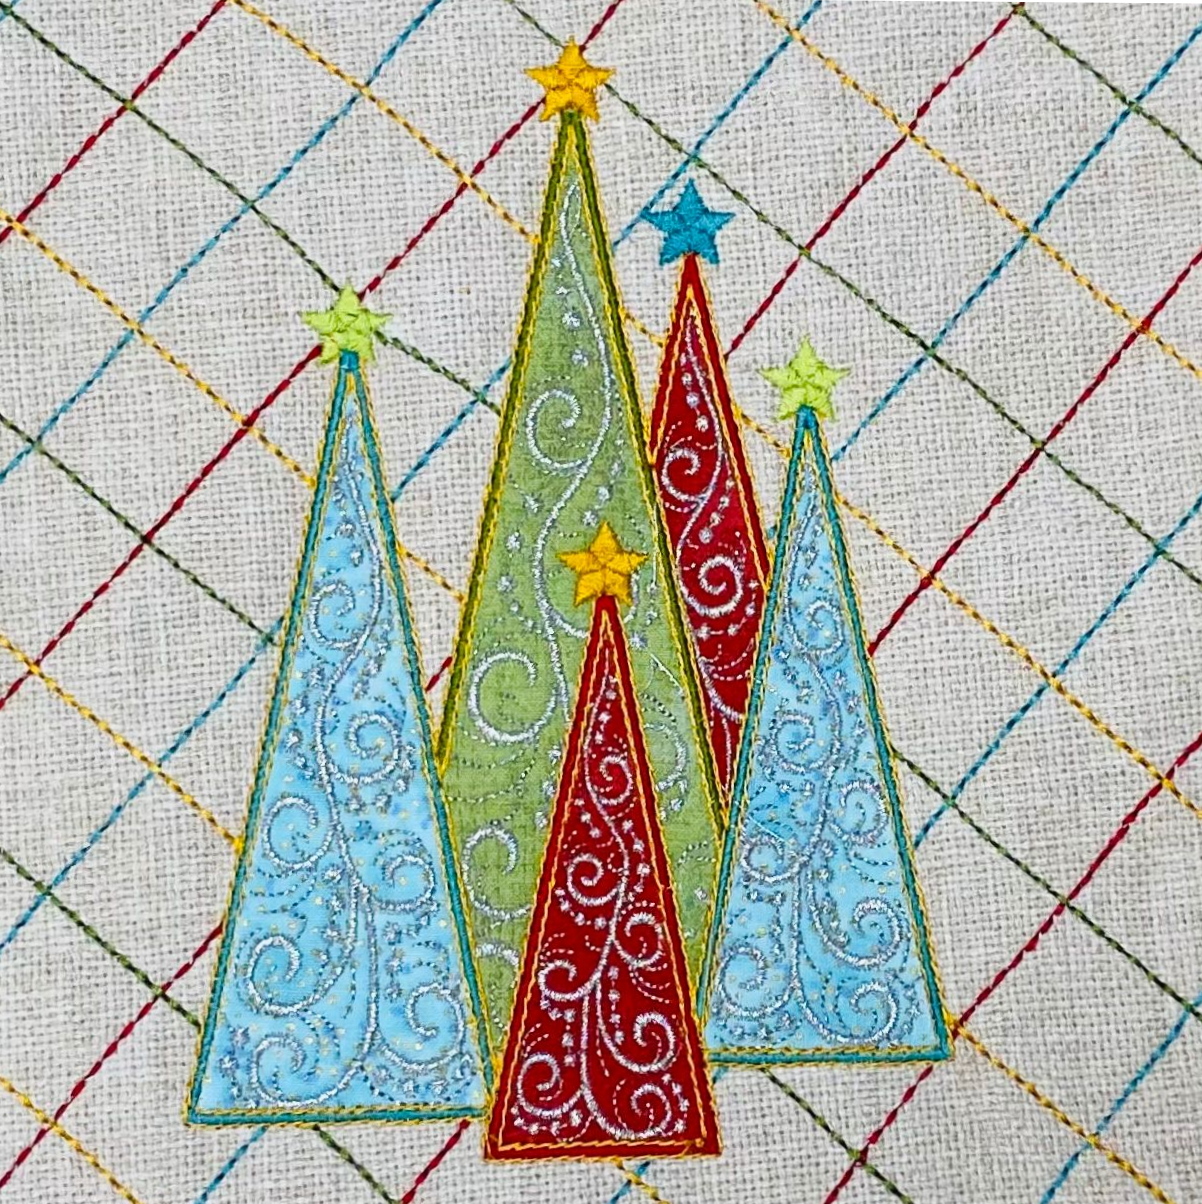
Once the grid on the pillow front is stitched, it’s time to stitch the applique tree design. Hoop a piece of OESD Stabil Stick tear away stabilizer, paper side up. Score the paper, and then remove it from inside the hoop. Place the wrong side of the pillow front onto the adhesive, matching the centers of the pillow and the hoop. Position the pillow with the zipper at the bottom of the hoop. Make sure you smooth the fabric down into the hoop. Following the directions included with the design, stitch Design #80060-01. The applique is stitched using printable patterns provided with the directions. When you print these patterns, make sure your printer is set for 100% or Actual Size.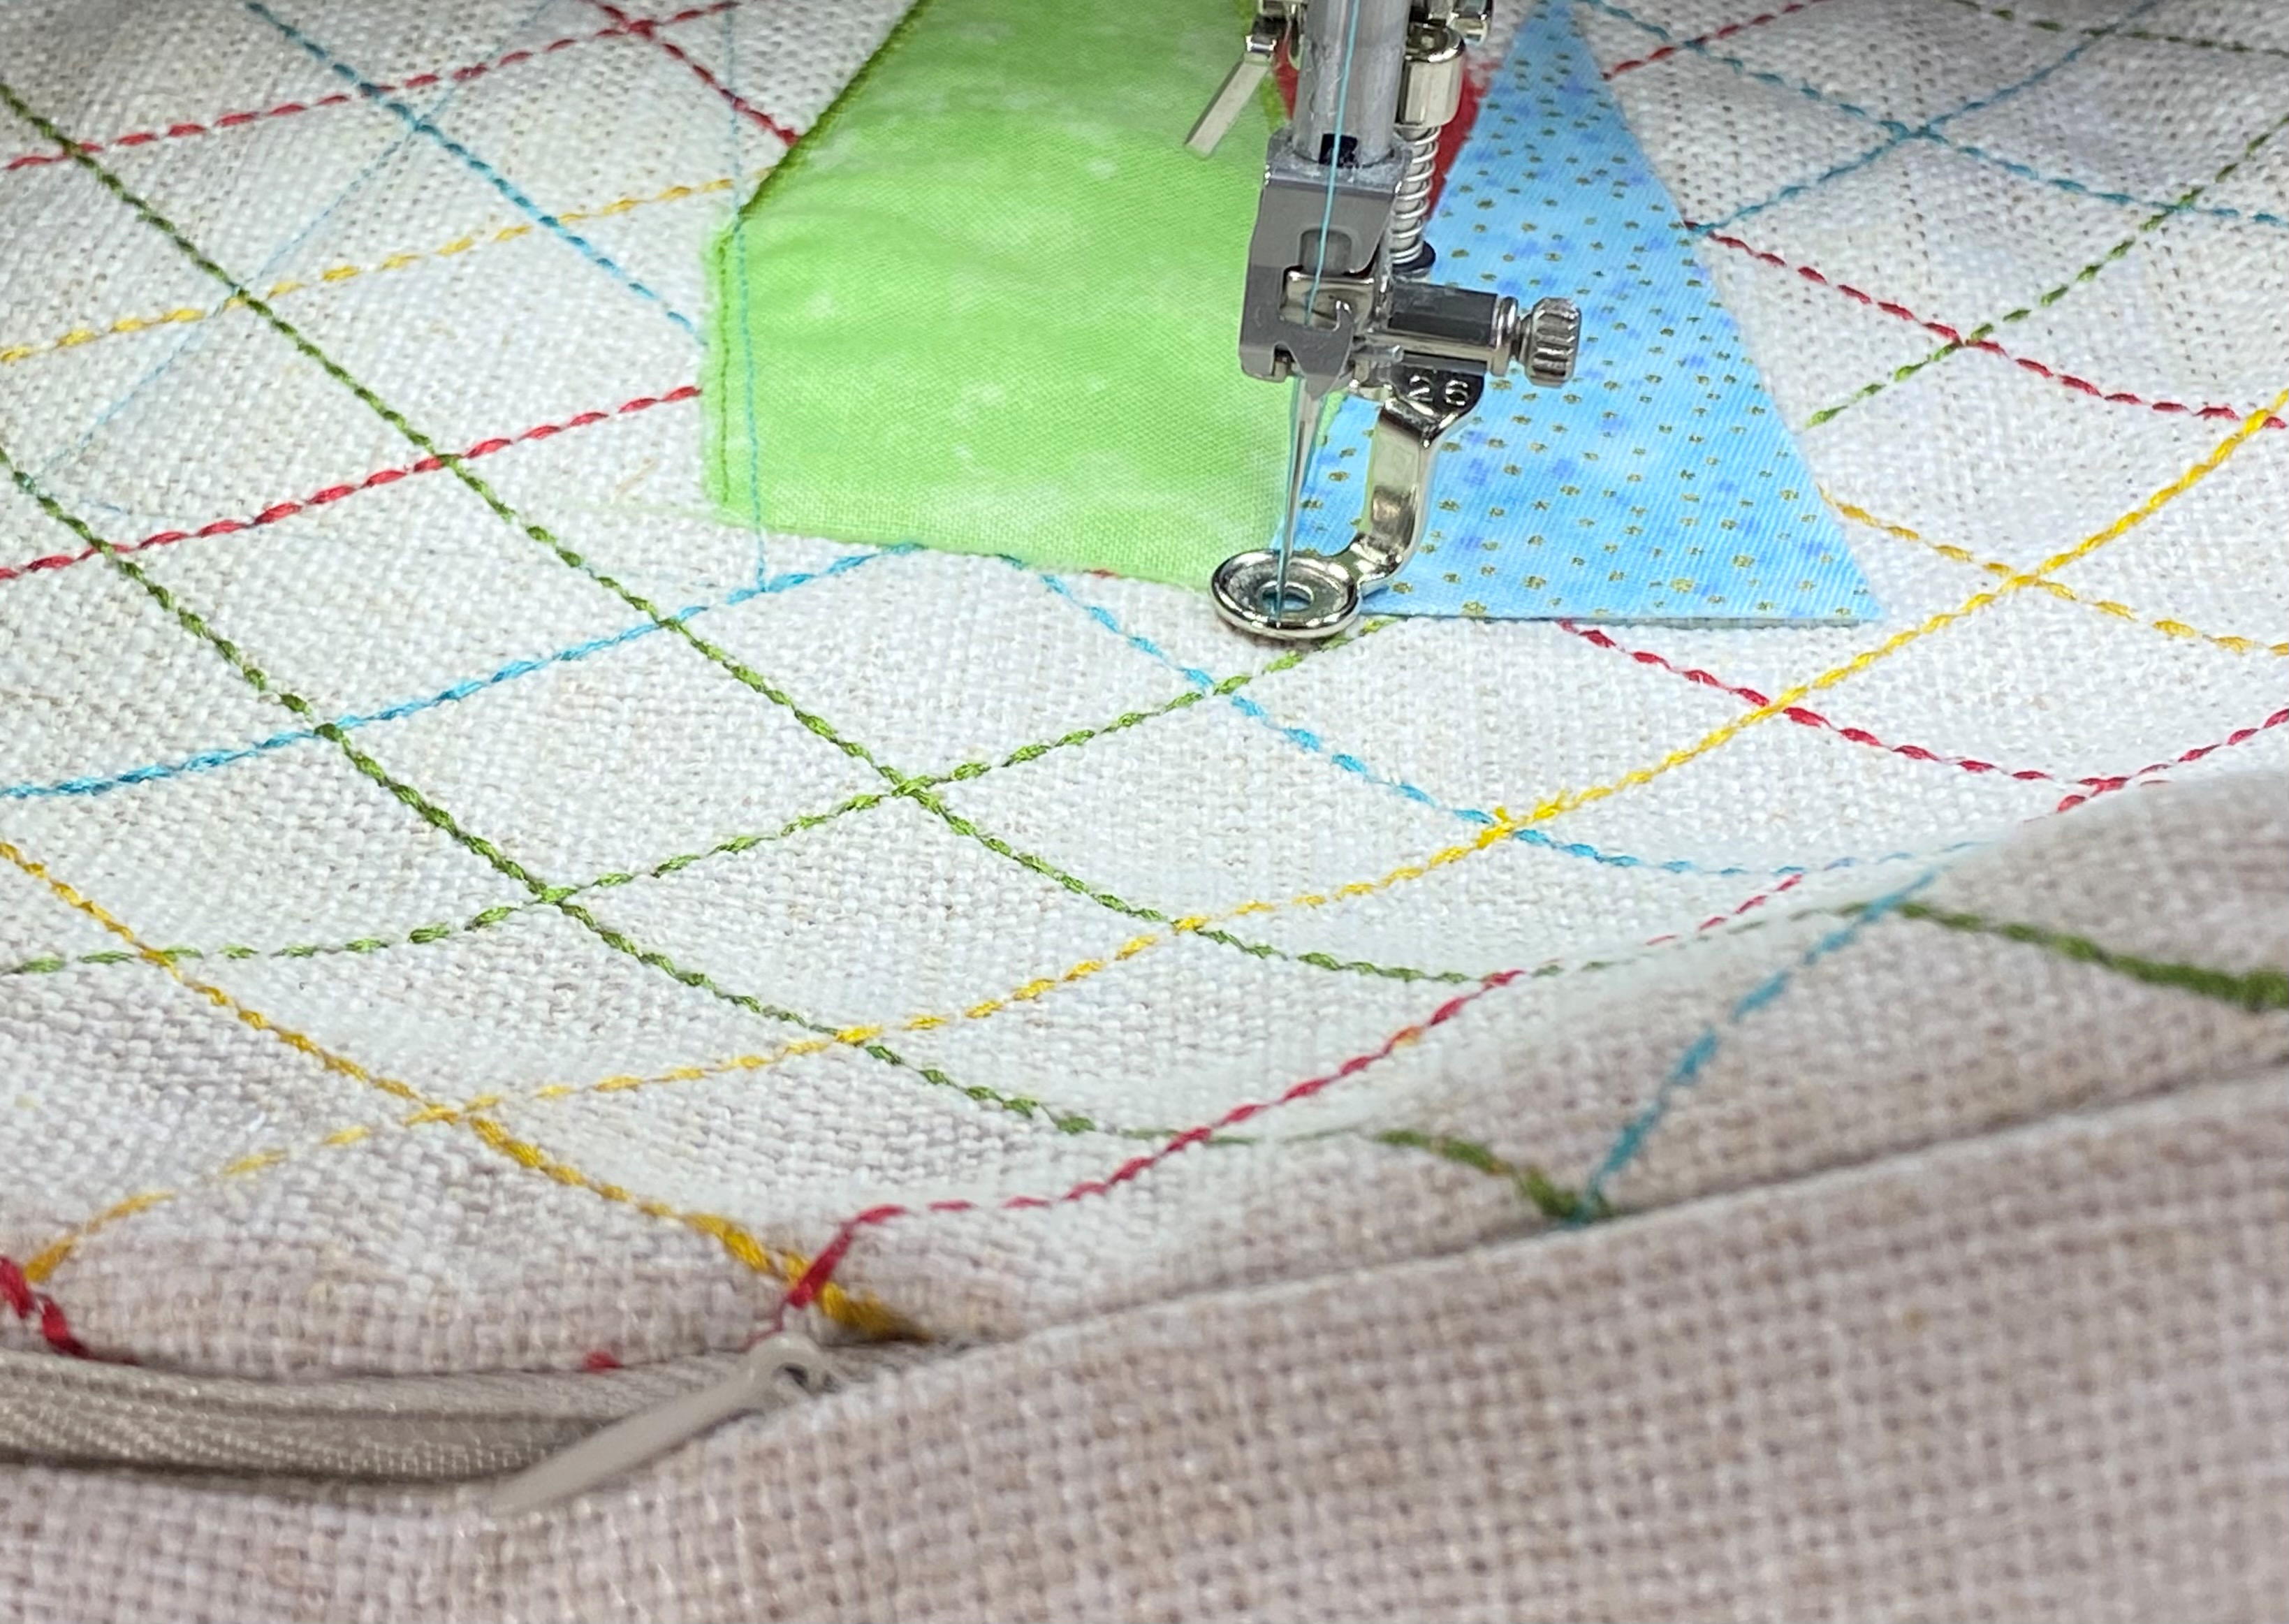
The appliqued trees have a beautiful scroll design stitched with silver metallic thread. I used Yenmet thread and a metallic needle. It is also a good idea to stitch at a slower speed when using metallic thread.
Easy Pillow Finish
Once you have finished the pillow front, unzip the zipper and place the front and back right sides together. Stitch the three open sides, using about 3/8″ seam allowances. Turn the pillow to the right side through the zipper opening. Insert a pillow form, zip it closed, and it’s finished!