
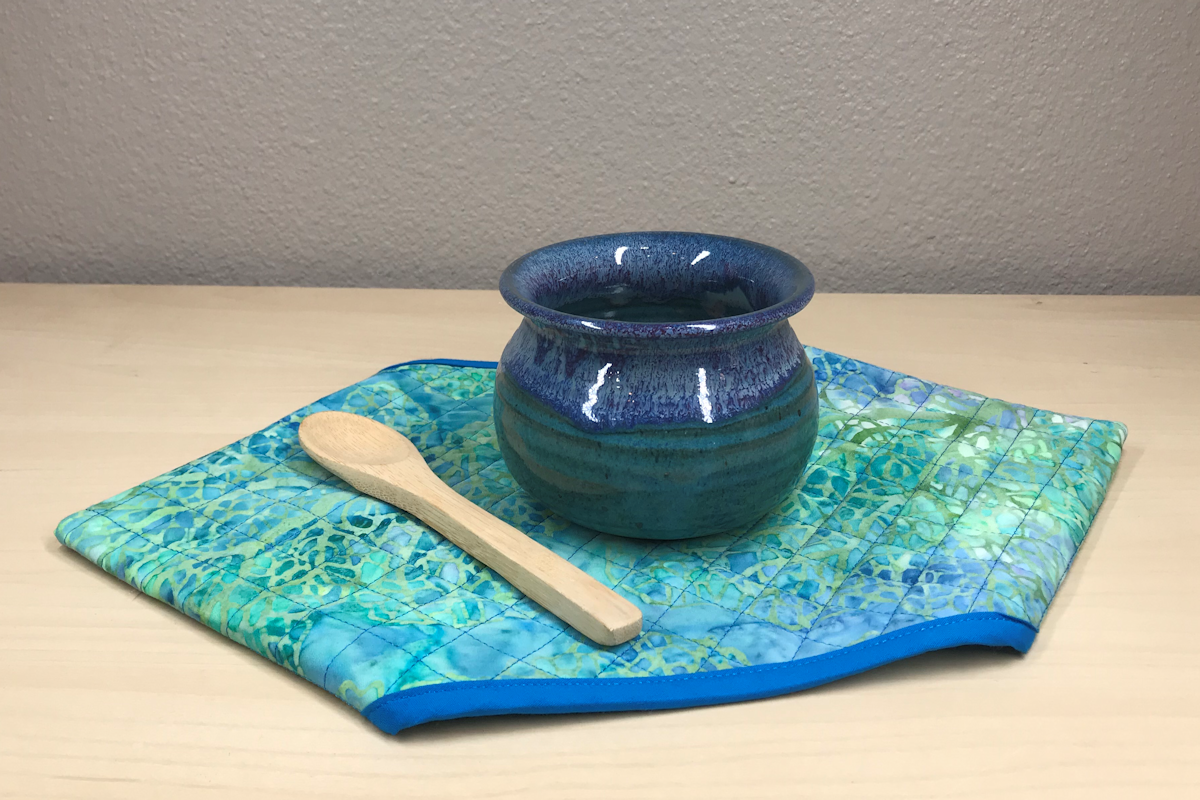
Here’s a quick project that lets you protect your table from hot dishes. This easy-to-sew Diamond Quilted Trivet is fat quarter-friendly. You can make it with just one fat quarter and a short list of additional supplies.
Finished size: 9” x 16” (from point to point)
Materials for Making the Diamond Quilted Trivet
Two rectangles of the same or coordinating fabric, 10” x 17” each
One rectangle of low-loft batting (I used Warm ‘n Natural)
Coordinating thread for quilting and construction
1 yard of double fold bias tape
Temporary spray adhesive
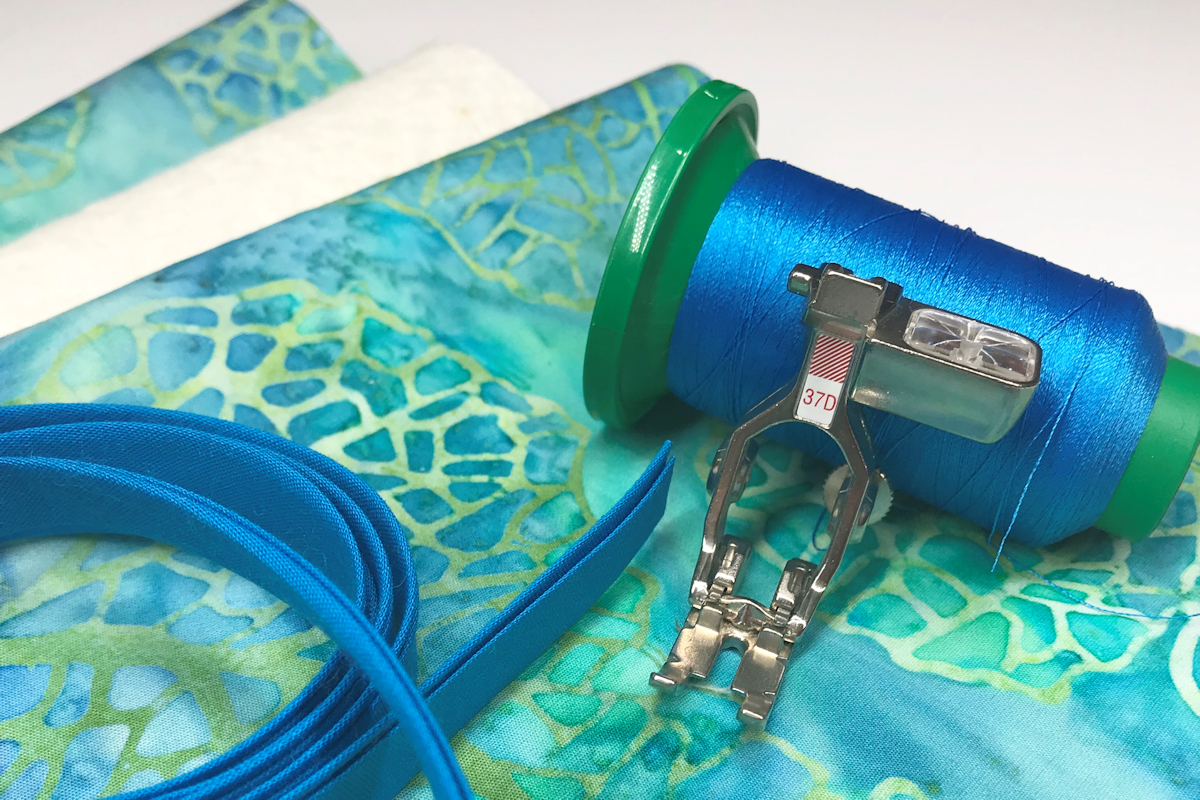
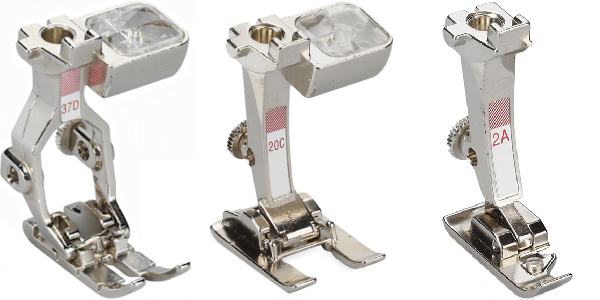
Presser Feet
Dual Feed or Walking Foot – I used a dual feed quarter inch foot with a quilting guide attached for the quilting. The lines of quilting are spaced ¾” apart.
Open Embroidery Foot – This foot makes it easy to stitch the binding in place.
Overlock Foot – Used for overcasting the final seams; these seams can be serged if desired.
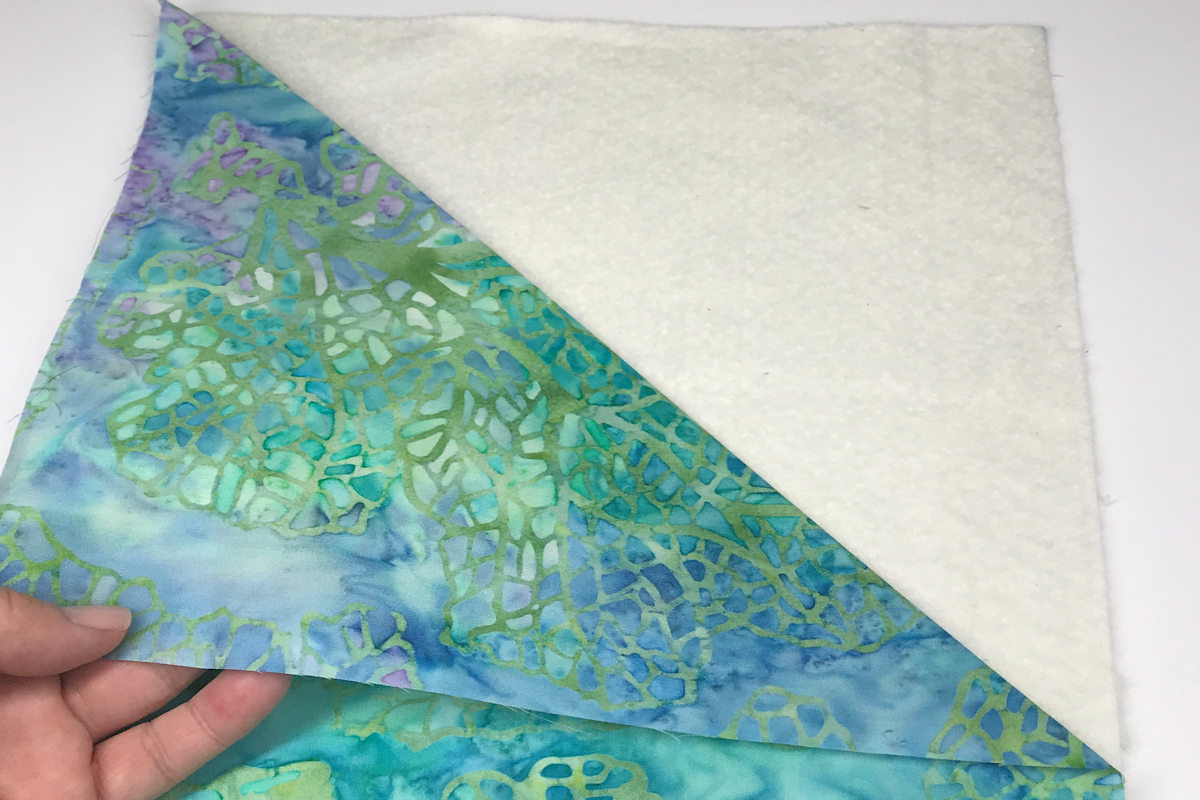
Fabric Preparation
Make a quilt sandwich with the batting between the two fabric rectangles. Use temporary spray adhesive to hold the layers together. Mark a 45° diagonal line on the fabric by folding back the corner as shown. Press the fold to crease the fabric. Mark a second diagonal in the opposite direction at the other end of the fabric.
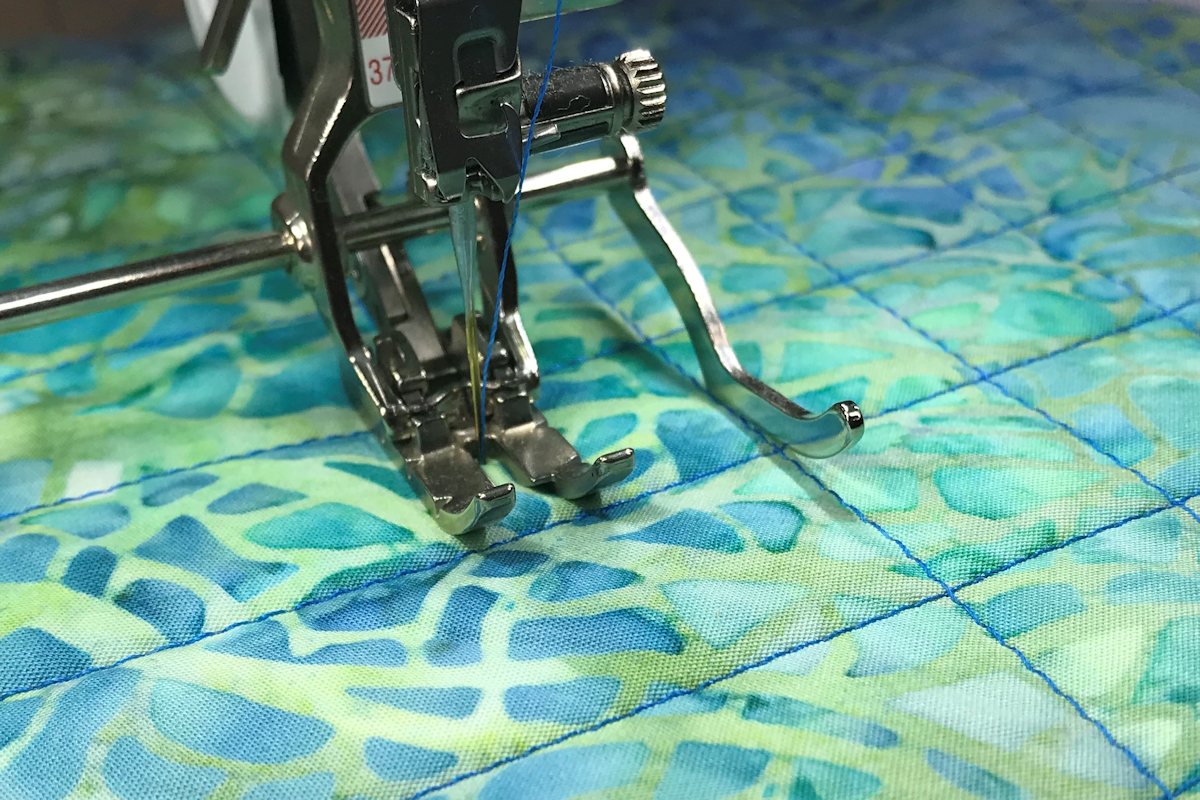
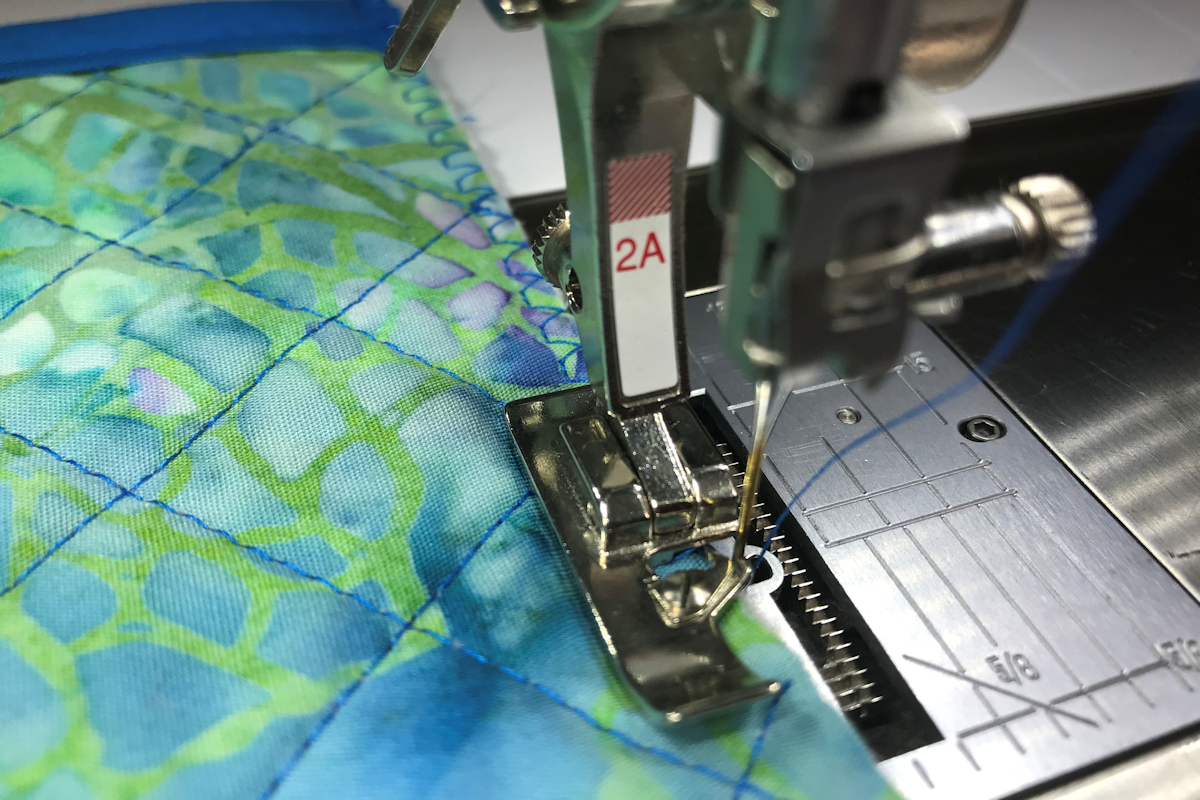
Diamond Quilting
Stitch along one of the marked diagonal lines. Place the quilting guide on the stitched line and sew a second one parallel to the first. Continue stitching in this manner until the entire piece of fabric is covered with diagonal parallel lines of stitching. Next, stitch diagonal lines in the opposite direction to complete the quilting. Trim the quilted fabric to 9″x 16 ½”.
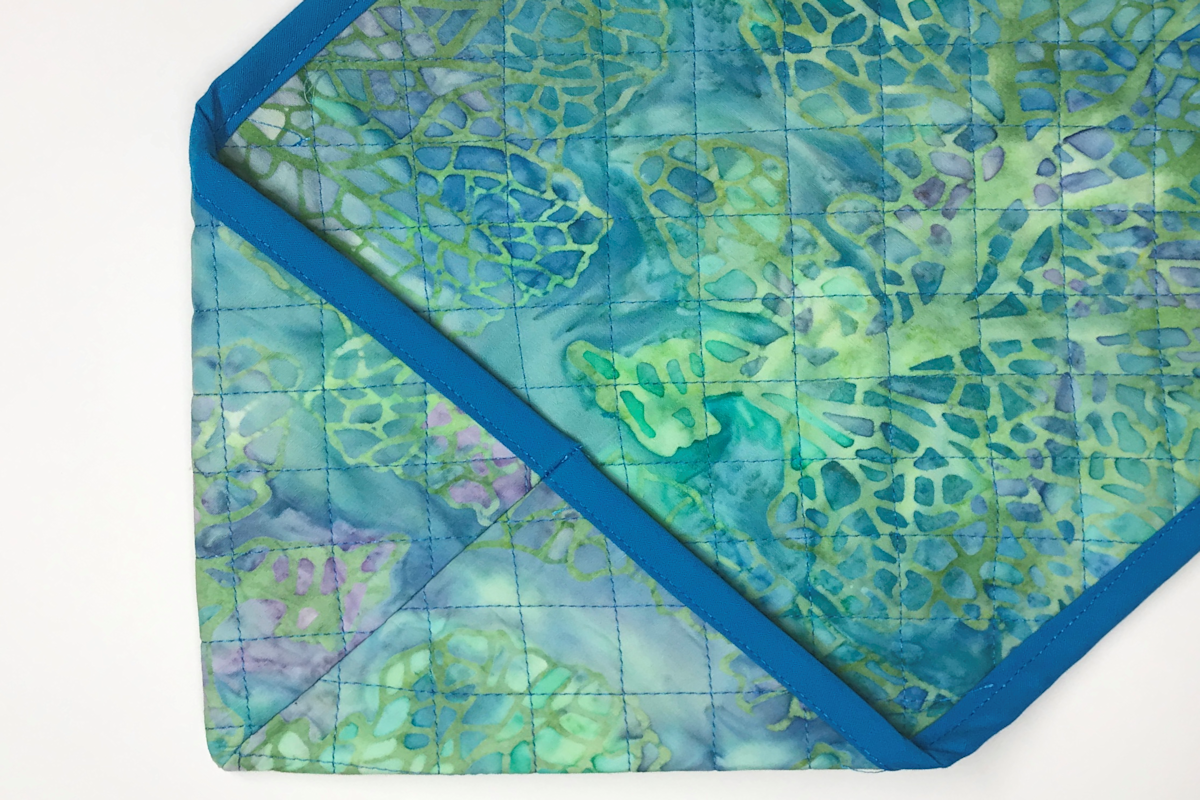
Binding
Attach the open embroidery foot to the machine. Cut the binding into two 18” pieces. Place one long edge of the trivet into the fold of one of the pieces and use pins or clips to hold it in place. Position the binding under the presser foot and adjust the needle position to stitch on the edge of the binding. Sew the binding in place and trim any excess at the ends. Repeat for the opposite side of the trivet.

Final Seams
Attach the overlock foot to the machine and select an overlock stitch. Fold the trivet in half lengthwise with right sides together. Stitch the seam at each end.
Turn the finished trivet to the right side and use a chopstick or knitting needle to push the points out. The seams are now on the back of the pointed ends of the trivet.
You can change the size by starting with a larger rectangle for a larger trivet or a table runner.
Join the Sewfeet Community!
Click here to sign up for our newsletter and join the Sewfeet Community! Once a month, I’ll send you sewing tips and let you know about new blog posts so you can keep up with all the fun things I want to share with you. Thanks for stopping by and I’ll “see” you soon!
![]()
