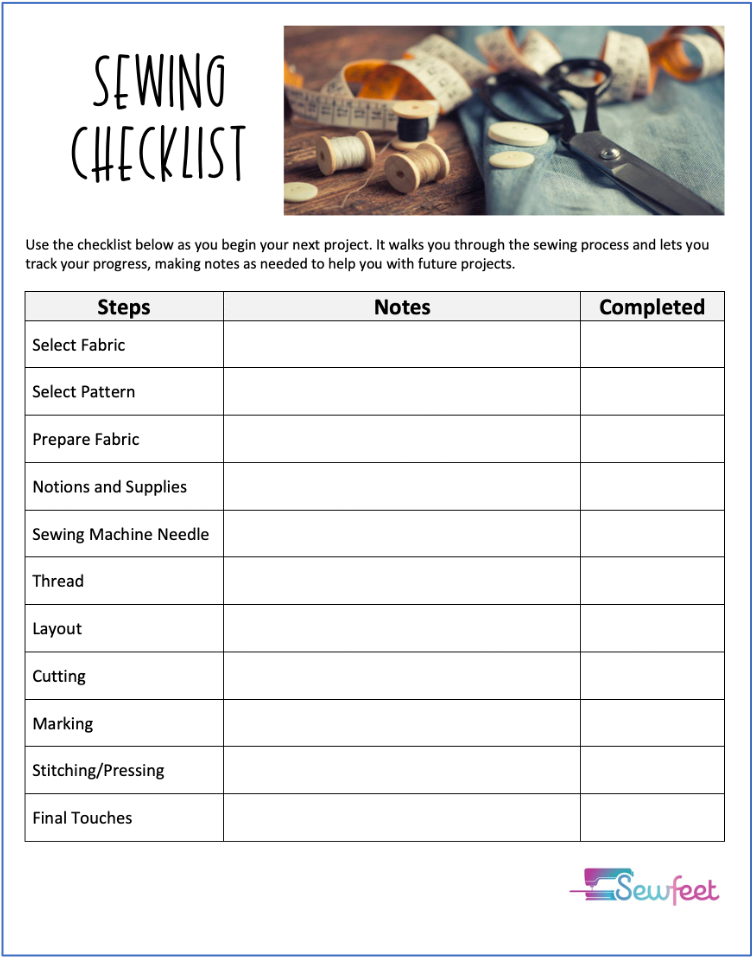
One of the things that most new sewers and non-sewers don’t understand is the amount of time you spend getting ready to sew. In fact, there are some projects (usually simple) that the actual stitching part takes the least amount of time. In the early years of my sewing journey, I was often frustrated with the prep and eager to get to the sewing part because that’s what takes you to the best part – admiring and using the finished project. Over time, I began to embrace the entire process, enjoying it from the initial idea to the final stitch (even the “un-sewing” part). In this post, I want to look at the sewing process, focusing on all of the steps involved. Click here for a free downloadable checklist that can help you plan, prep and finish your next project.

Which Comes First – The Pattern or the Fabric?
It’s hard to say. You may be inspired by a beautiful fabric and are motivated to find a pattern that works with it. Or you may have a great jacket pattern and need to look for a suitable fabric. But, either way, it takes time to pair a pattern with the perfect fabric. Sometimes you can do this with a quick trip to the fabric store (or a short browsing session on the Internet) but often it may take several shopping trips, looking at hundreds of fabrics and patterns to find the best combination. 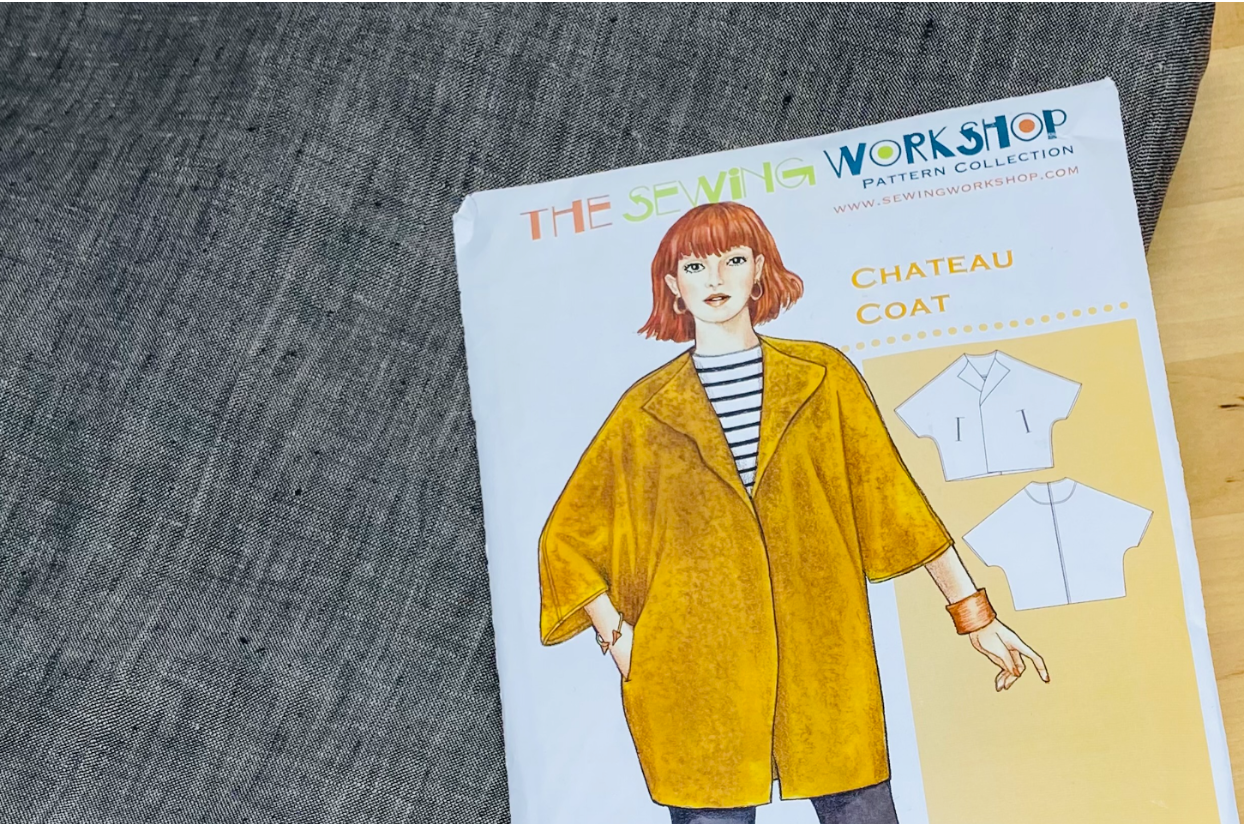
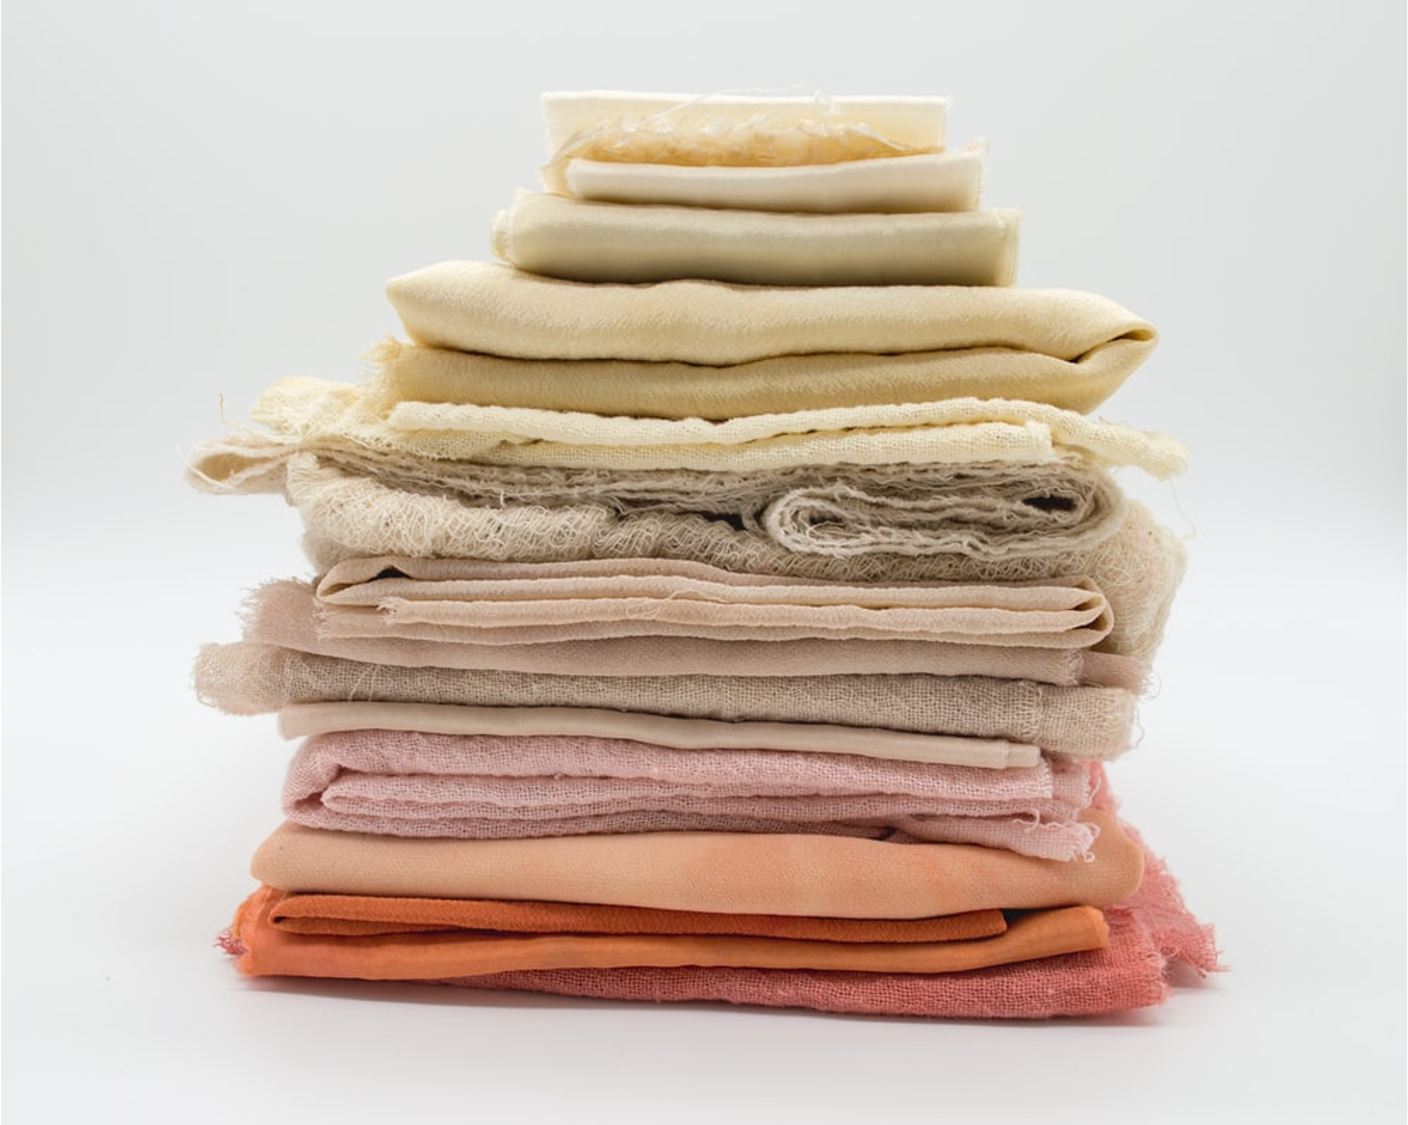
Needle-Ready Fabric
The term “needle-ready” means that the fabric is prepared for stitching. This refers to different things for different fabrics and also for different patterns. In general, you want to treat the fabric the way you plan to launder and care for the finished project. If sewing garments, you should wash/dry or dry clean to suit the fabric. This takes care of any possible shrinkage so the garment will still fit you after the first wash. Many quilters pre-wash their fabrics to take care of shrinkage and color bleeding. Other quilters like to stitch unwashed fabric because they love the wrinkled, vintage look a finished quilt has after the first laundering. Some patterns are for items that may never need to be washed or can be spot cleaned so there is no reason to prep the fabrics being used. So, you make the decision for your particular fabric and pattern.
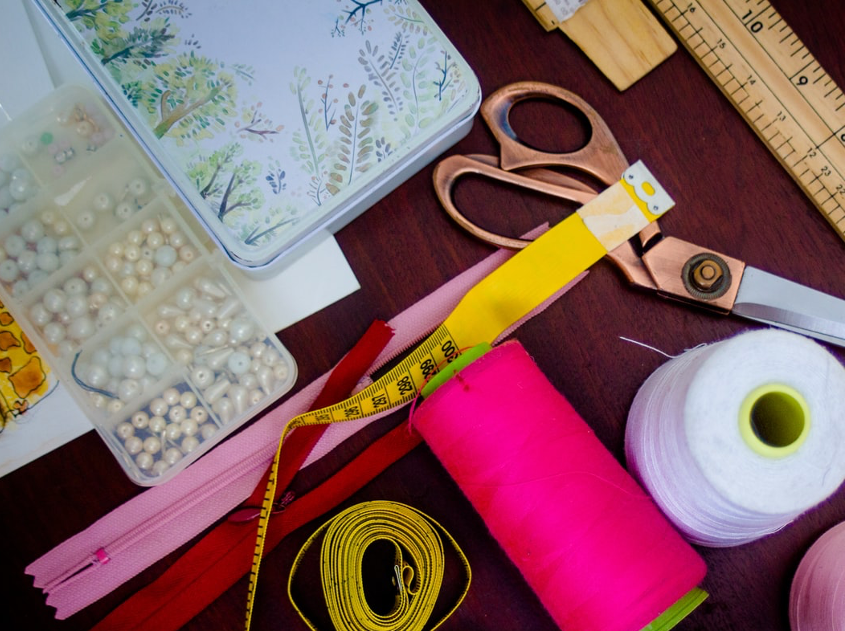
 Notions and Supplies
Selecting the fabric and pattern is just the first step. Most projects require other items that you should gather at the beginning of the process, so you don’t have to stop in middle, losing your sewing momentum. Notions such as zippers, buttons, interfacing and batting are just a few of the items you may need. The list of notions needed is usually included in the pattern instructions. This is also a good time to gather the tools you need such as straight pins, fabric markers, scissors, etc.
Sewing Machine Needles
The type of needle you need depends on the fabric you are sewing. A Sharp needle is good for piecing, topstitching, and any task that requires precision stitching. A Universal needle has a slightly rounded point and works well for woven fabrics and most knits. The point of a Ballpoint needle is more rounded so it can slip between the loops of knit fabric without making holes.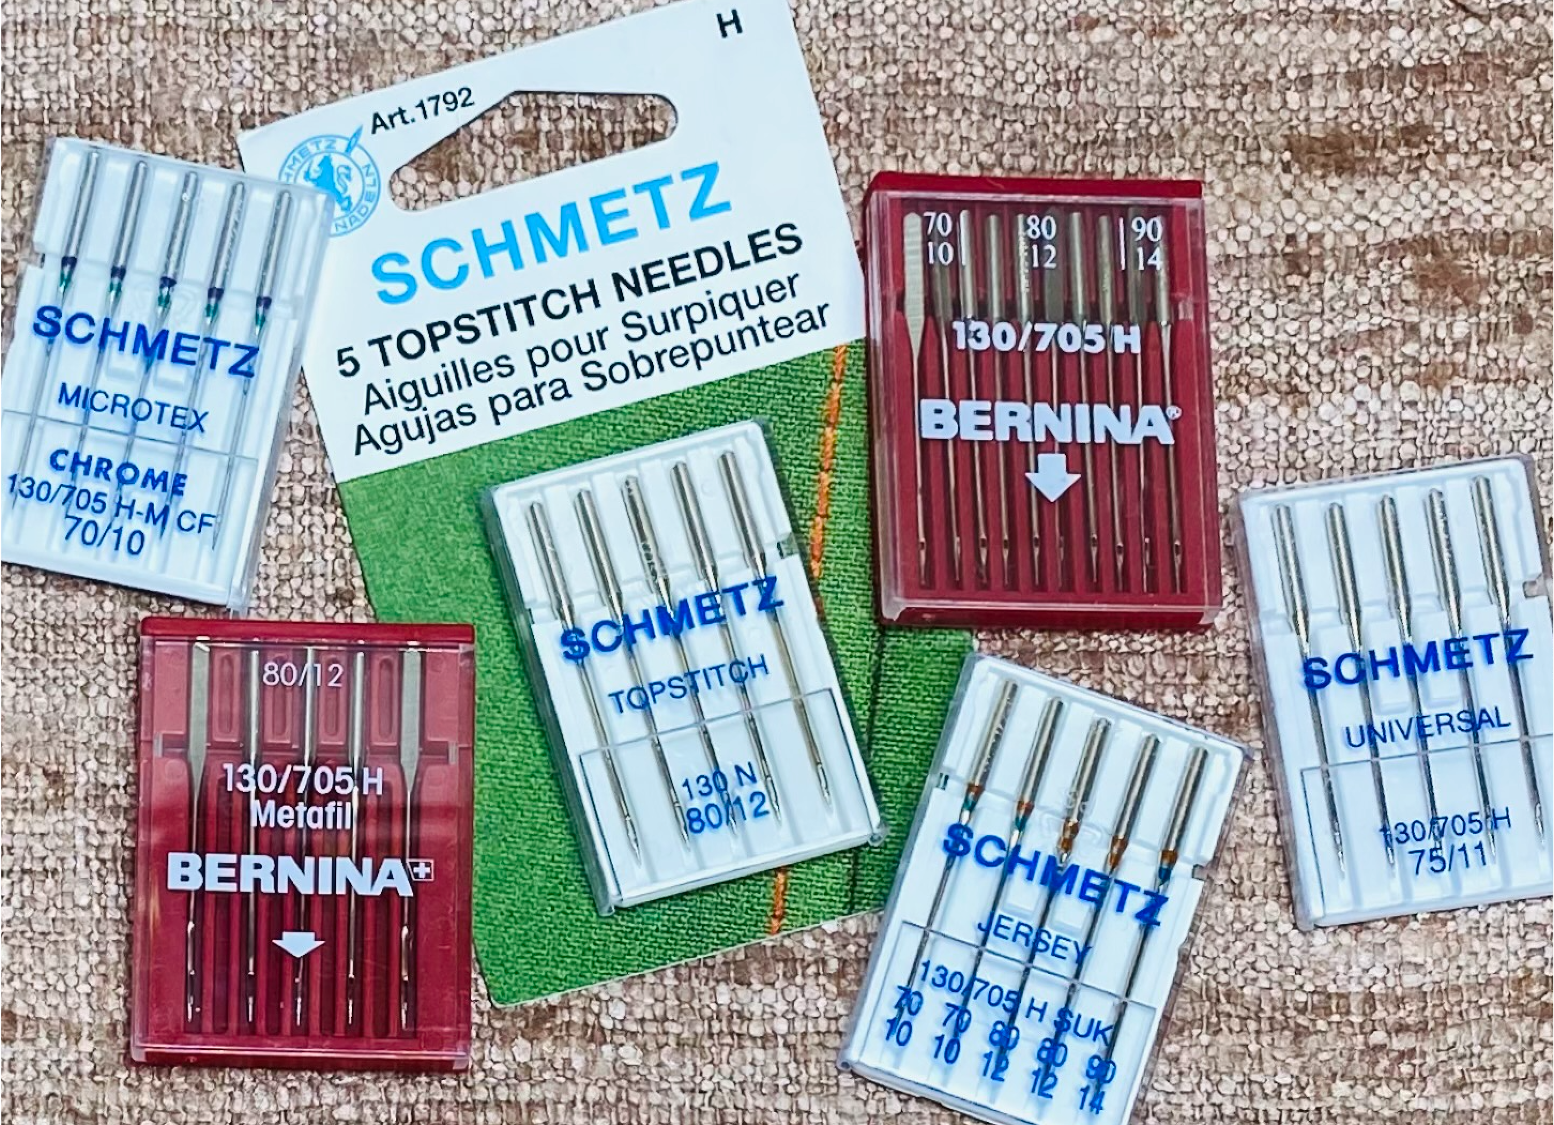
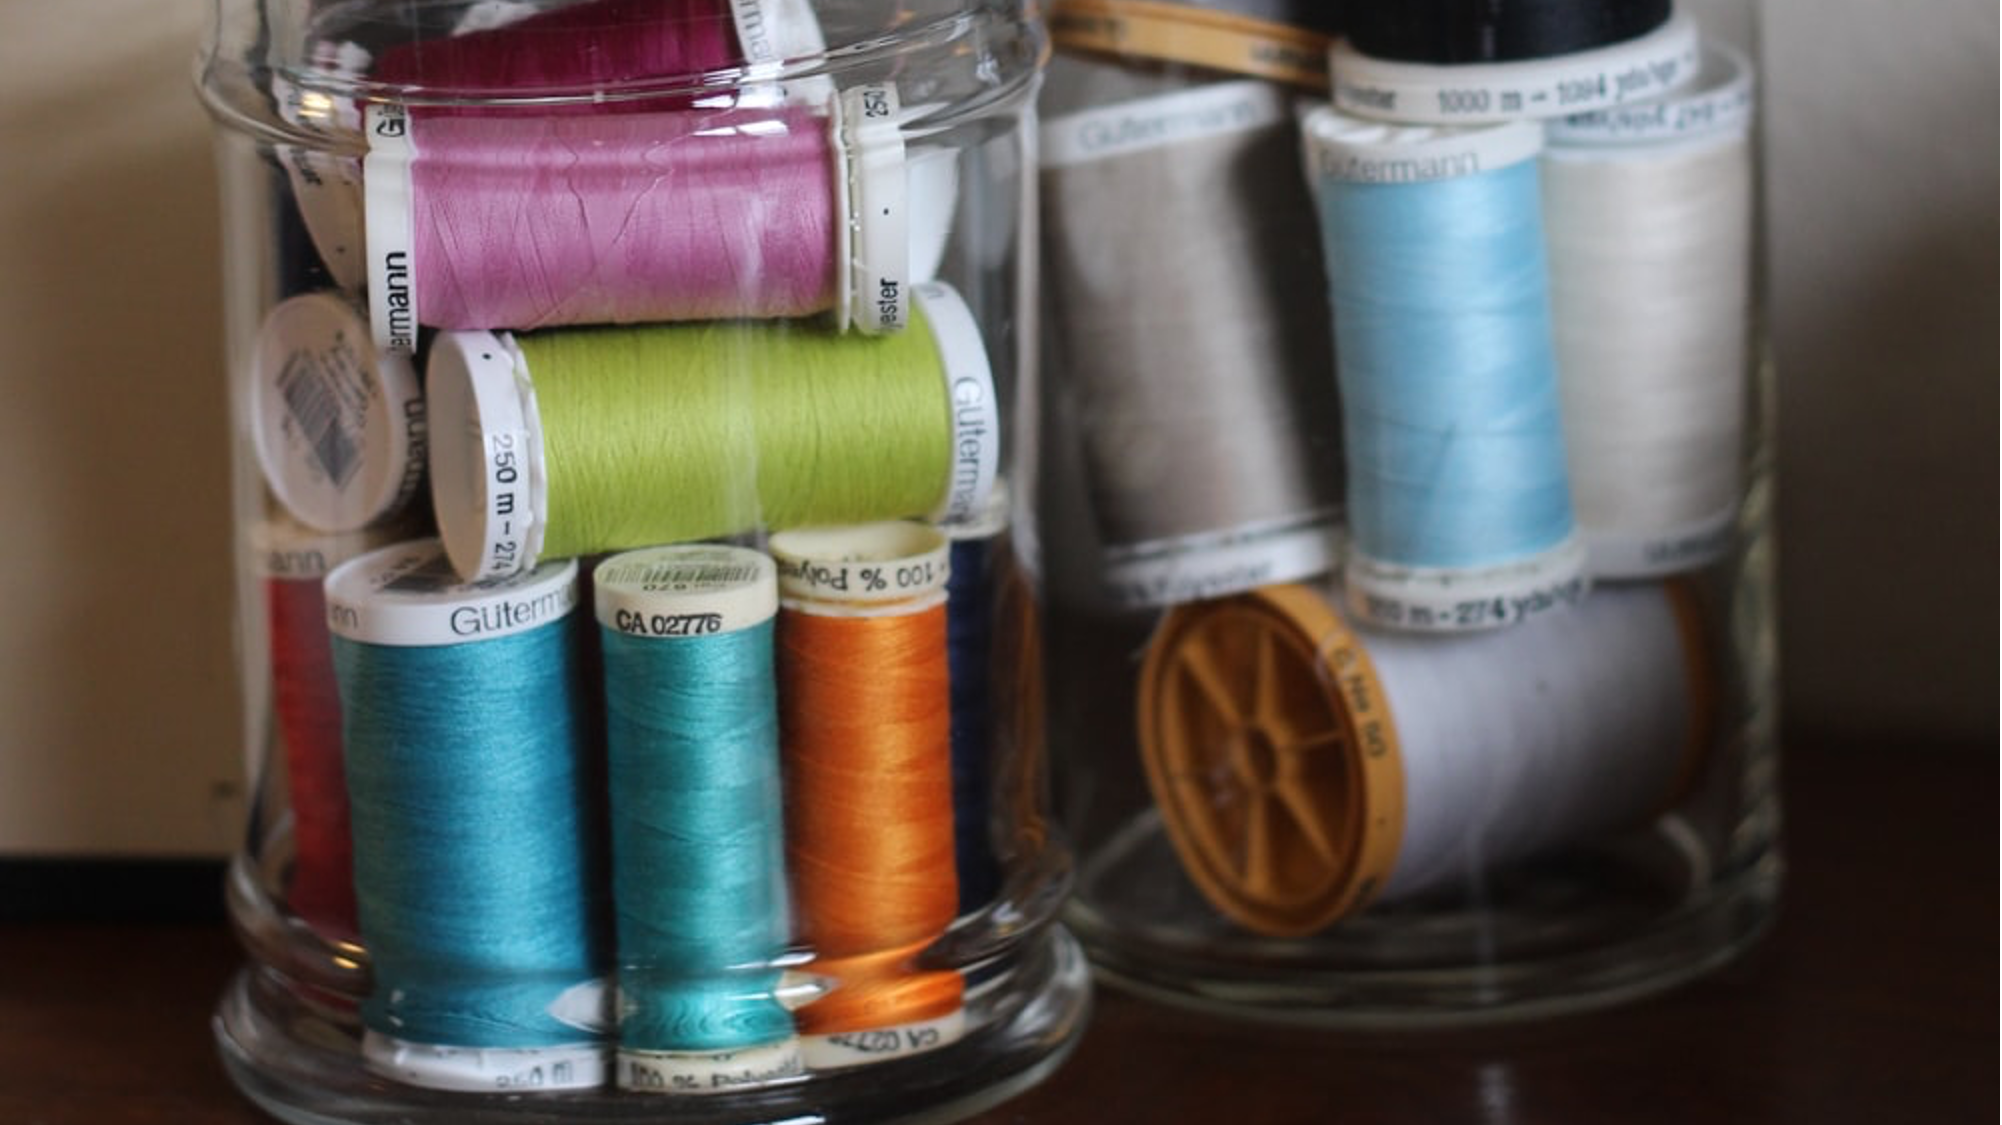
Thread
Decide the type and color of thread needed for the project. You may need more than one type. A strong polyester for construction, a shiny rayon for topstitching, and a lightweight thread for the bobbin are just some of the options.
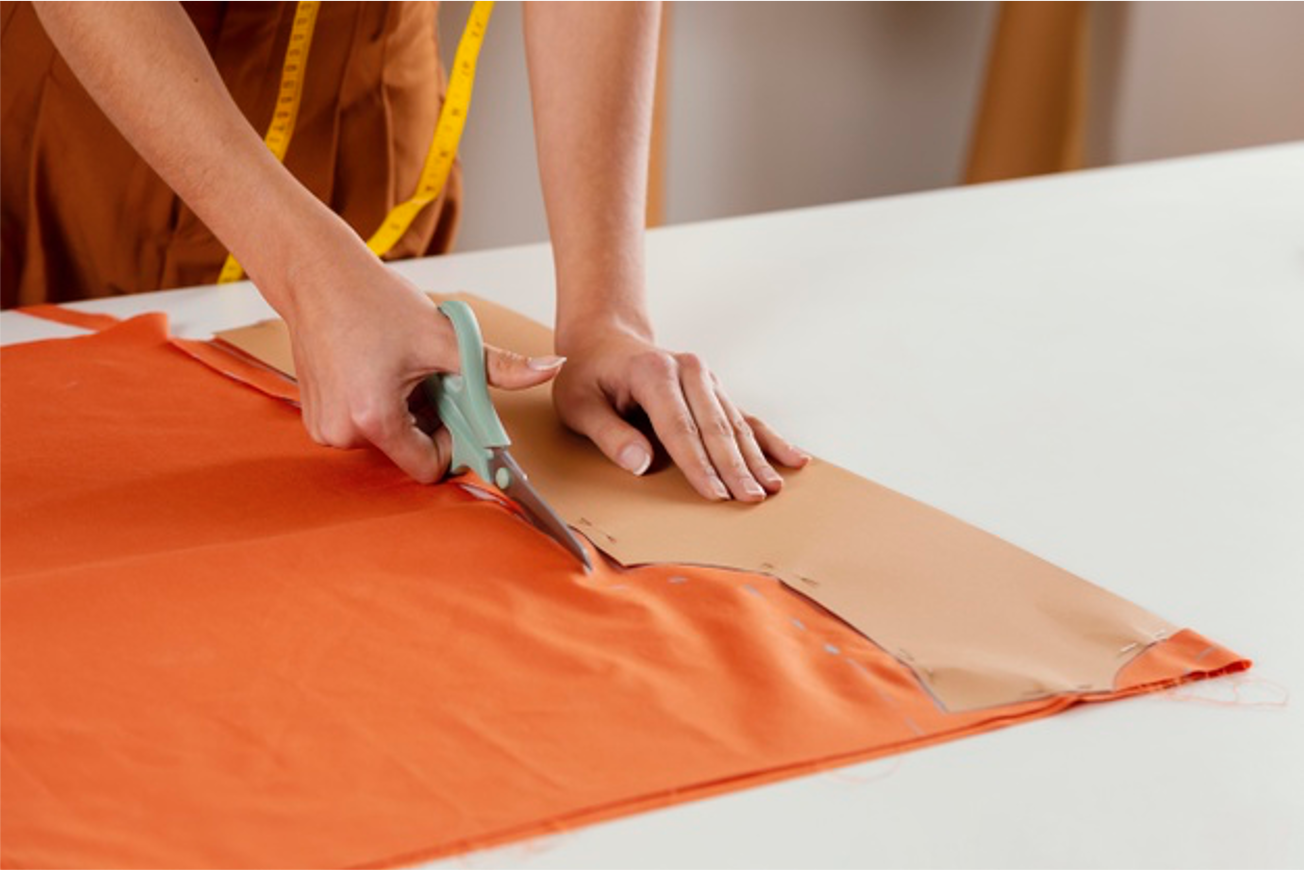
Layout/Cutting
Arranging the pattern pieces on the fabric and cutting them out gets you one step closer to sewing. The pattern usually has diagrams and directions that show the best layout for the pattern pieces. Pay attention to the grainlines of the fabric. Most pattern pieces are placed on the lengthwise grain, especially important when you are making clothing. If you are using a napped fabric, make sure the pattern pieces are all placed in the same direction.
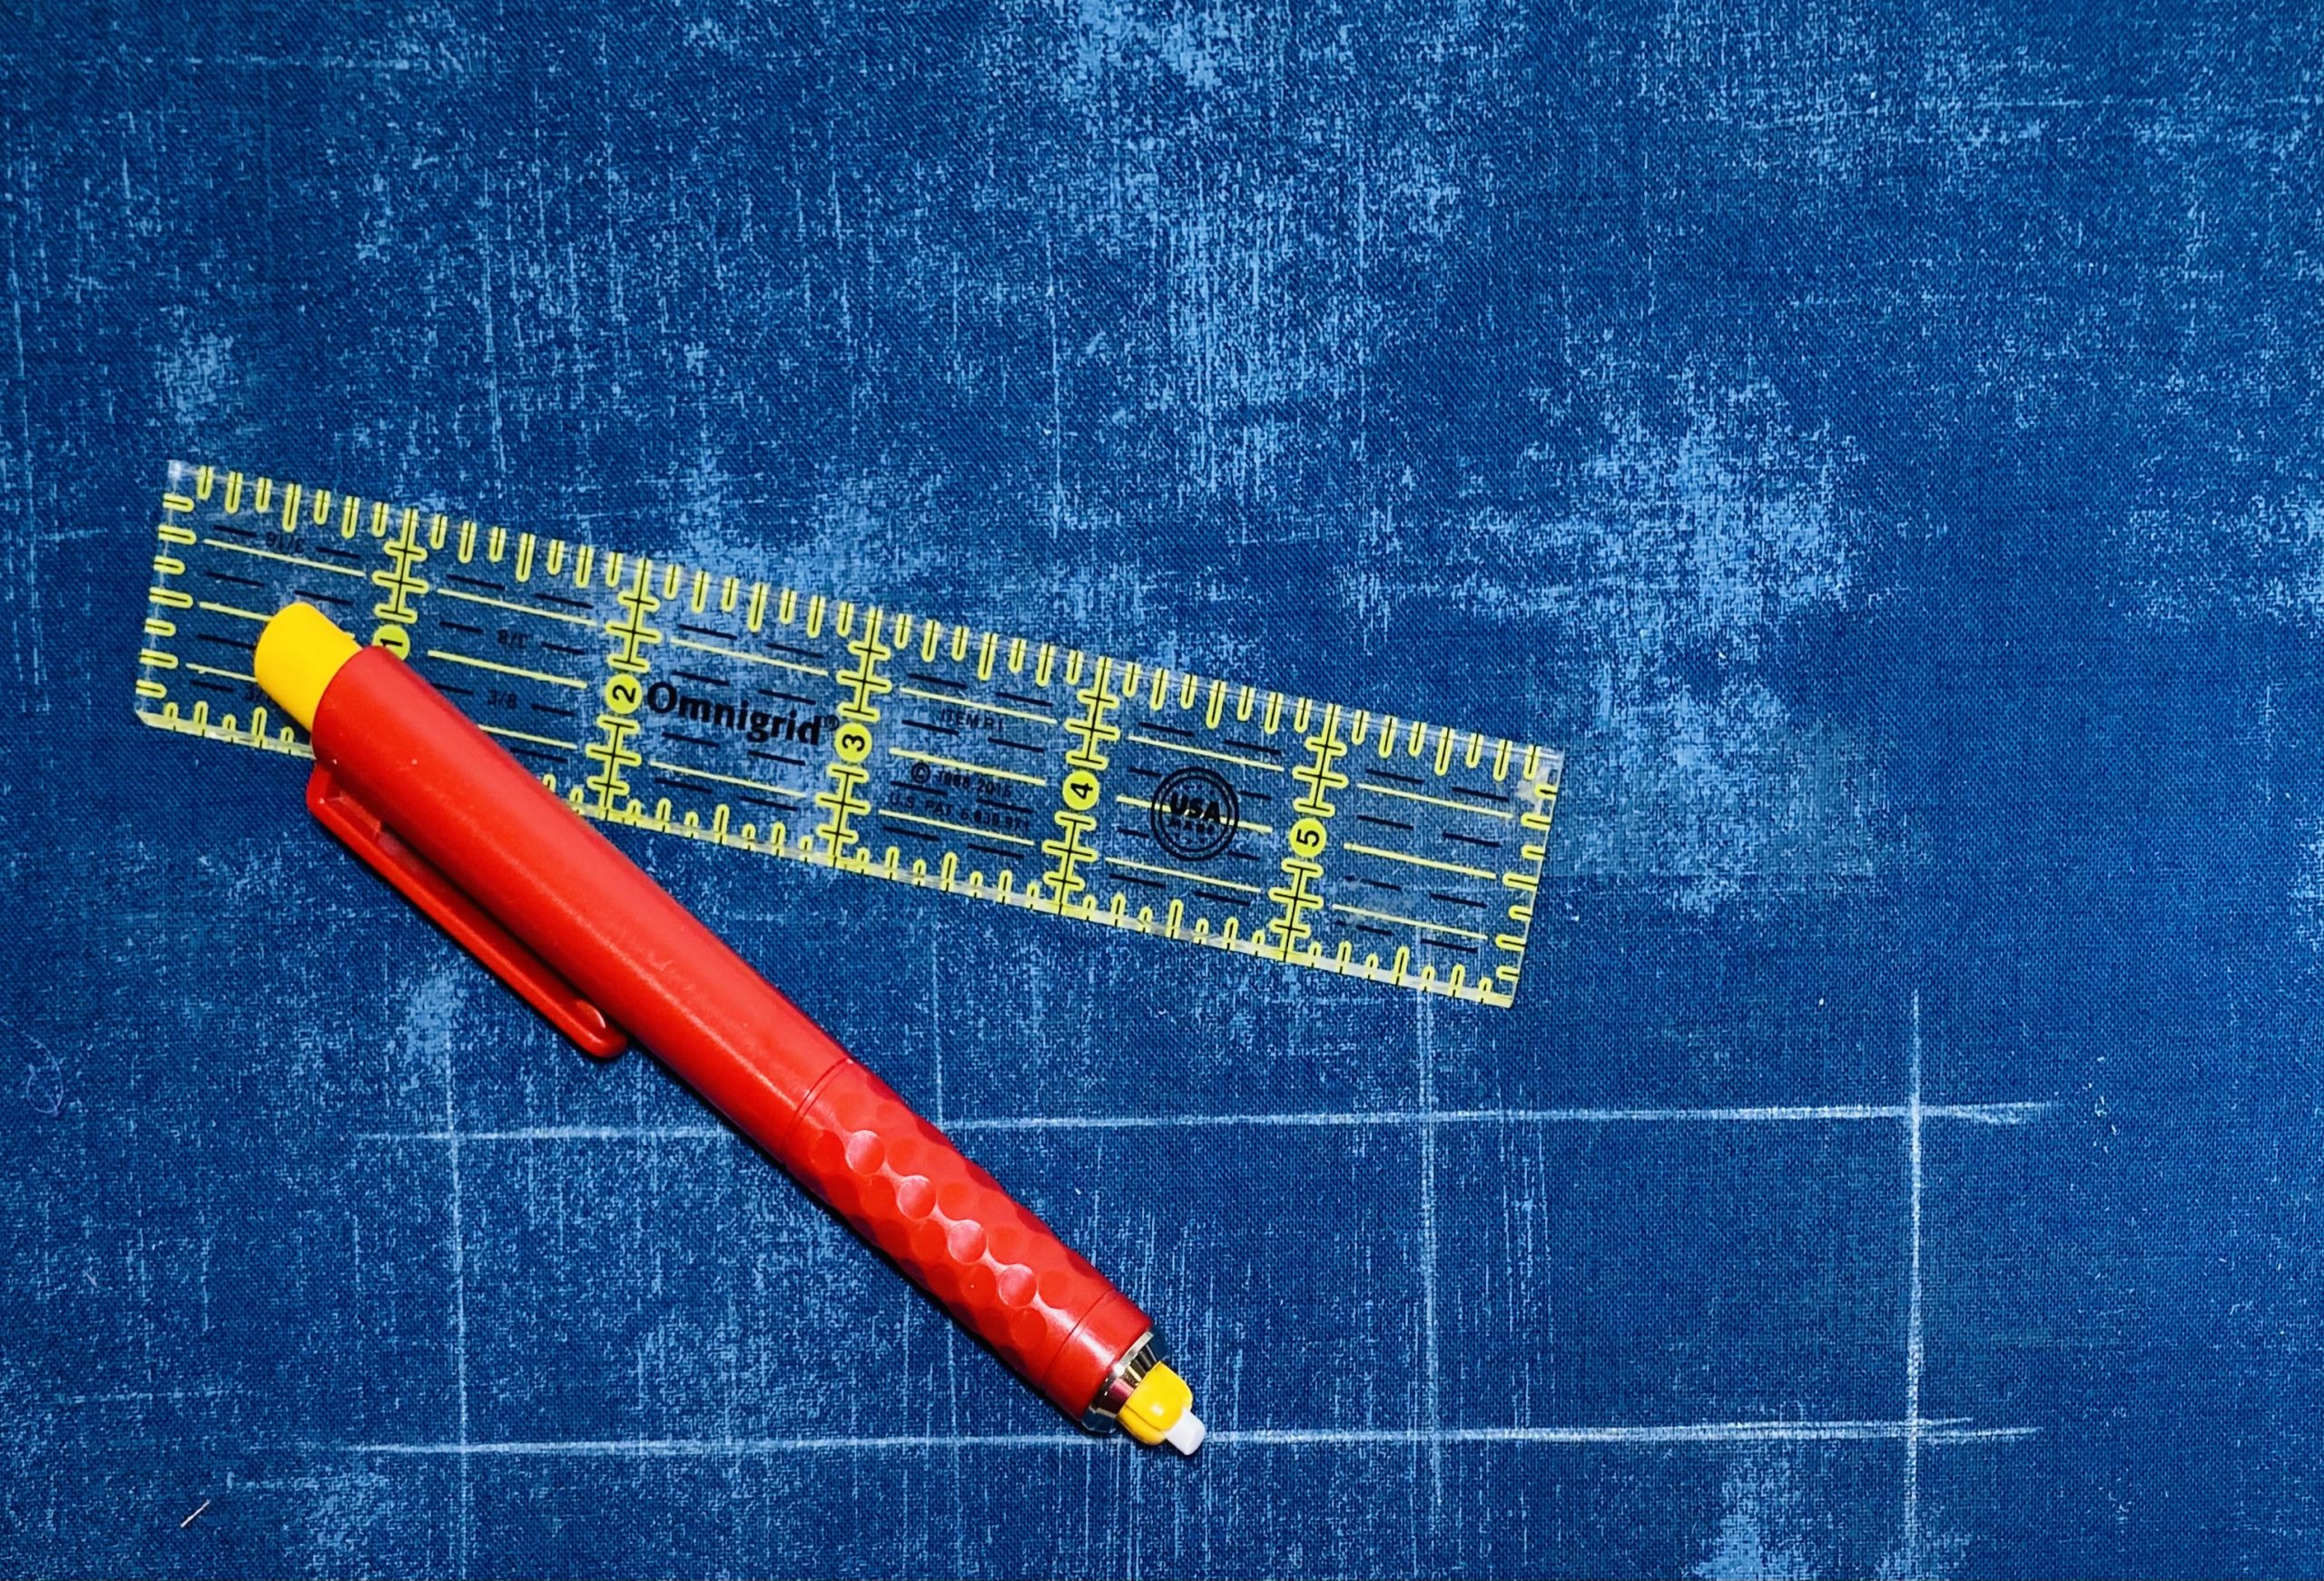
Marking
Once the pattern pieces are cut, transfer any needed markings from the pattern pieces to the fabric. Darts, pocket placement, buttons, and buttonholes. The most common types of markers are water-soluble and air-soluble pens. Dressmaker’s chalk or chalk pencils are good choices, also. No matter which types of marking tools you select, make sure you test them on your fabric for visibility, clean lines, and easy removal.
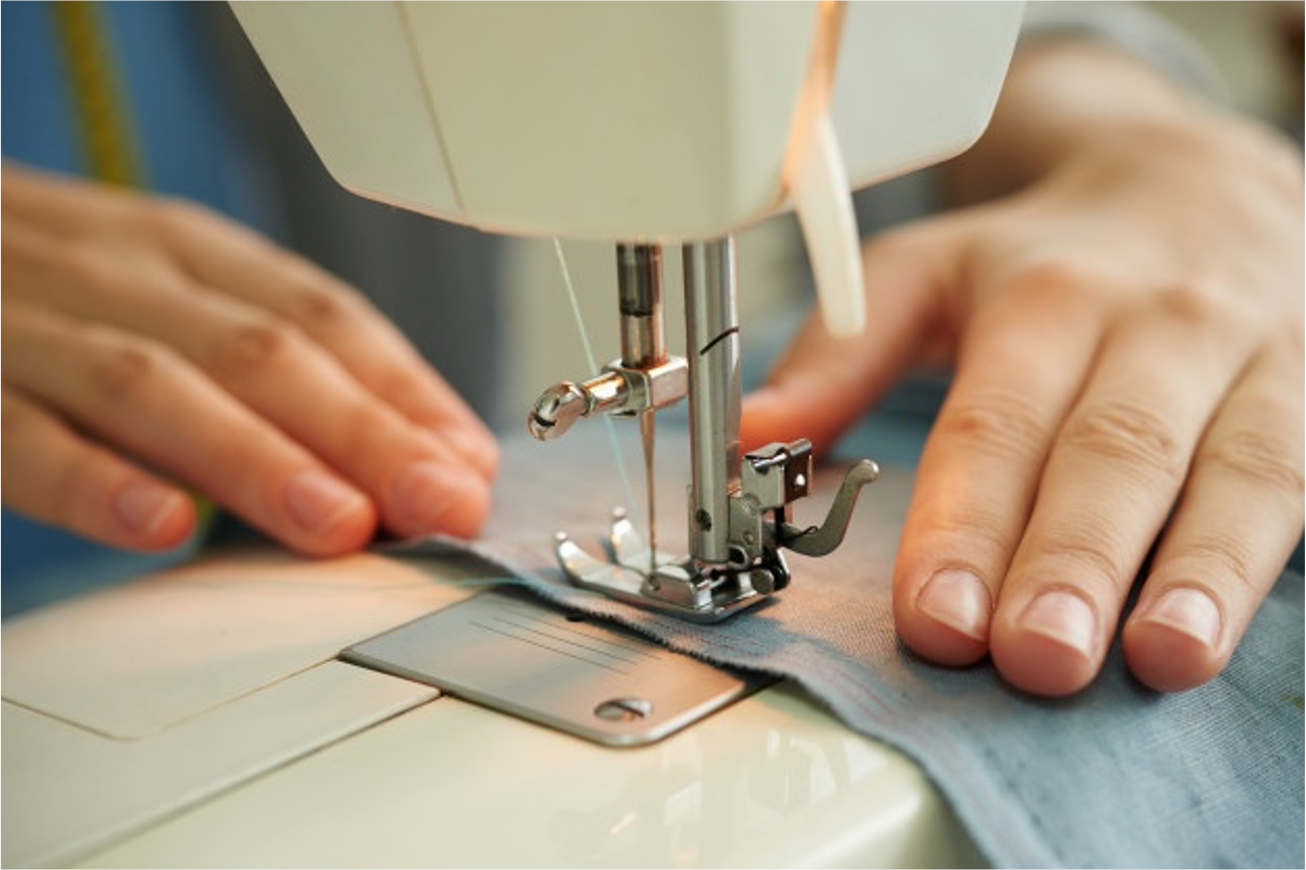
Stitching/Pressing
You’re finally ready to sew! Following the pattern directions, stitch the fabric pieces together, making sure that you press as you go. Of the many steps in the sewing process, pressing is the most important. It can make the difference between homemade and professional-looking results. This part of the process may also include a bit of “un-sewing”, using a seam ripper. Even though this can be a bit tedious, it can make you a better sewer because as you deconstruct, you’ll see your mistakes and know to avoid them in the future.
Finishing Touches
The final touches usually involve techniques such as topstitching, hemming, and attaching buttons or trim. Once you have these items finished, your project is finished and then you can get on to the next one! Click here for a free downloadable checklist that can help you plan prep, and finish your next project.