
It’s a new year and we all have a chance to start over! Did you make New Year’s resolutions for 2020? Even though I rarely make it past February with my plan for a new me, I still try to make resolutions for improving myself and my surroundings. One that I make almost every year is to be more organized, more thrifty and more intentional in my sewing space. It’s an ongoing battle but I like to feel that I take two steps forward for every step I take backward, so eventually I’ll get there.
One small (sort of) area of my sewing space is fabric. In the scheme of things, my stash really is fairly small, but it is still a challenge to keep it under control. Lately, I’ve been thinking about my sewing space in general and it occurred to that it’s not that I need more room or to be better at organizing my stuff – I just need less stuff! I know it’s hard to get rid of what we have but really, how many red fabrics do we need, and do we actually use all 9 pairs of scissors?
The 20/20 Rule
Recently, I read some words of wisdom that spoke to me (I saw this on the Internet, so I know it’s true, “wink, wink”). “If you can replace something in 20 minutes for under $20, you don’t need to store it in your home (or office).” So, that’s my mantra for 2020 – hey, It’s the 20/20 Rule! – about my sewing space. I’ll be looking at everything I have and evaluating how much I use it, how much it costs, and how quickly I can replace it if and when I need it.
Now, back to my fabric stash. I don’t plan to give it away, throw it out, or donate it to someone who sews. Well, I may do some of that but mostly what I plan to do is use it up, including the scraps, small pieces and fat quarters. When I need fabric for a project, I will shop my stash before heading out to the fabric store. When I feel like sewing but have no particular project in mind, I’ll let my stash inspire me, and when I have leftovers, I will come up with fun ways to use them.
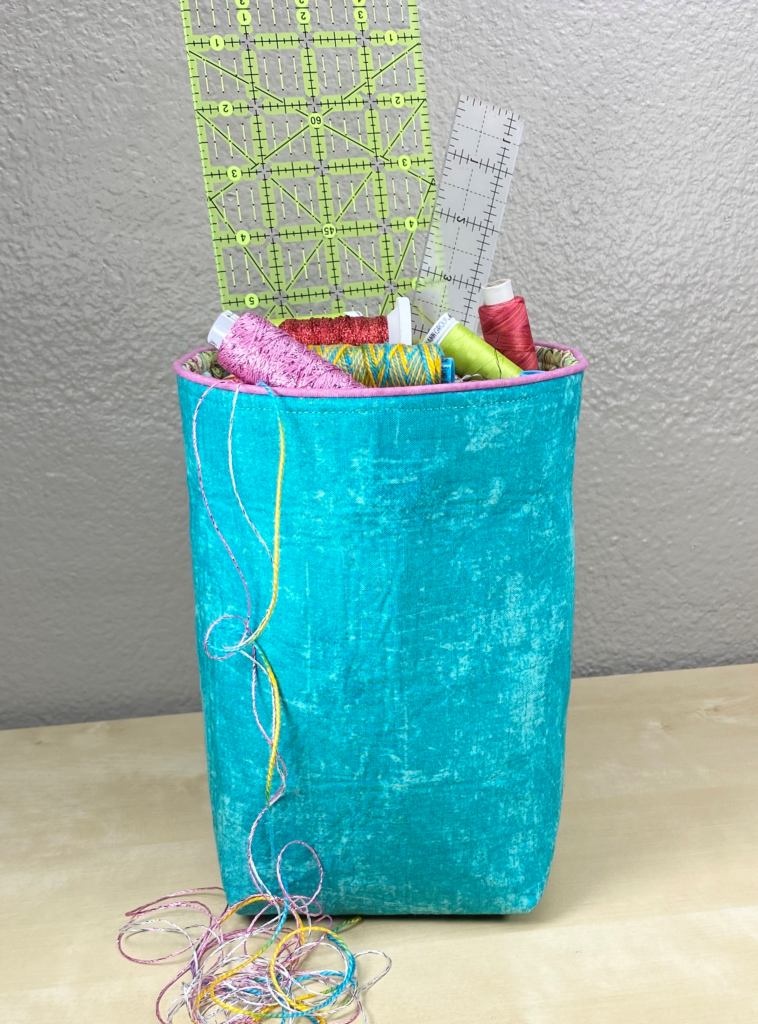
With that in mind, I have a project that does double duty – it uses up fat quarters and small pieces of fabrics I have on hand and it’s is easy to make! This organizer bucket is a great way to corral small items in my sewing space such as tools, gadgets and specialty threads.
Organizer Bucket
This simple fabric organizer bucket is fully lined and has mini piping in a contrasting color that defines the upper edge. The one I made is about 8” tall. But you can make it shorter or taller by changing the height of the starting rectangles.
Supplies for One Organizer Bucket
- Outer Fabric: 2 pieces of firmly woven fabric, 11” x 12” (This can be anything from quilting cotton to denim or heavy linen)
- Inner Fabric: 2 pieces of firmly woven fabric, 11” x 12” (Use quilting cotton for this)
- Heavy Fusible Interfacing: 2 pieces, 11” x 12”
- Mini Piping for Upper Edge: ⅛” filler cord and 1 strip of bias cut fabric: 1¾” x 22”. I often use roman shade cord – easy to find in the home dec section of a fabric store.
Presser Feet
The presser feet I used for this project, Clear Foot #34/34C/34D, is an all-purpose foot that works for most general sewing techniques.

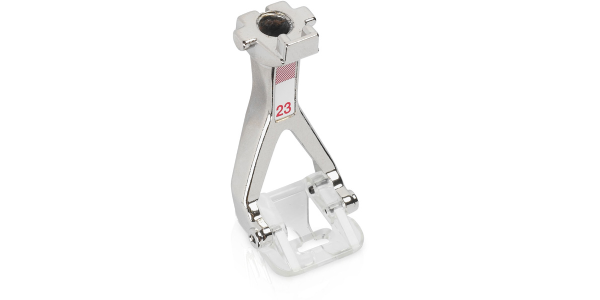
The second foot I used, Clear Appliqué Foot #23, is a great foot for making the mini piping I used as an accent for the upper edge of the bucket. It has a 2 mm channel on the sole that that allows the piping to feed easily under the foot.
I also used Open Embroidery Foot #20/20C/20D for the final steps of the process, edgestitching and topstitching.
Prep Work
Fuse the interfacing pieces to the wrong side of the outer fabric, according to the manufacturer’s instructions. Cut a 2½” square from each lower corner of the outer fabric rectangles. Repeat with the lining rectangles. There will be a total of four on the fused outer fabric and four on the lining pieces. 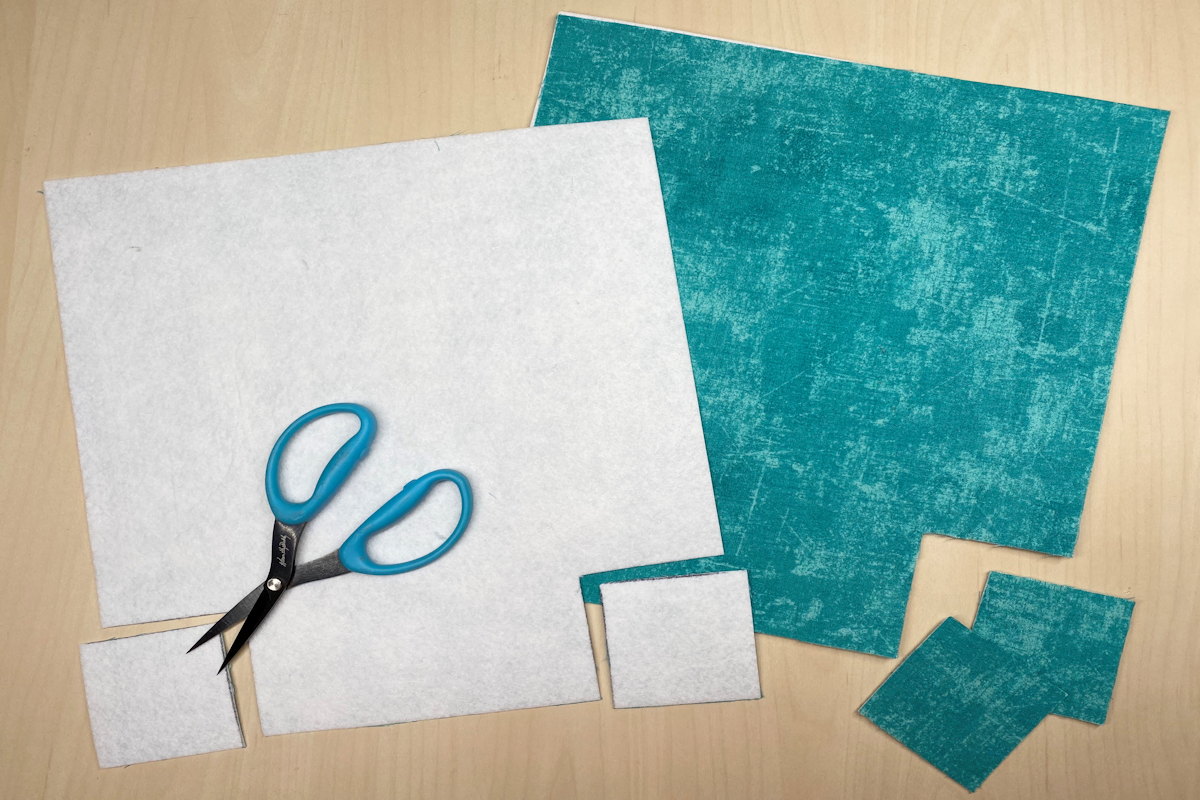
Stitching the Seams
Stitch the side and lower seams using a ½” seam allowance. Press the seams open. Match the lower seam to each side seam and stitch the side openings to form the corners.
Repeat with lining fabric pieces, leaving a 3”-4” opening for turning in the center of the seam.

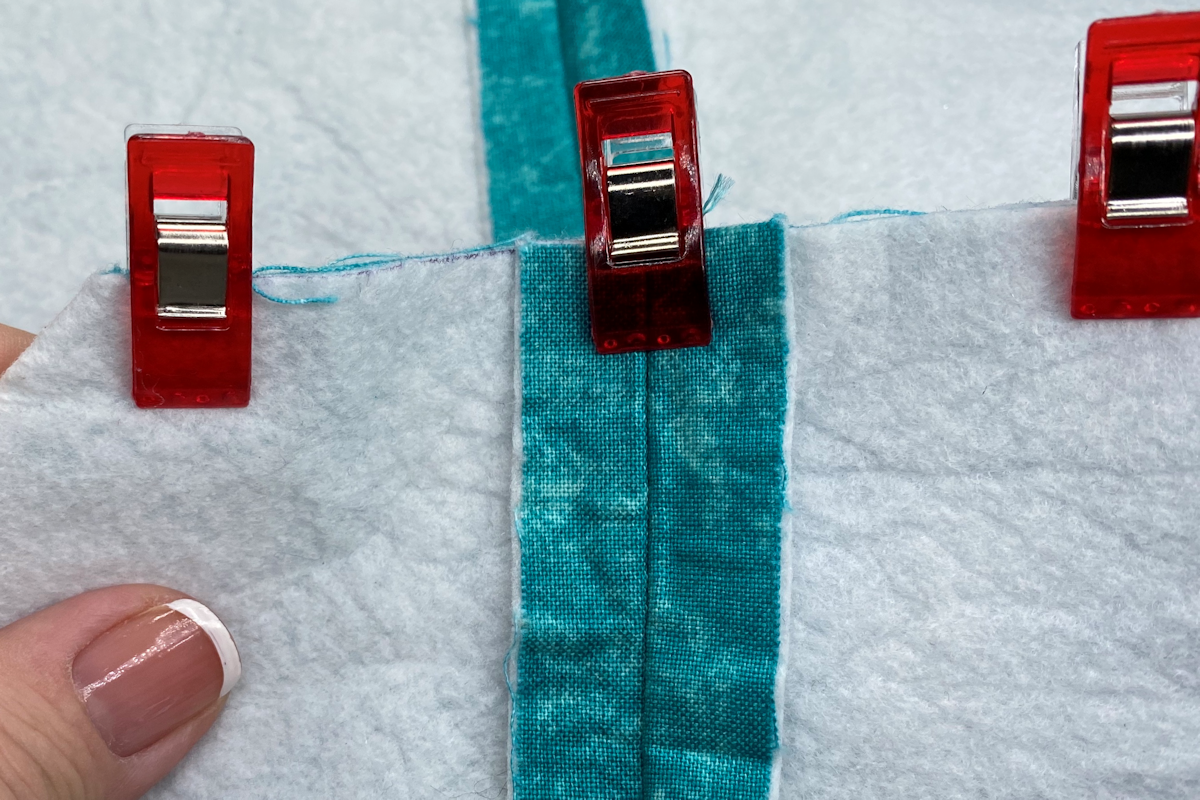
Mini Piping
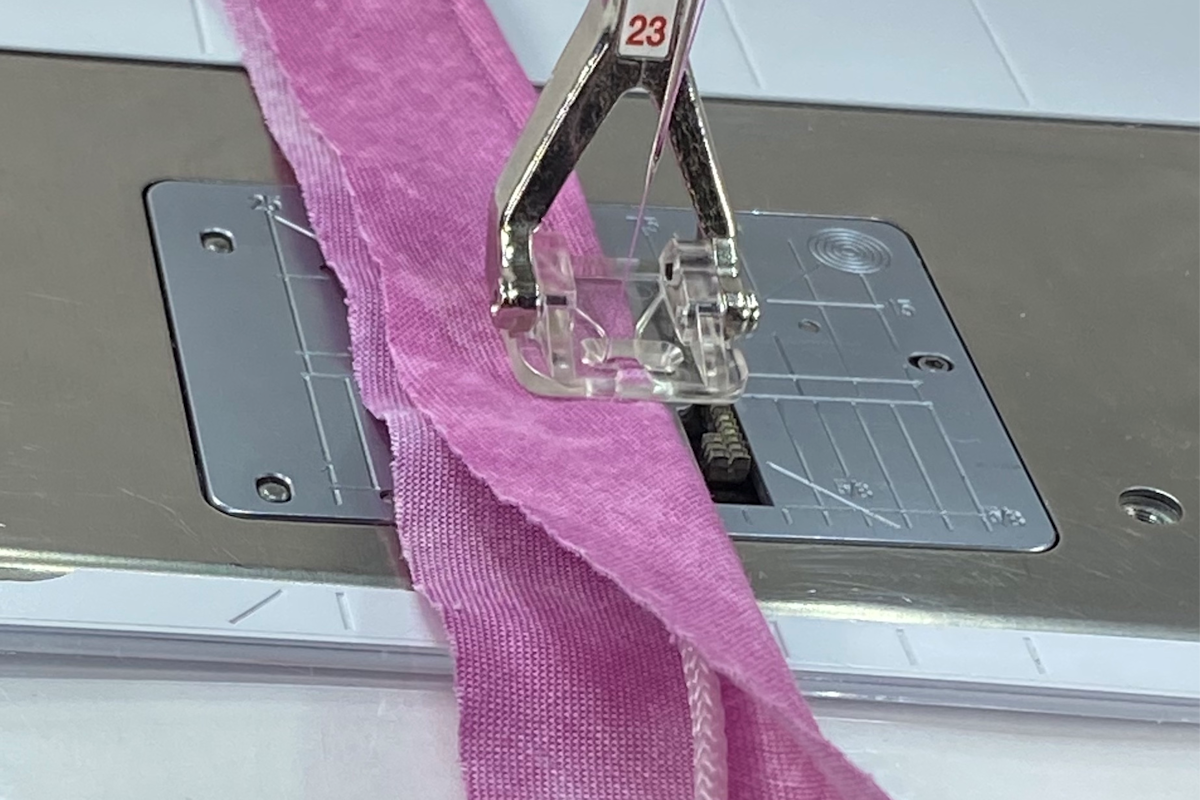
Attach Clear Applique Foot #23 to the machine and select the straight stitch. Wrap the bias strip around the cord. Place the wrapped cord under the foot with the cord positioned in the channel of the sole. Adjust the needle position to stitch next, but not into, the cord. Stitch along side the cord to create the piping.
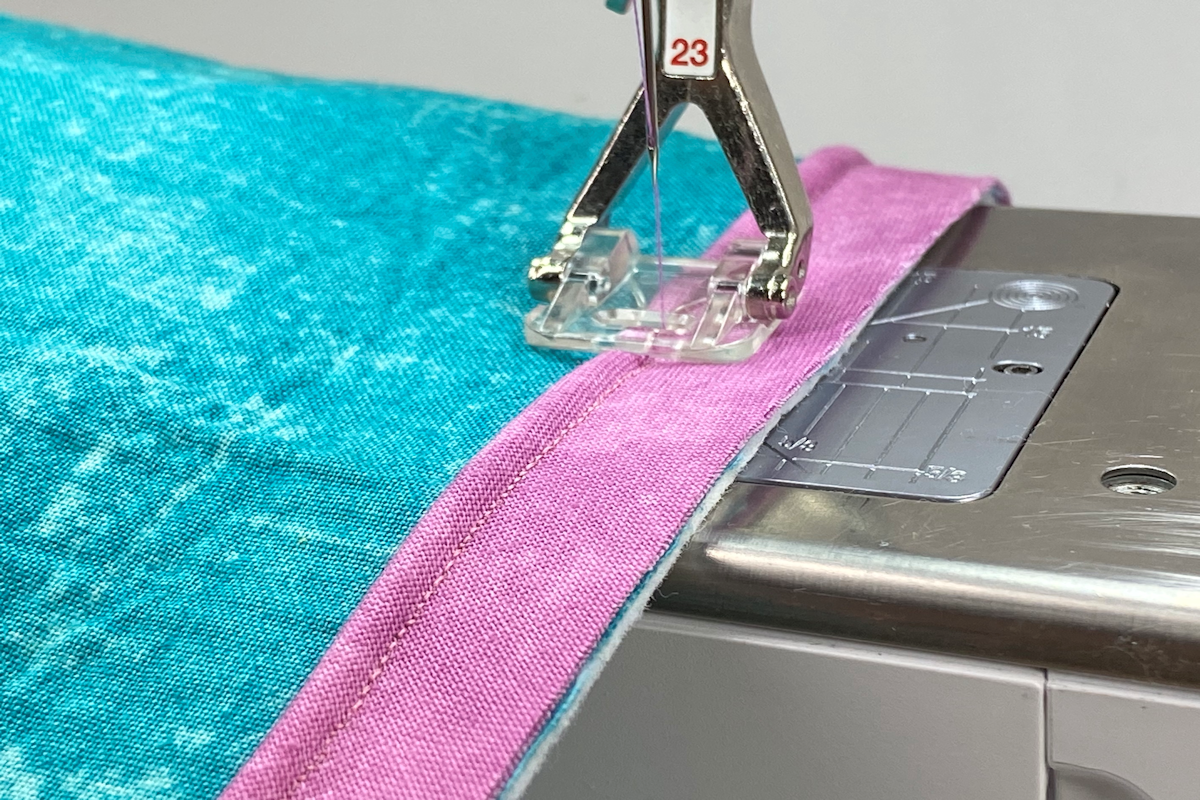
Place the piping along the upper edge of the cube with the raw edges even. Position the piping under the foot with the cord positioned in the channel of the sole. Adjust the stitch length to 4 mm and baste the piping to the edge. When finished, return the stitch length to 2.5 mm.
As you come around to the beginning of the piping, overlap the ends, easing the piping off the edge of the fabric. Continue stitching and then trim the ends of the piping even with the edges of the bucket.
Lining
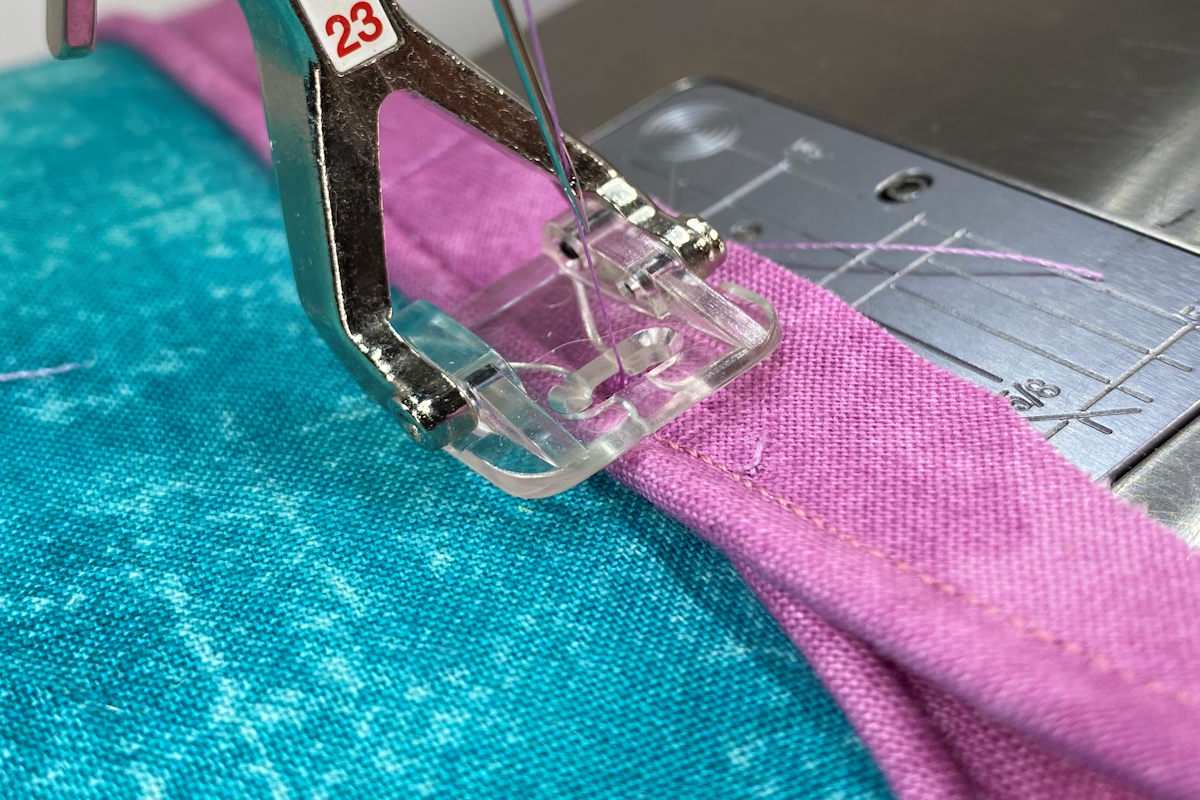
Turn the outer bucket right side out and the lining wrong side out. Put the outer bucket into the lining, matching the upper raw edges. Place the bucket on the freearm of the machine, again positioning the cord of the piping in the channel on the bottom of the sole. Adjust the needle one position closer to the cord. This will make the cord fit tightly in the seam and will eliminate any of the original stitching from showing.
Finishing
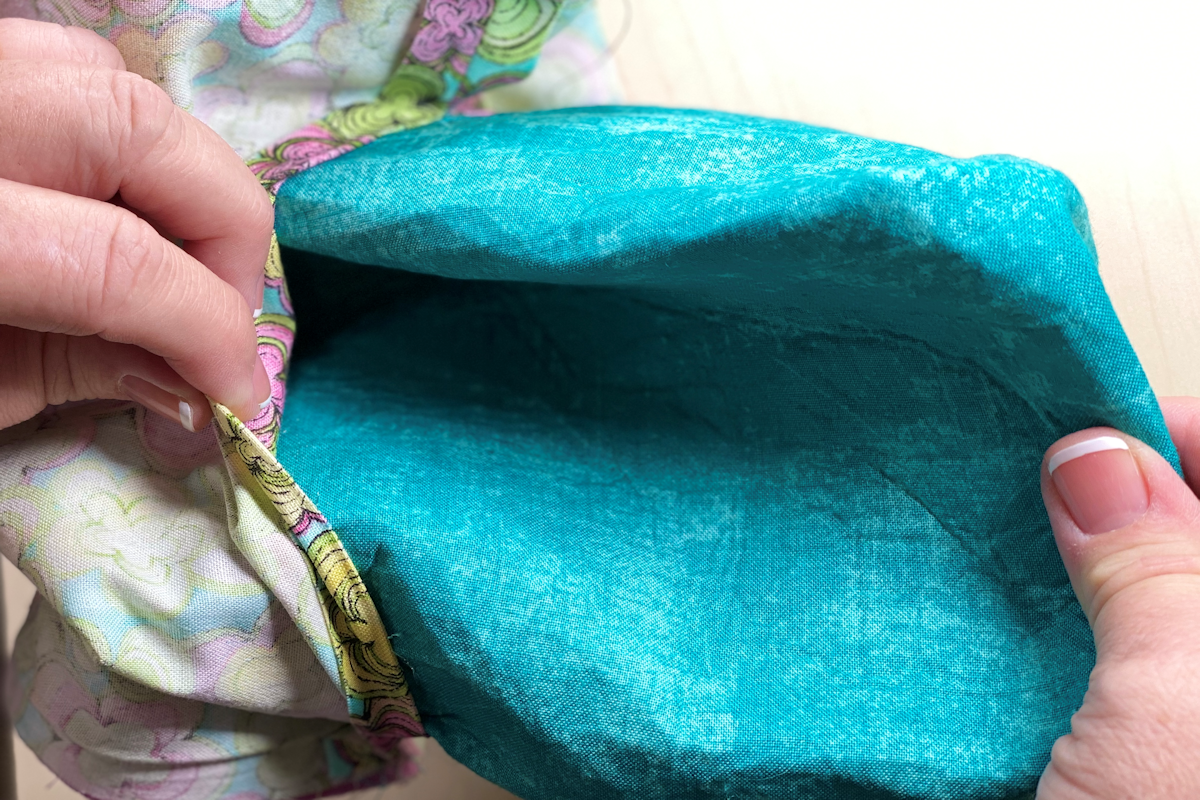
Using the opening on the side seam of the lining, turn the entire project to the right side.
Turn the edges of the opening to the inside; edgestitch to close the opening. Using Foot #20, place the folded edges of the fabric against the inside toe of the foot. Adjust the needle position to sew on the edge of the fabric. Stitch along the opening to close it.
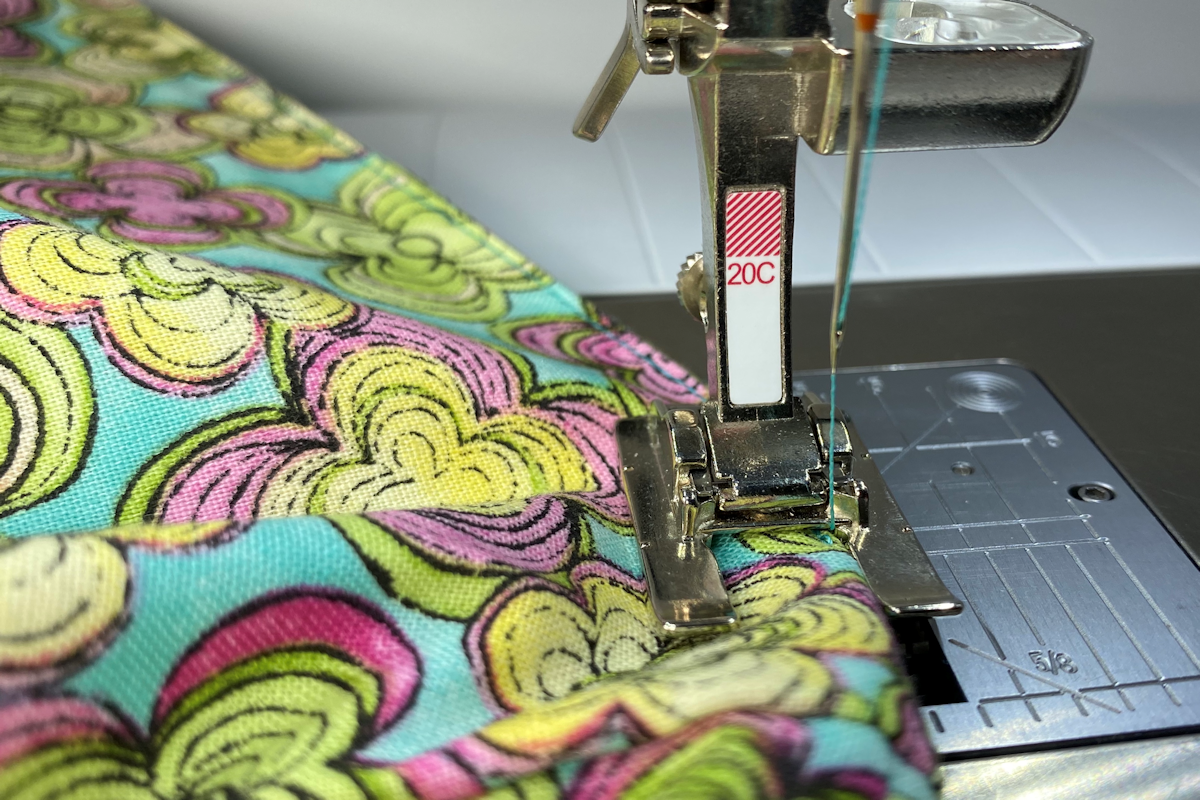
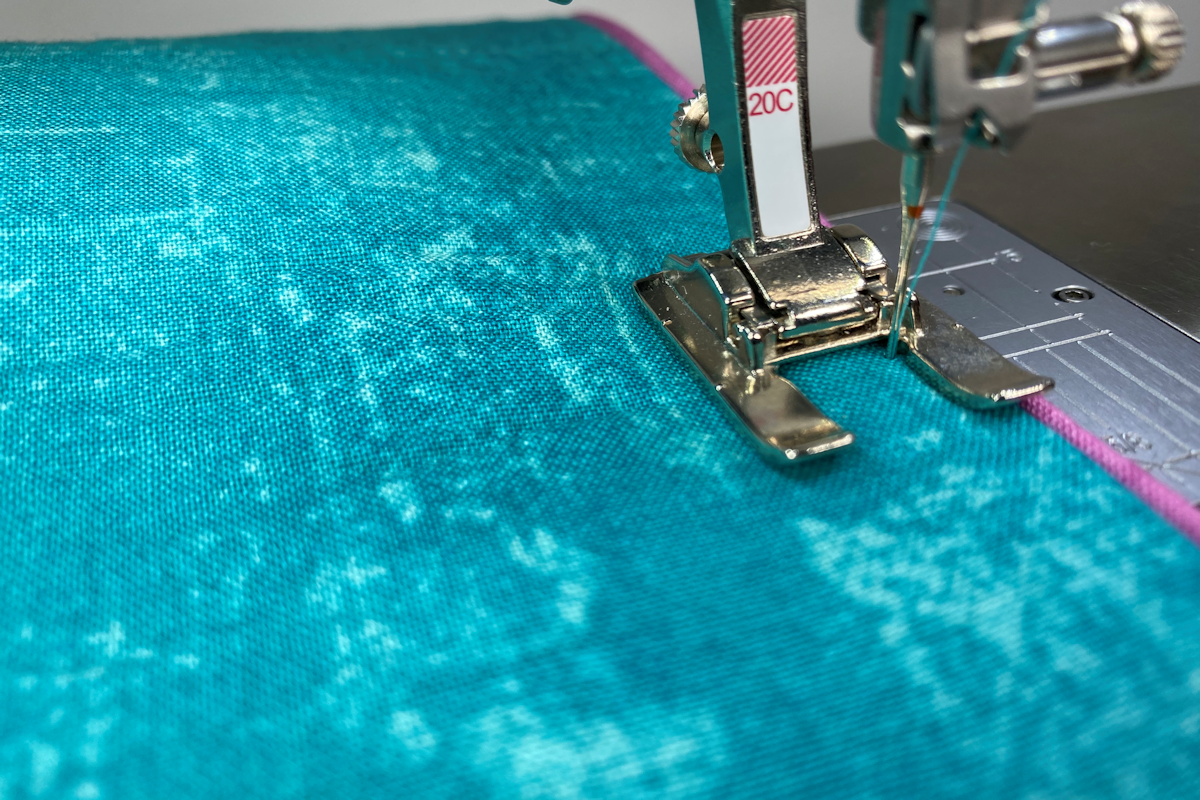
Push the lining down into the bucket. Press the bucket and then slide it onto the freearm of the machine. Using Foot #20, position the edge of the foot next to the piping. Adjust the needle position to the right to stitch near the upper edge. Topstitch around the entire upper edge of the bucket.
This is my first bucket organizer but it won’t be the last. They are great for being organized and I always love looking at pretty fabrics!

love your projects…thank you! I’m wondering if it’s possible (or if I missed it), if there could be a “print” for each project? I can’t save each one (probably wouldn’t remember where I put it!)
but would love to print them for a future time.
Hi Rebecca
I think there may be a way but I need to check out the mechanics of how it’s done. Great idea – give me a few days to look into it.
Glad you like my site!
Susan