
Edgestitching is often the most important part of a project. It adds a finishing touch on a neckline, the upper edge of a bag or the outer edge of a tablecloth. Edgestitching flattens and defines the fabric edge, giving it a polished, finished look. The trick is to stitch it perfectly parallel to the fabric edge to avoid a “homemade” look. There are two presser feet that make that process quick and easy.
Edgestitch Foot
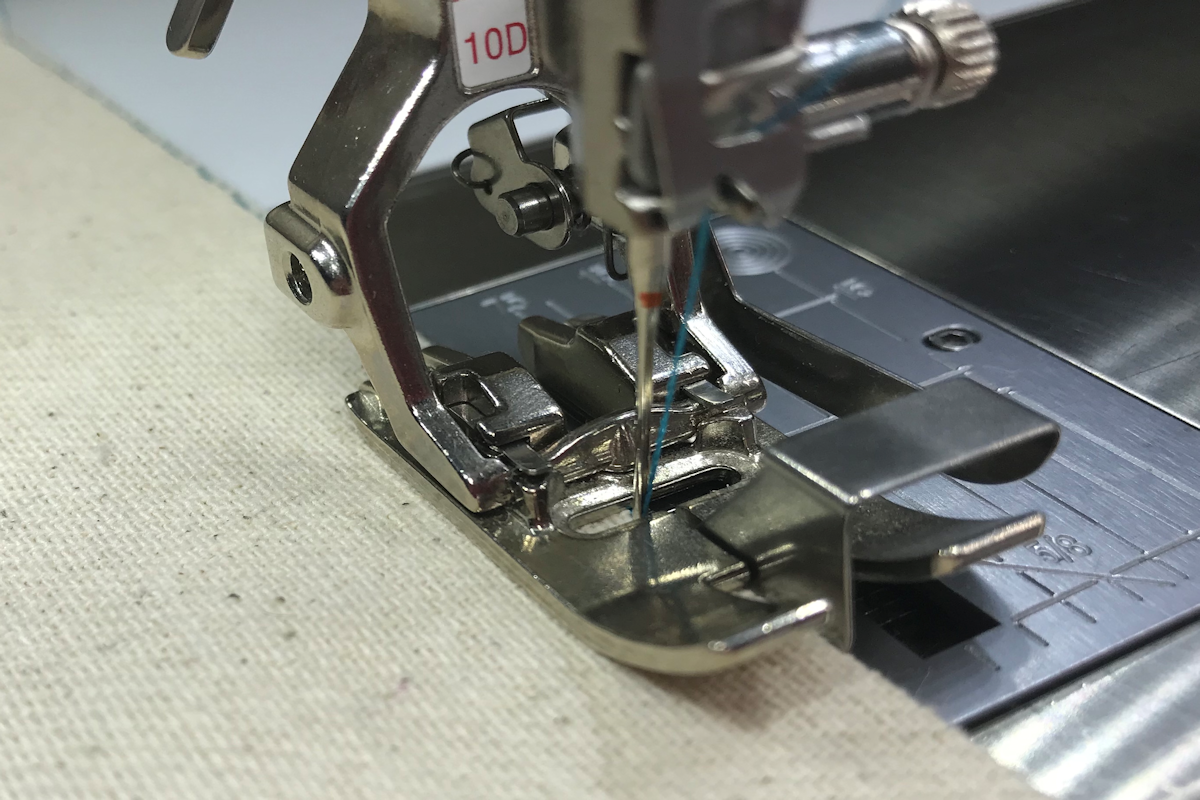 The first presser foot for edgestitching is – surprise! – an edgestitch foot! I do love an edgestitch foot with a center guide that lets you stitch perfectly parallel to your project edge. Place the fabric edge next to the guide and then adjust your needle position so you are stitching on the edge of the fabric. As you sew, keep the fabric next to the guide for perfect edgestitching.
Open Embroidery Foot
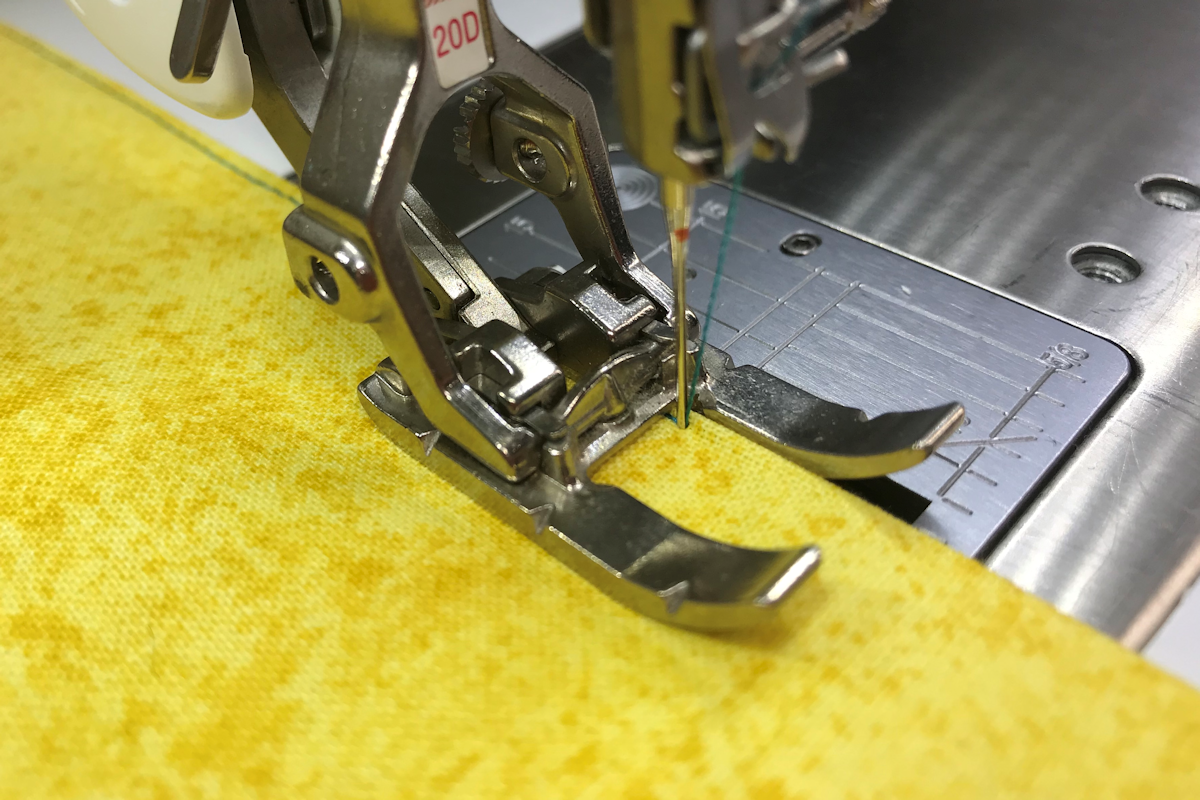 An open embroidery foot is also great for edgestitching because the stitching area is totally visible. The front part of the foot is cut away and you can see exactly where you are stitching. But that’s only part of it. The trick is to place the edge you want to stitch next to the inside of the toe. Then you adjust the needle position to stitch as close to the edge as you want. Once you start sewing, just keep that fabric edge next to the inside toe and your stitching will be beautiful!
So, the next time you need to add a finishing touch to your project, try one of these methods for perfect edgestitching!
