
I’ve told you before I like things in miniature. (Click here to see my Mini Coiled Containers.) If it’s tiny, it’s cute! That must be why most people love babies – they are tiny human beings! This post is about making a petite sewing book filled with bits of fabric, stitched with some of my favorite techniques. Made with one piece of cardstock, cut and folded to form a book, and then filled with fabric pages. This 3″ square book is a fun project that’s both tiny and cute.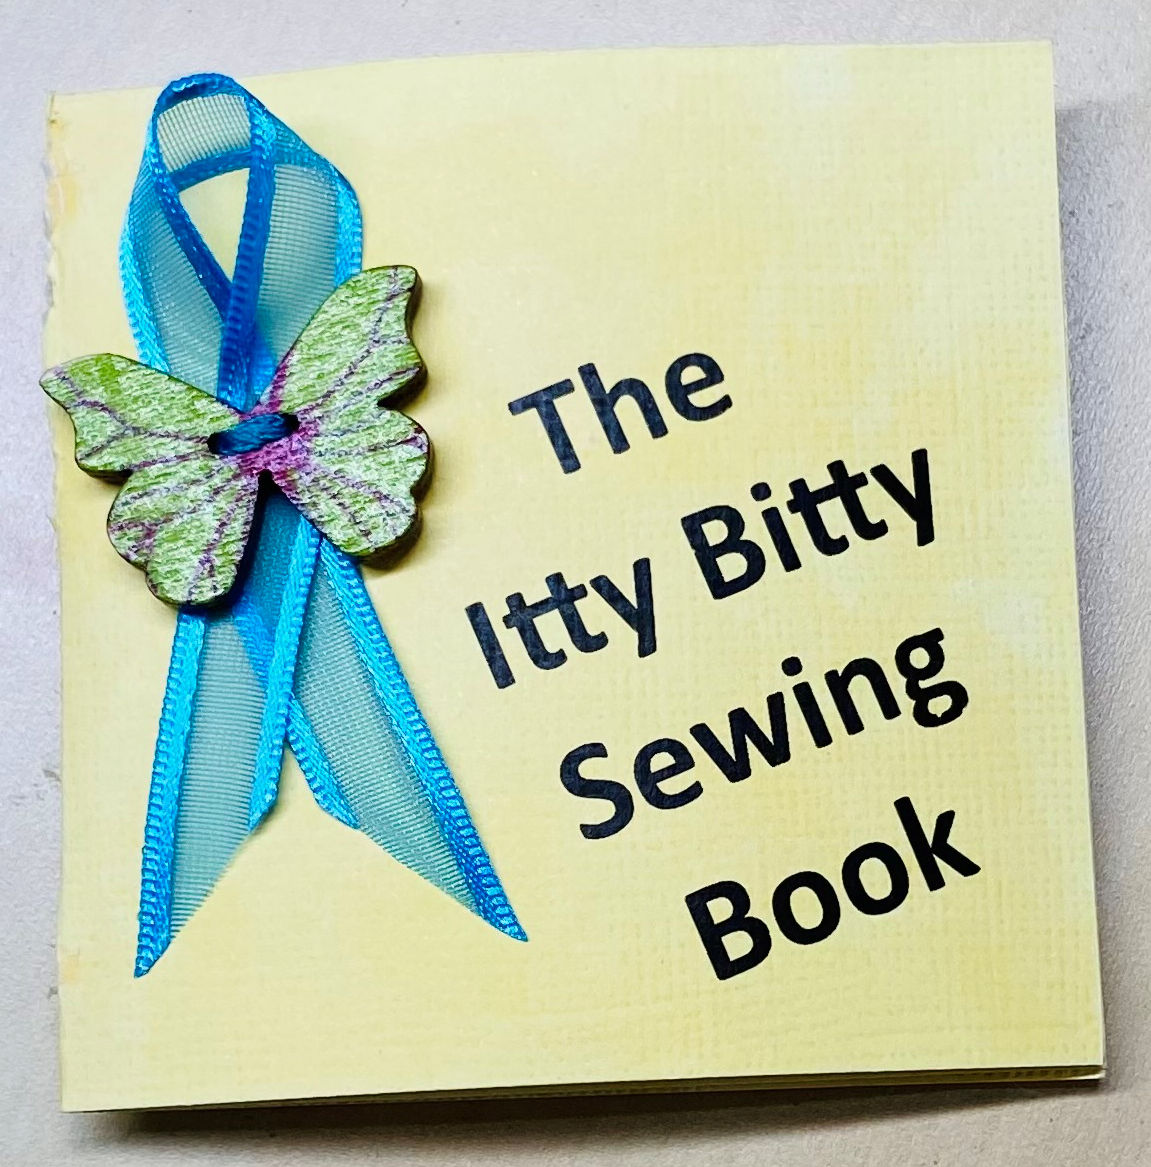
Supplies
One piece of 8½ x 11” cardstock. Look for a light color, solid or subtle print, that lets the printing show.
2 pieces of white or off-white fabric, 2½” x 5” each
6” of ¼” ribbon
1 decorative button
Button Sew-On Foot #18
White glue
Four of your favorite technique swatches, 2” x 2” each. Use leftovers from projects or stitch a few new swatches with your favorite stitches or techniques. All of the techniques in my Itty Bitty Sewing Book are in The Big Book of Feet. The ones I used:
- Page 1: Textured Trim using Tailor Tack Foot #7
- Page 2: Grid of Pintucks using Pintuck Foot #32
- Page 3: Hemstitching using Spanish Hemstitch Attachment #47
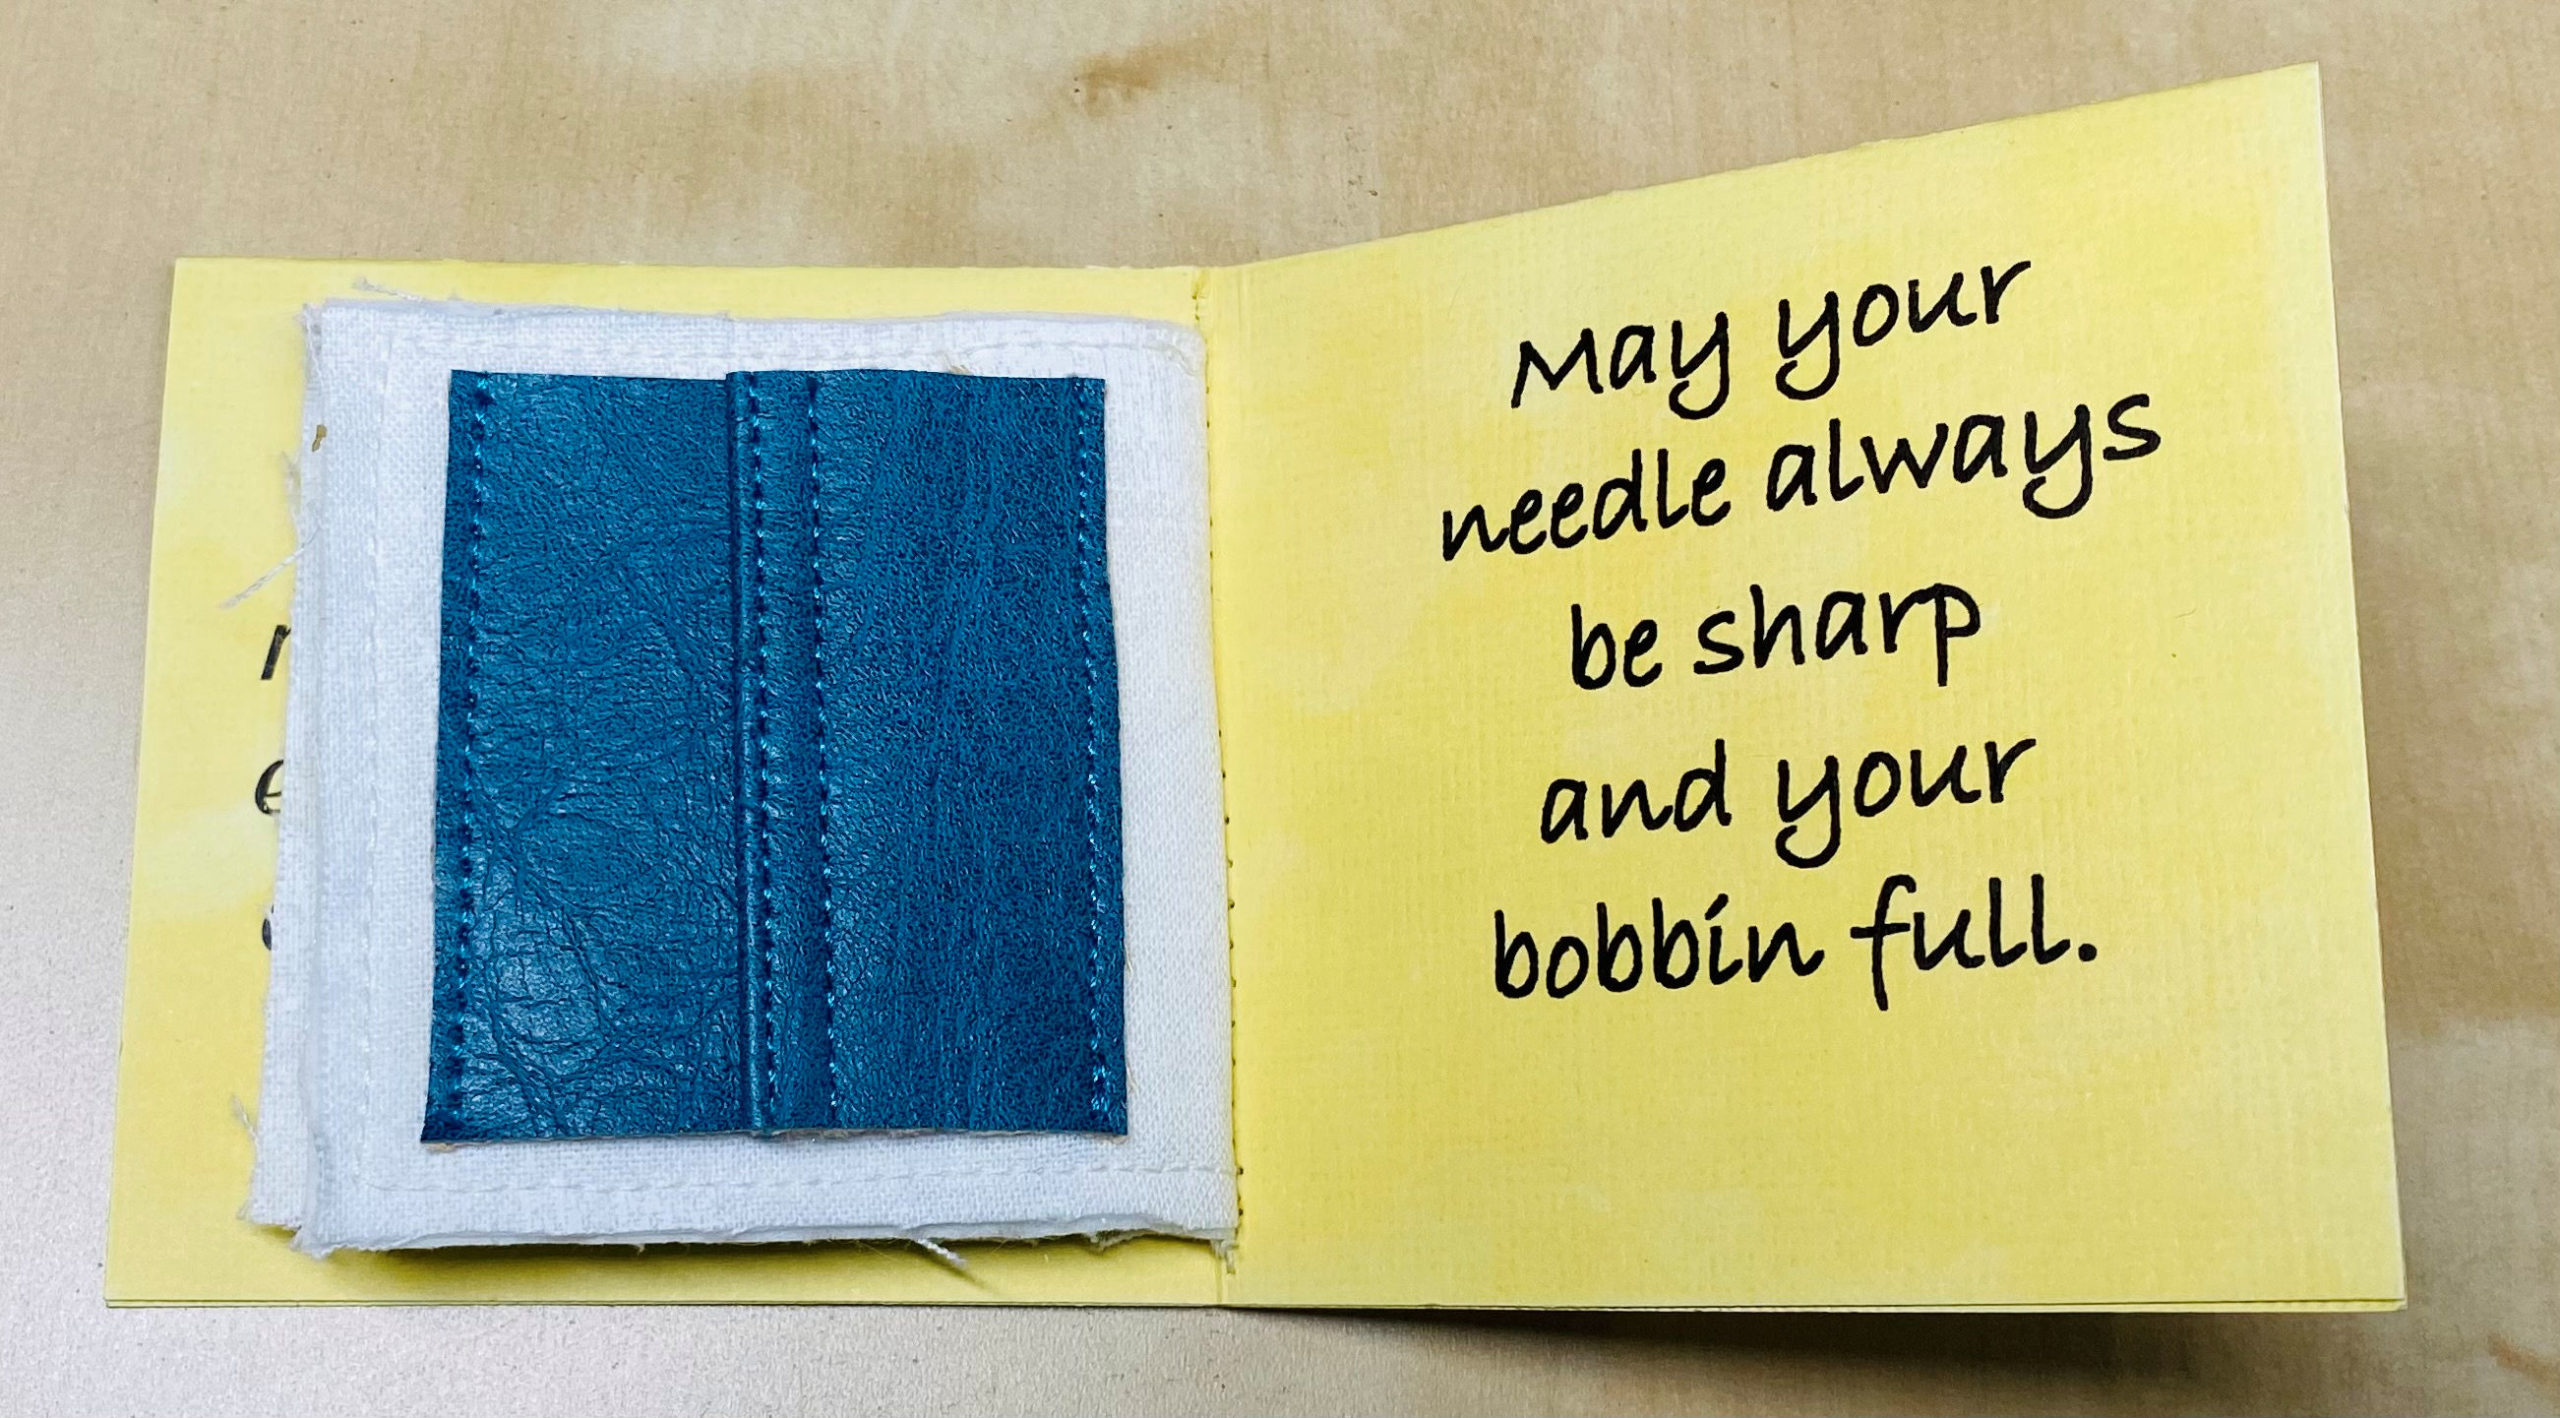
- Page 4: Lapped Seam using Non-Stick Open Embroidery Foot #56
Cover
Download the PDF cover here and then print it onto the cardstock. Cut out the cover, just inside the printed lines. Tip: Print this on copy paper first to practice the cutting and folding before printing on your cardstock. Fold the cover in half, matching edge A/B to edge C/D and crease the fold. Fold it in half again with the name of the book on the outside and crease the fold, then unfold the covers.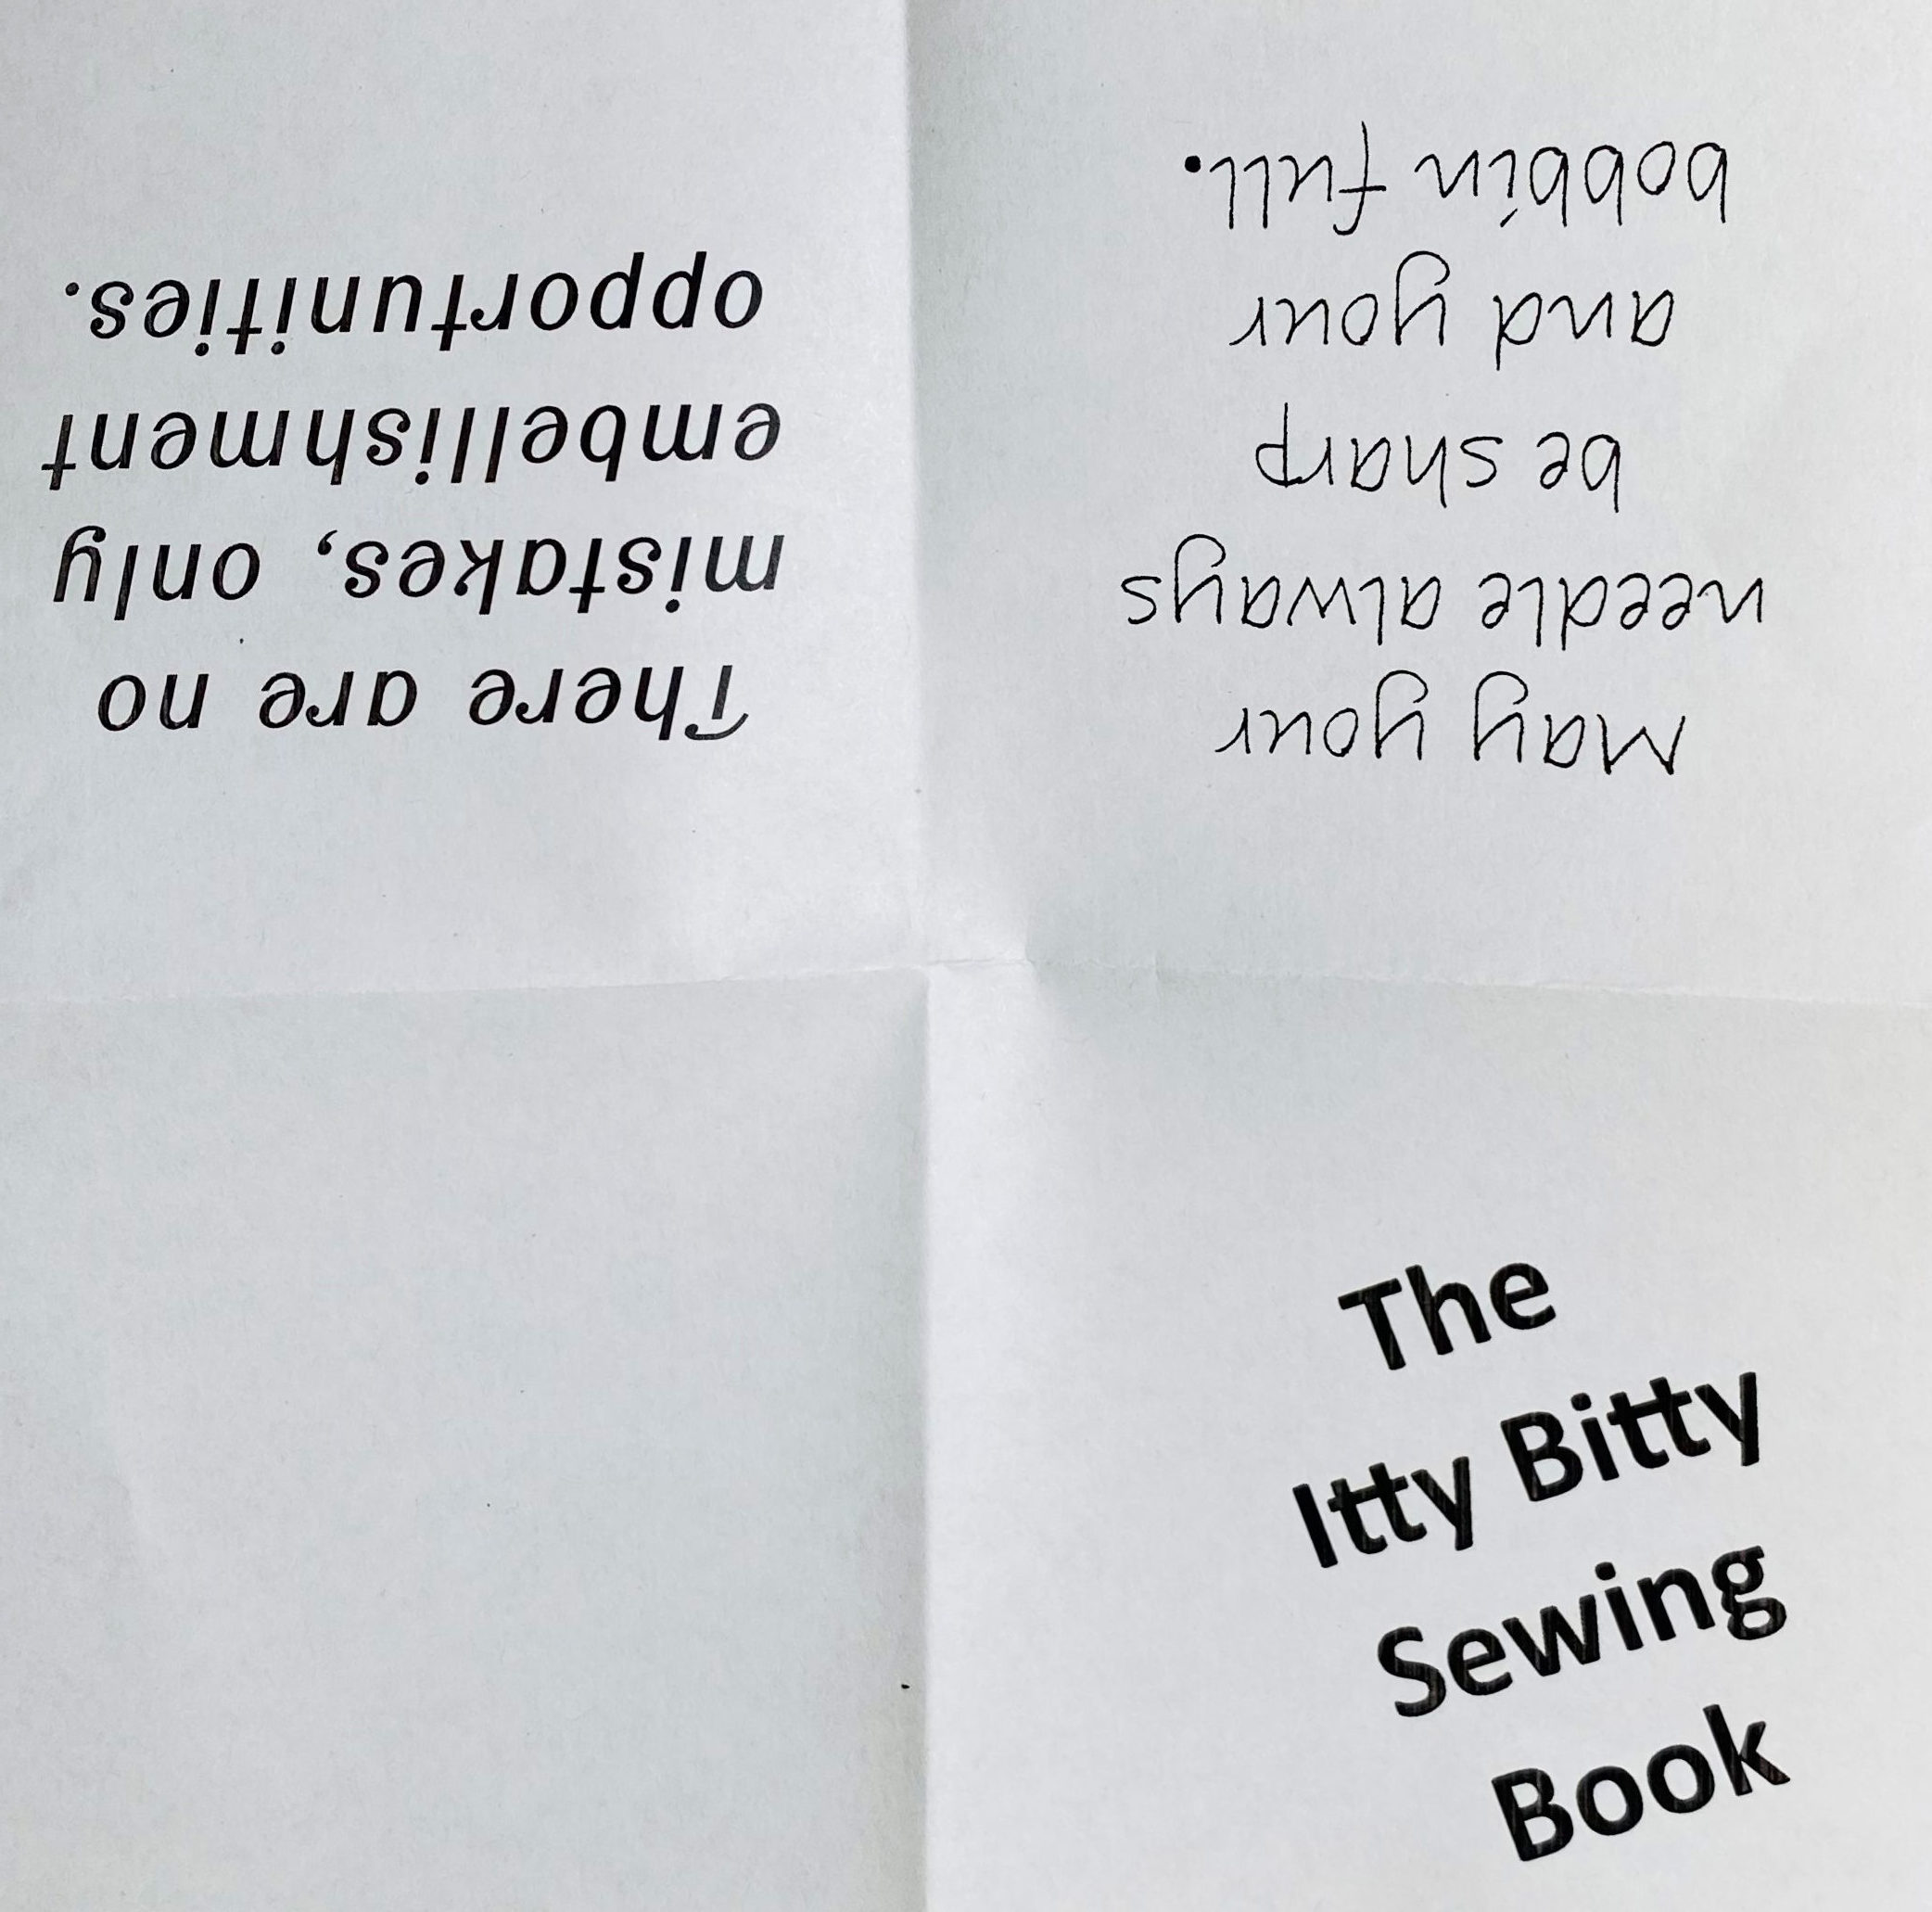
Stitch the ribbon and button in place on the front cover using Button Sew-On Foot #18 and the photo as a guide. Trim the as needed. Refold the covers and glue the outer covers to the inner covers along the edges using white glue.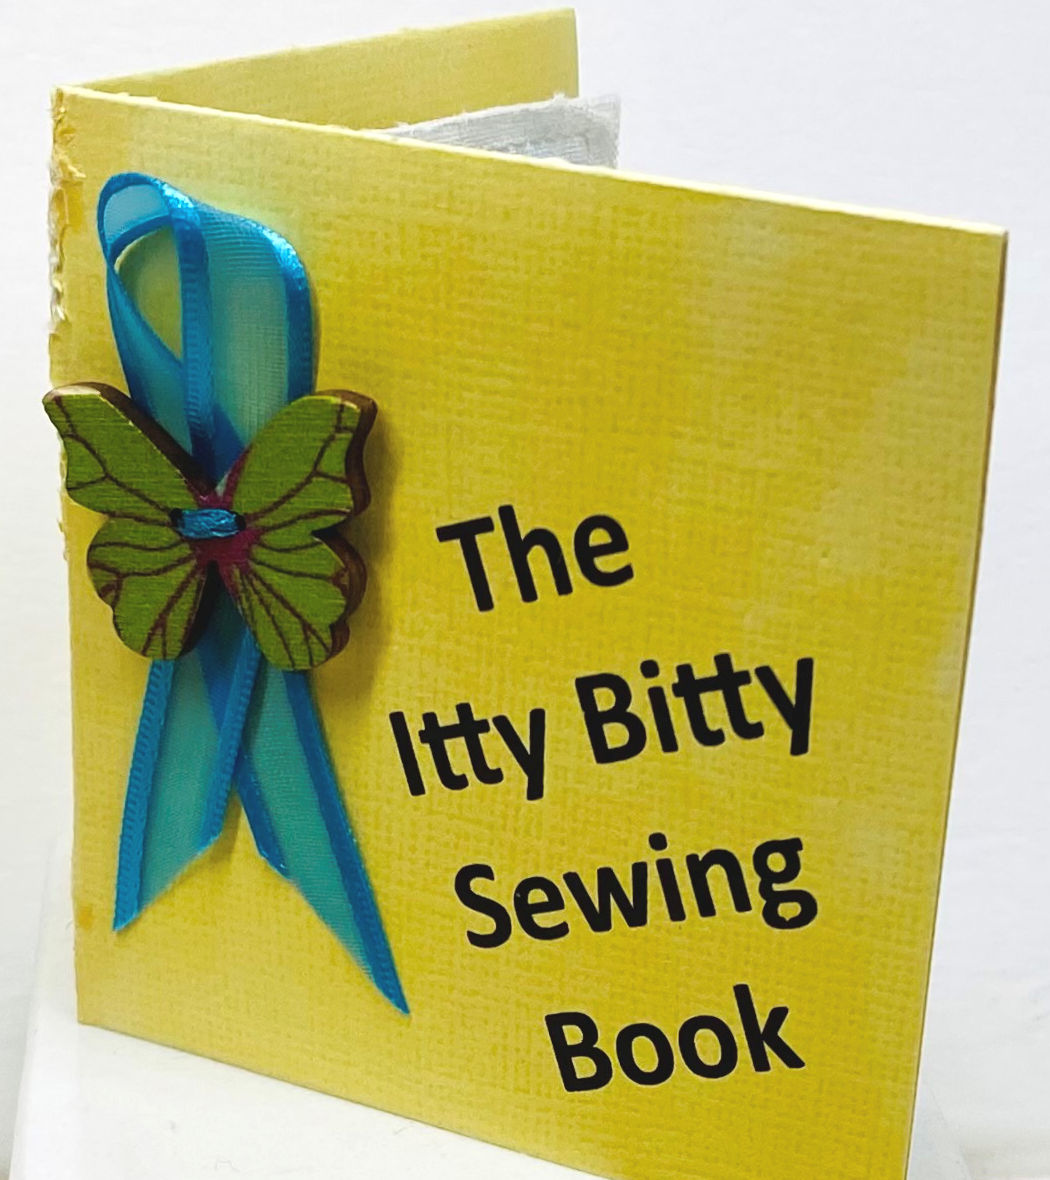
Pages
Each rectangle of white fabric represents two pages. Position and stitch a technique swatch side by side on a white rectangle about 1/4″ from the outer edges. Repeat with the second rectangle and remaining technique swatches. Place the two white rectangles wrong sides together and edgestitch along all four sides. Position the pages in the center of the book covers and straight stitch down the “spine”.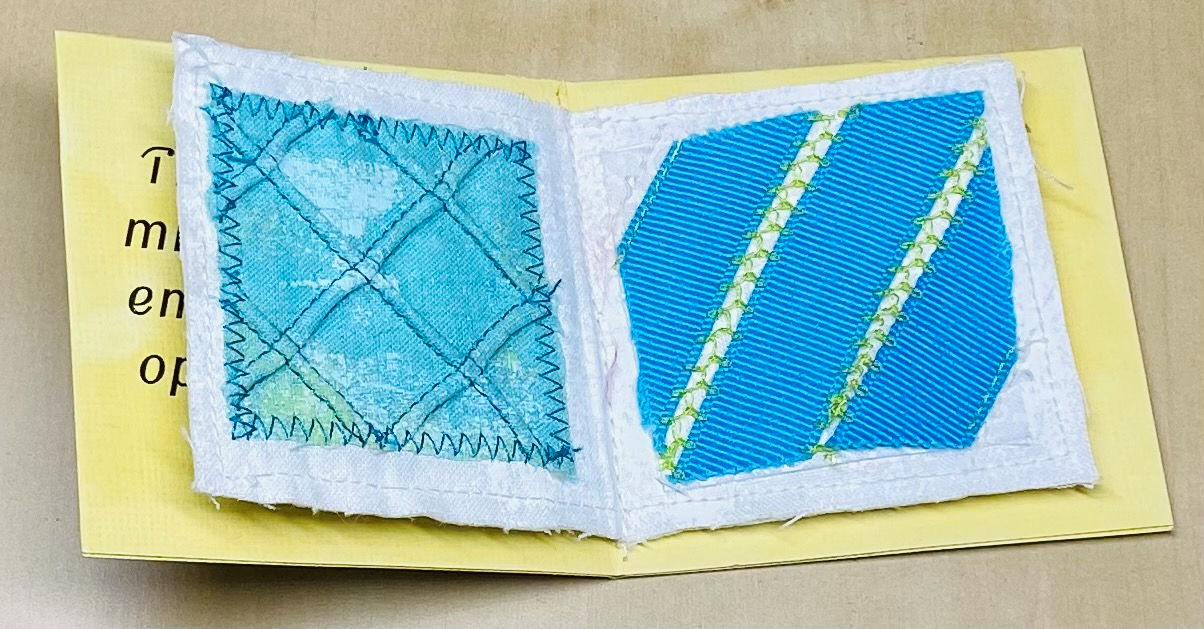
Here’s what Pages 1 and 4 look like.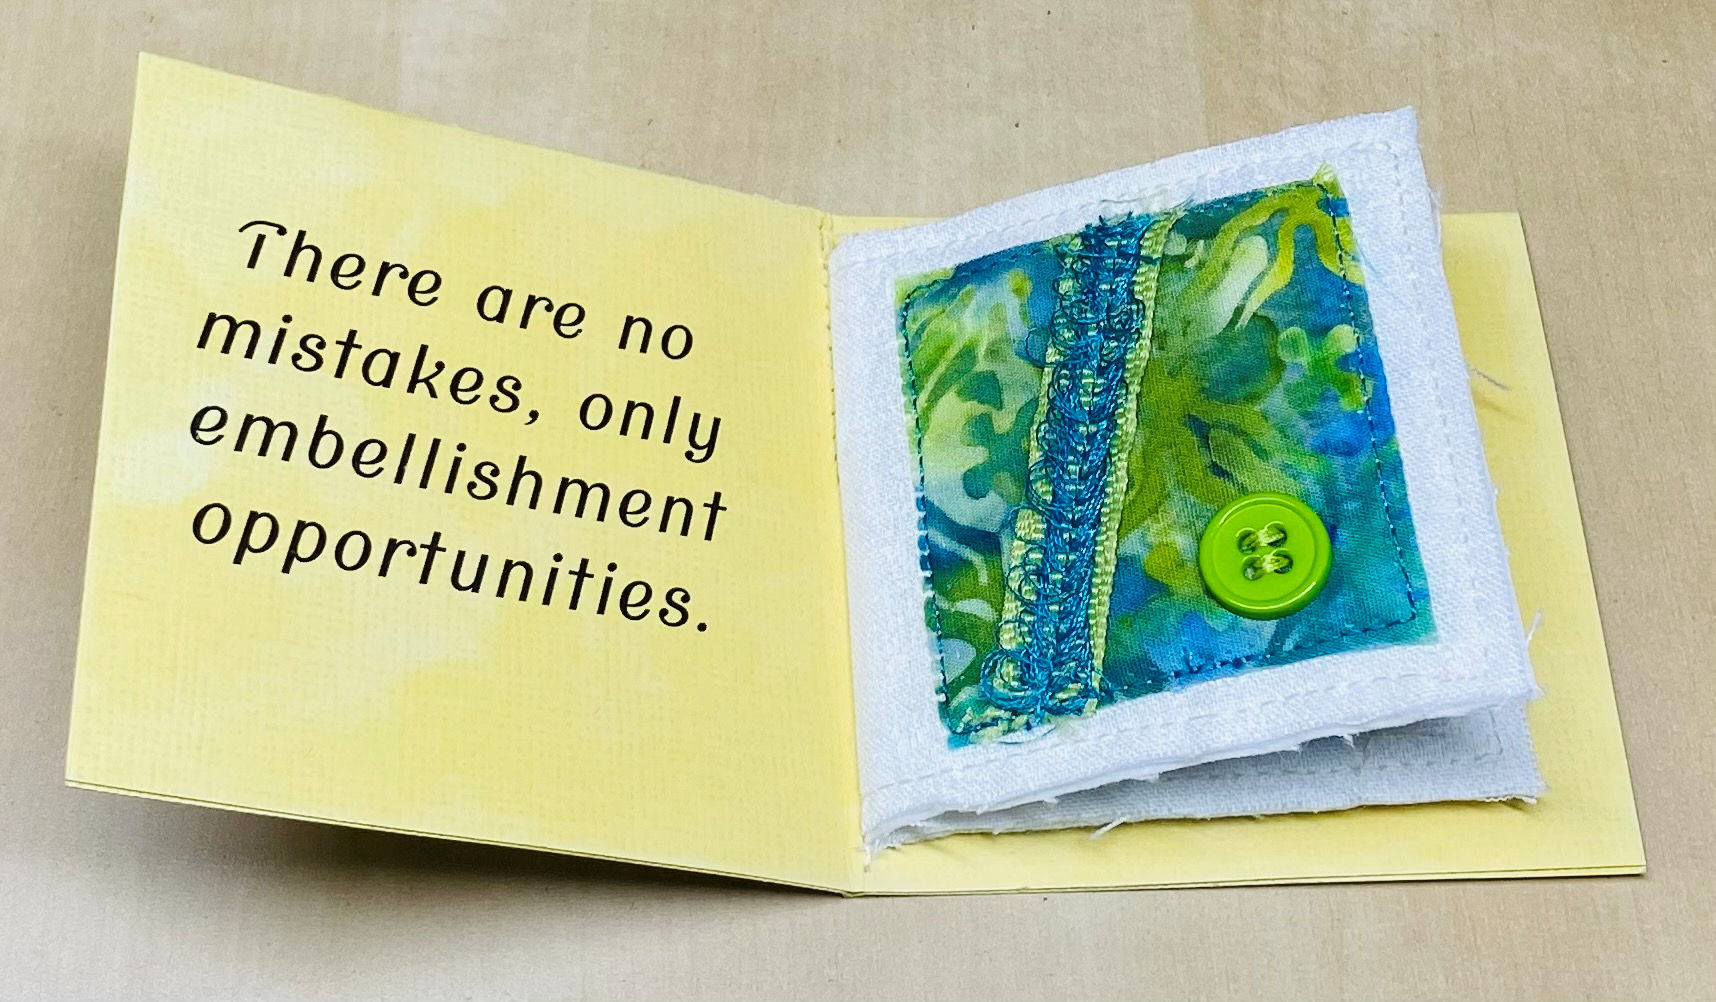
I’d love to see your version of the Itty Bitty Sewing Book. Have fun reading this book from cover to cover!
