
This 3-panel quilt is made with string quilting, a quilt-as-you-go technique that is decades (maybe centuries) old. I remember my grandmother stitching this technique by hand when I was a child. It’s a great way to use fabric scraps and a fast way to piece and quilt in one step. Finished size:10″ x 12″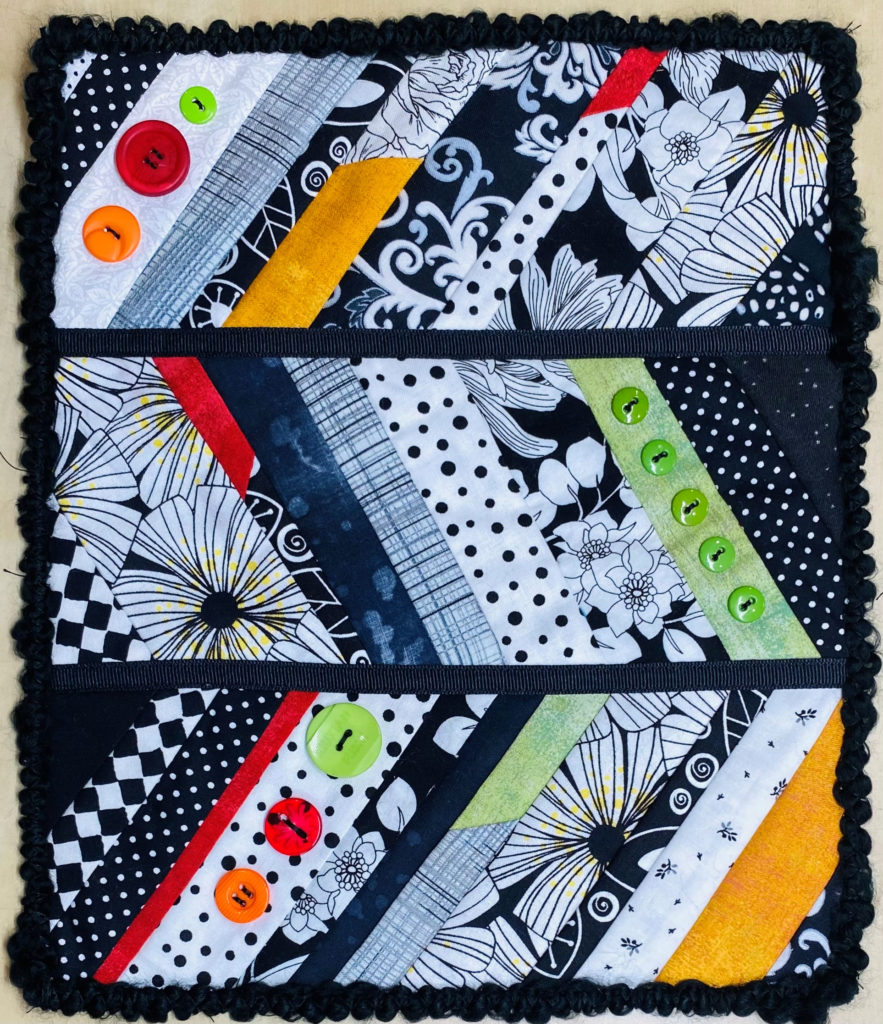
Supplies
- 3 pieces of batting, 5” x 12”
- Assorted strips of black & white fabrics in varying widths: 1”, 1½”, 1¾” and 2”
- 4-6 assorted strips of bright colors in varying widths: 1”, 1½”, 1¾” and 2”
- Black fabric for backing, 12” x 14”
- 2 pieces of black grosgrain ribbon for the backing, ⅜” wide
- Black textured yarn for the edge finish
- 10-12 decorative buttons, matching the colors of the colored strips
- Open Embroidery Foot
- Edgestitch Foot
- Button Sew-On Foot
- Temporary spray adhesive
Fabric Strips
Join the colored 4-6 fabric strips to assorted black & white strips. I joined the pieces with an angled seam, but a straight seam also works. When placing the strips on the batting, arrange them so the dark and light ones are scattered throughout the piece, creating contrast to make it more interesting. Place the color-pieced strips as desired, in several places on the batting.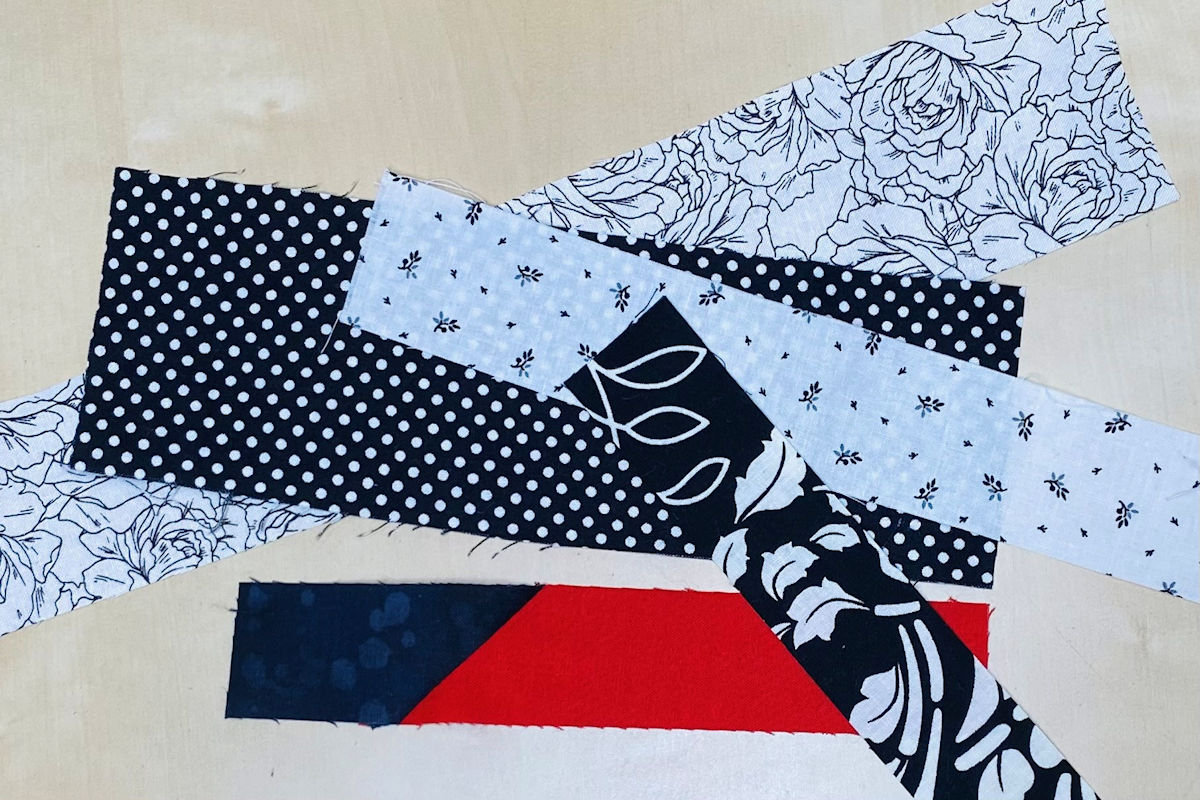
String Quilting
Starting in the center of one piece of batting, place a strip of fabric right side up at an angle. The strip should be long enough for each end to extend over the edges of the batting at least one inch. Position a second strip right side down along one edge of the first strip. Stitch the two together using a ¼” seam allowance. Flip the fabric to the right side and press. Repeat for the opposite of the first strip. I used an open embroidery foot so I could clearly see where the needle was stitching. Below is a quick video that shows the process.
Three Panels
Continue stitching and flipping the strips until the batting is completely covered. Trim the covered batting to 4” x 10”. Repeat this process with the remaining two pieces of batting and assorted fabric strips. I’m showing the panels here vertically but when I finished with the quilt, I decided that I liked it better turned on its side. Either way-it’s up to you!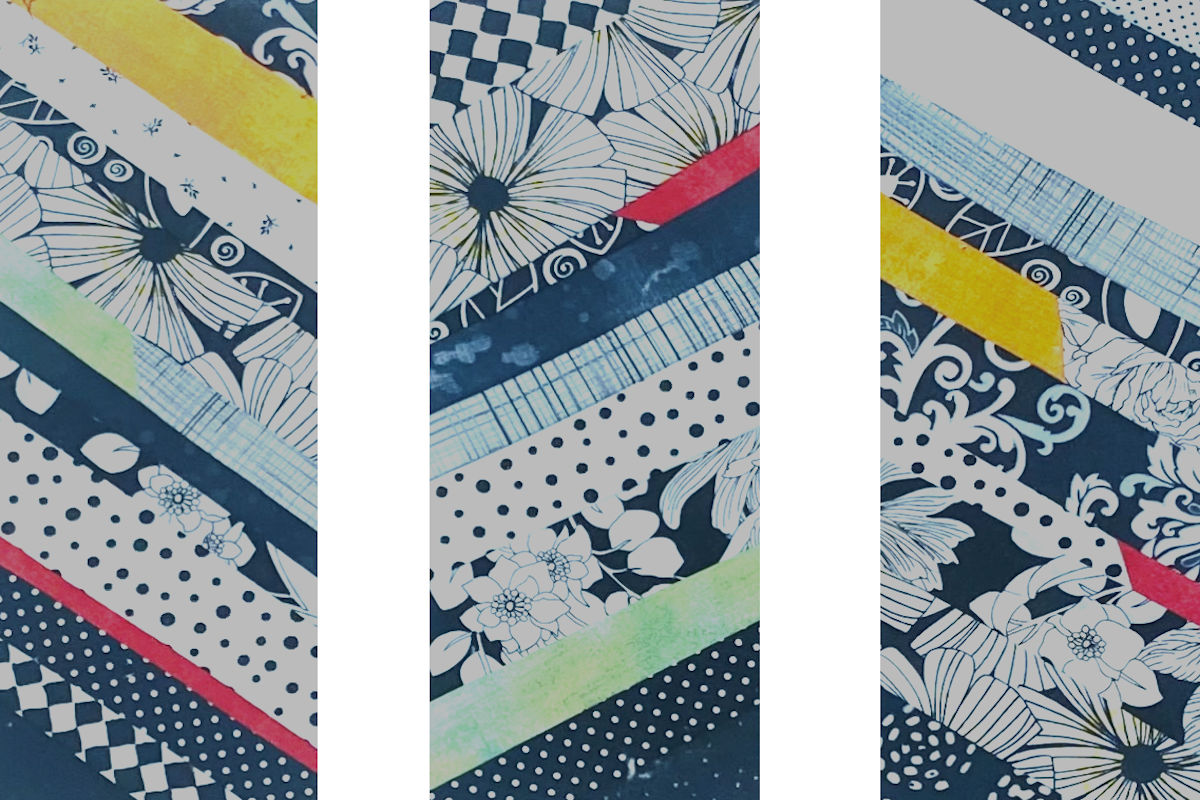
Joining the Panels
Join the three panels using an edgestitch foot and a zigzag stitch. Place one panel on each side of the center blade and use a zigzag stitch with a width of 4-5mm and a length of 1.5-2mm. The guide of the foot keeps the two panels edge to edge without overlapping as you stitch. Add the backing to the wrong side of the quilt, trimming it to fit, and using temporary spray adhesive to adhere it.
Attaching Buttons
Sew the buttons onto the quilt as desired using a button sew-on foot. Click here for a post on sewing on buttons by machine.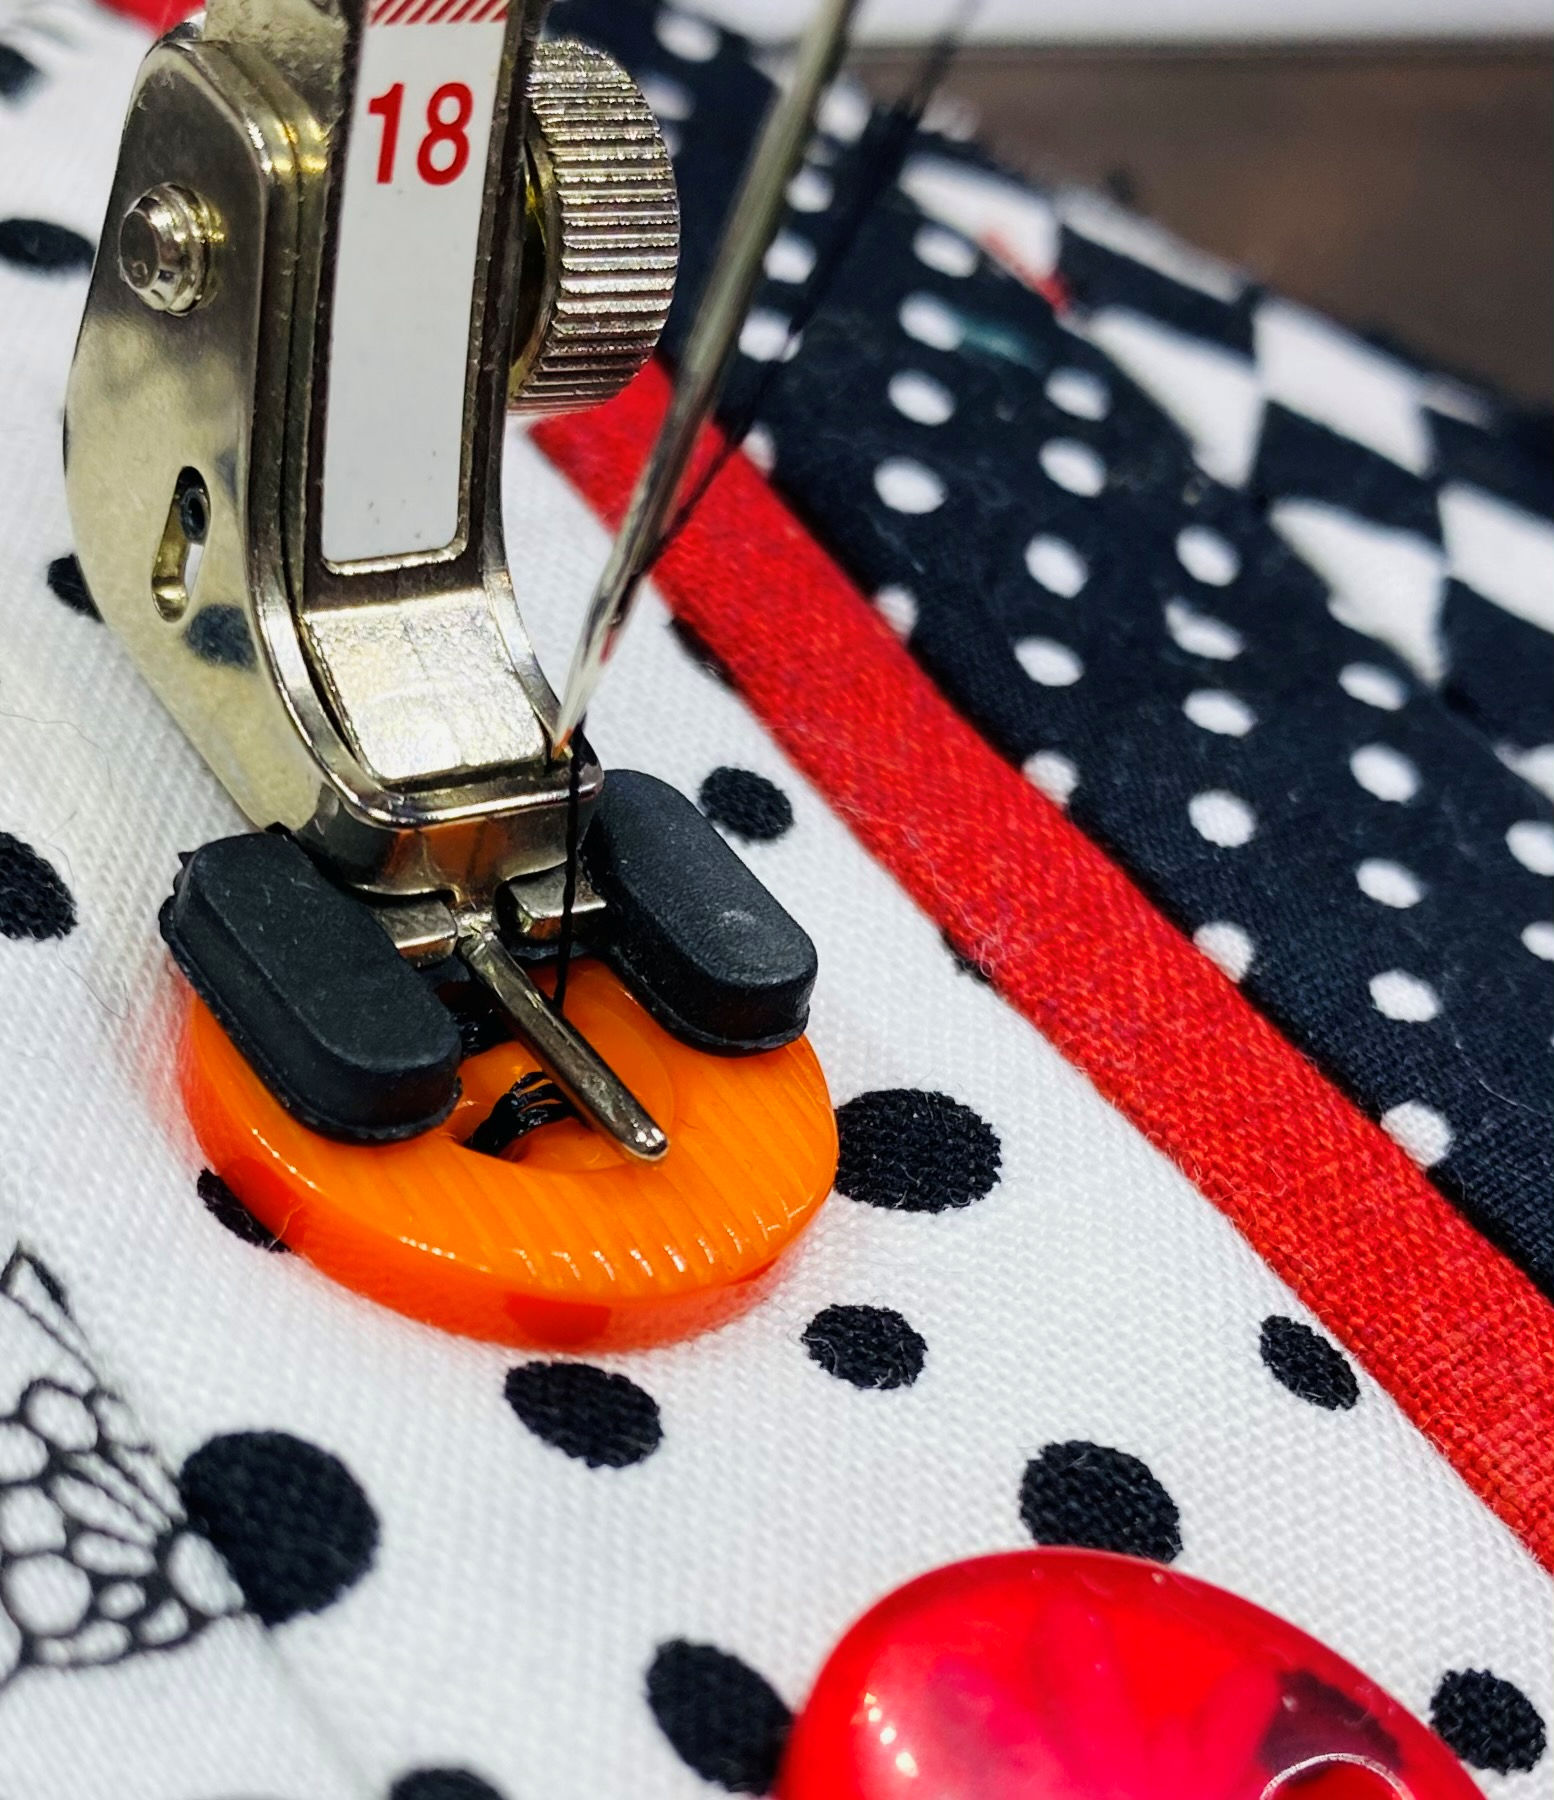
Ribbon Sashing
Place the ribbons over the seams, covering the zigzag stitching. Use ¼” Wonder Tape, a double-sided sewing tape, to hold the ribbon in place. Center the quilt front on the backing with wrong sides together. Stitch along each edge of the ribbons using an edgestitch foot and an adjusted needle position, sewing through all layers.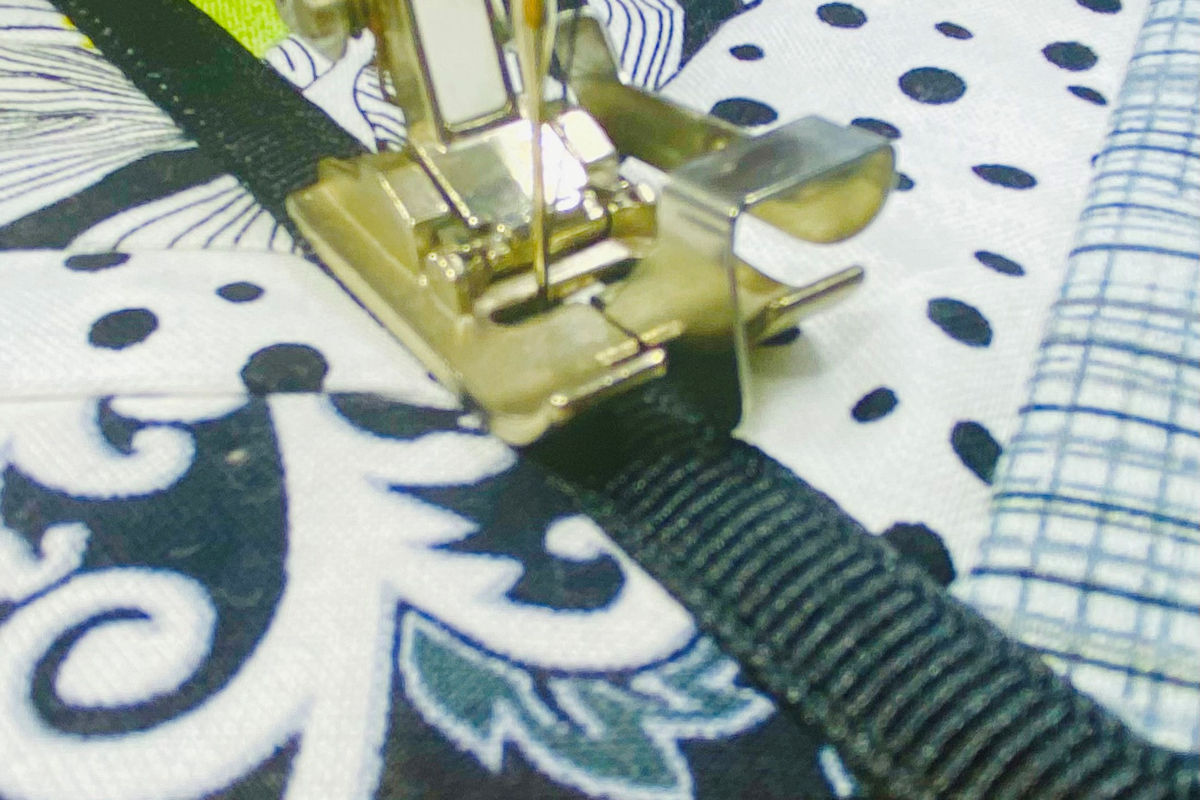
Backing and Edge Finish
I used the same edge finish on this quilt as I did on the first mini quilt in this series. Click here to see how overcast the edges of the quilt and finish the edges with a textured yard.
If you missed the first two mini art quilts in this series, you can still take a look.
Hope you like the mini quilts so far. There’s more to come. Let me know if you are inspired to make your own art quilt – I’d love to see them!
Until next time –
Susan
